| Warning | ||
|---|---|---|
| ||
This content may be OUTDATED. Some information may be incorrect. |
Overview:
This guide provides instruction on configuring both Medical-Objects Capricorn and Monet software to import electronic results.
If you require any assistance with the installation or configuration, or if you have any questions, please contact the Medical-Objects Helpdesk on (07) 5456 6000.
If you have not Installed the Medical-Objects Download client, Please see the guide for Installing Capricorn on Windows.
Configuring Capricorn Software
Accessing the Capricorn Configuration Window
| Excerpt Include | ||||||
|---|---|---|---|---|---|---|
|
Capricorn Configuration Settings
- Click on Ack Management.Select Integration Options from the left hand panel.
- Set the Ack path to C:\MO\Capricorn\APPLICATION_ACKS
Under Incoming Modifier make sure the Monet Modifier is selected.
Make sure Convert to Pit and Preserve Sending Facility in PIT check boxes are selected.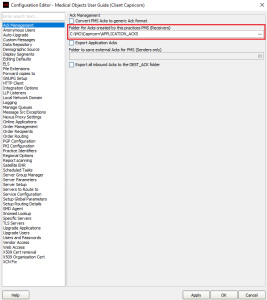
- Click on Integration Options.
3.1 Check that the Incoming Modifier is set to Monet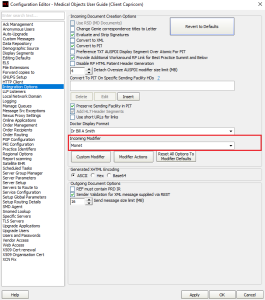
- Select Server Parameters from the left hand panel.
Enter the path to drop off results to - for this exampled we'll use C:\Pit\Hold
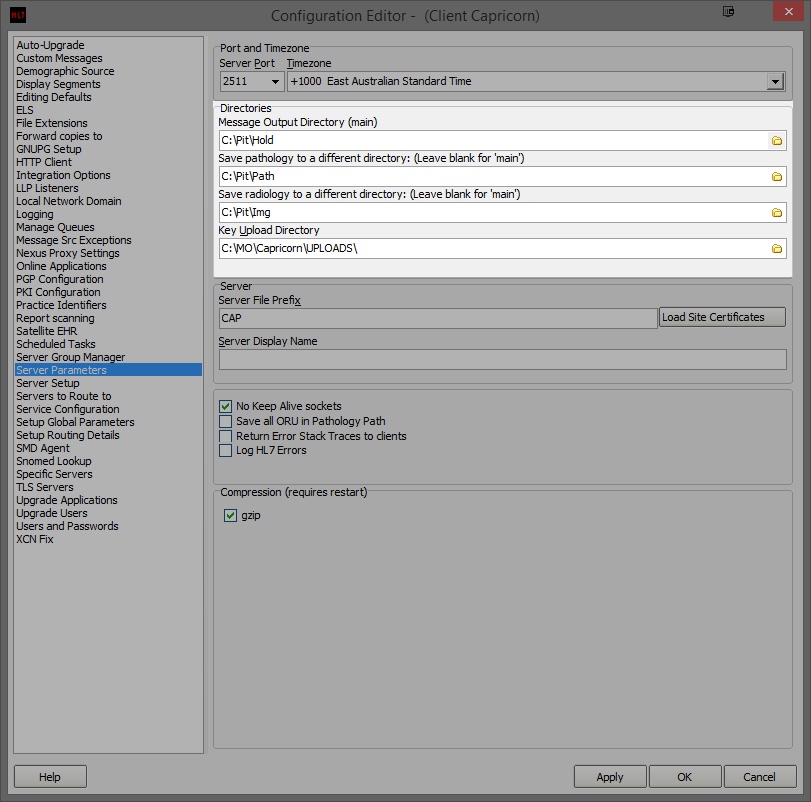
If receiving from Pathology and Radiology, Set the file paths as follows.
Pathology --> C:\Pit\Path
Radiology --> C:\Pit\Img
If the folders do not exist you must create them.- Click Apply and OK to save your configuration.
Configuring Monet
- To access the result input configurations go to the ‘Monet palette’ window of Monet.
- Click on the check result Check Result Icon in the left pane.

- Click on the Configure Button shown below.
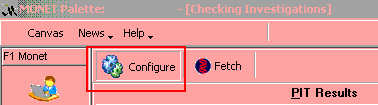
- The results input path screen will be displayed.
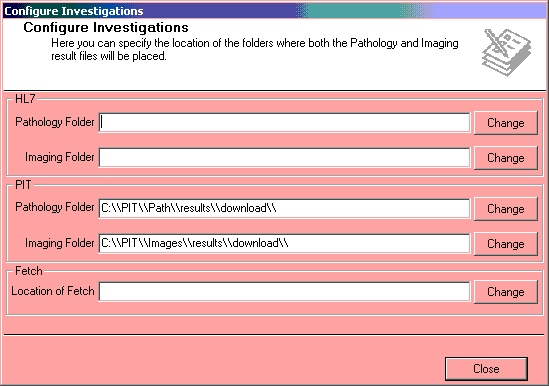
Importing Pathology & Radiology Results
Download the pathology and radiology results from the external software provided by the Pathology and/or Radiology company(s) used at the Centre.- Open [Monet].
From the [Palette] Monet, and from the Palette screen, click the [Check Results] button button to open the [Check Results] screen screen.
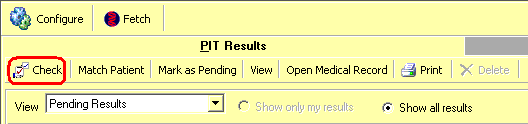
- Click the [PIT] tab tab and then click the [Check] button button to import the new results into Monet.
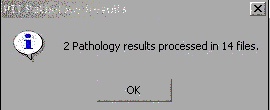
- The [PIT Pathology Results] message message box will appear advising that the results have been imported. Click the [Ok] OK button.
- Repeat steps 1-3 for each Pathology and Radiology company from the external downloading software.
- Each pathology & radiology company data must be downloaded and subsequently imported into the [Check Results] screen screen one company’s group of results at a time. Do not combine the process of downloading the data for each company and then attempt to import them together.
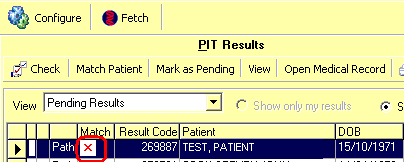
- The imported results will display in the [Check Results] screen. The results will automatically match to a Patient if all the Patient’s details within the result file (the. pit file) match the Patient’s demographics in Monet.
- Where the imported results cannot match to a Patient’s file, a red cross will be displayed in the [Match] column.
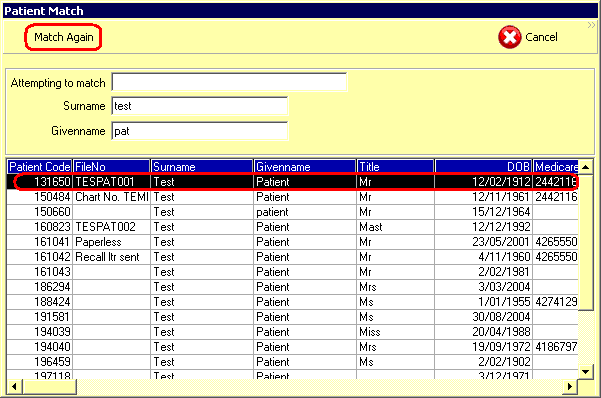
- Click the [Match] button on the top toolbar to display the [Patient Match] screen screen.
- Type in the Patient’s name to perform the search and then click the [Match Again] button.
| Table of Contents | ||||
|---|---|---|---|---|
|