Overview:
To print a label is quite simple once you have configured the label setup.
Note:
If you have not already done so read Setting up a Label Configuration.
- Open a document to provide the data so that you can print a label.
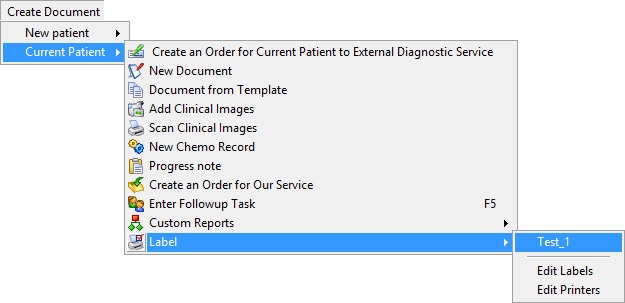
- Locate the label menu item under the Create > Labels item in the Main Menu (shown below). This opens up the list of configured labels, then select the label format you wish to print.
- If the label is a dedicated label printer and prints labels one at a time then the label will be printed without further intervention.
If, however, the printer prints sheets of label there is one further step and that is to select the label positions to be printed. - In the following image we have selected to print from a sheet of 14 labels arranged in 2 columns and 7 rows (this is a common label sheet layout) and have been shown a graphical representation of that sheet. If you want or need to print out the entire sheet just press the Select All button.
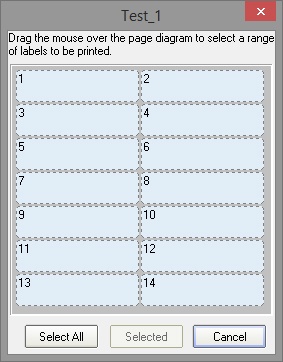
If you only wish to print one or some of the labels. This can be achieved by moving the mouse over to the first label you wish to print, click and hold the right mouse button down then drag the mouse to the last label you wish to use and then release the mouse button. If you don't get the selection right you may repeat the process.
Note:
Only blocks of labels can be selected.
- The following image shows how the form would look if you have selected label 4 to 7.
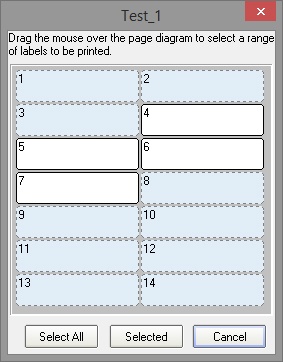
- Once you are satisfied with your selection click on the Selected button to print the selected labels.