Overview
This section includes instructions for setting up the Medical-Objects Capricorn for sending through VIP.net. This step is designed to be included in the Capricorn configuration for VIP.net Here.
If you require any assistance with the installation or configuration, or if you have any questions, please contact the Medical-Objects Helpdesk on (07) 5456 6000.
If you have not Installed the Medical-Objects Download client, Please see the guide for Installing Capricorn on Windows.
Configuring Capricorn Software
Accessing the Capricorn Configuration Window
- To launch the HL7 Tray application, Go to Start Menu, All Programs, Medical-Objects and select the Medical-Objects Capricorn. Alternatively, You can go to C:\MO\Capricorn and run the Capricorn.exe.
- The following icon will appear in the tray. Double click on it to bring up the log window.

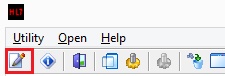
- When the log window is displayed, Click on the Configuration icon highlighted below, or select Utility and select Configuration.
Capricorn Configuration Settings
Click on Manage Queues in the left hand side panel.
Click Add.
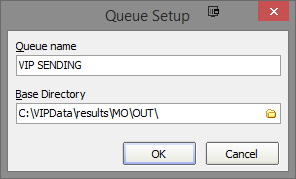
Set the Queue name to VIP SENDING

If on a workstation, Set the Base Directory to C:\VIPData\results\MO\OUT\

Or if on a server, set the Base Dirctory to \\Server\VIPData\results\MO\OUT\
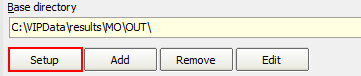
Click the OK button to save.- Click the setup button.
Click the Add button and search for Specify File Mask.
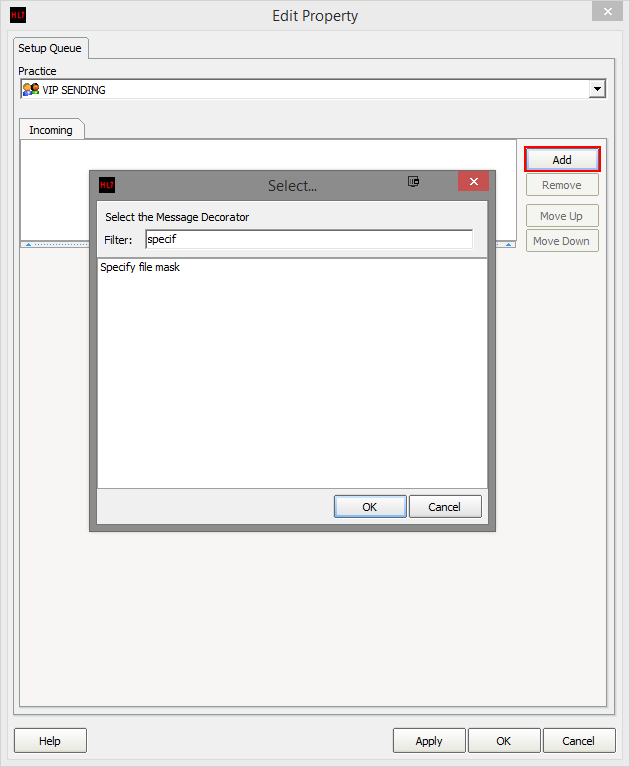
Set the file mask to *.* (All Files)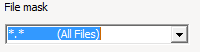
Add the following decorators using the previous steps.
Override Sender HD fields to This Value
Route with CapricornClick the Apply and OK buttons to save your settings.