Run the application by double clicking on the file 'GLIFEditor.exe' or your shortcut.
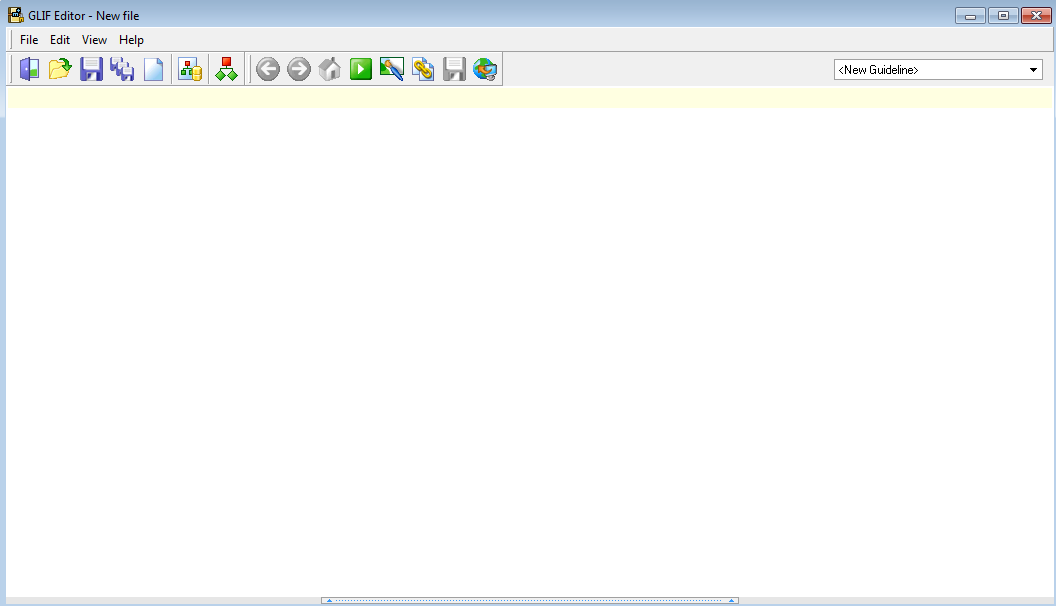
The editor can be used to draw and write code for new GLIF flowcharts, and also to run those files against test patient files.
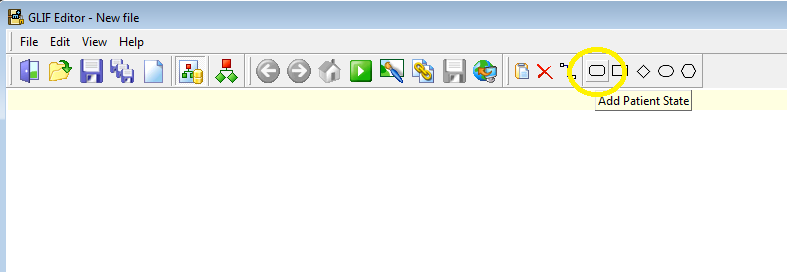
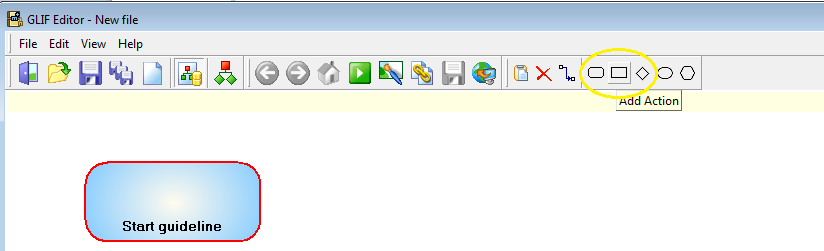
The first thing to do is to start with an introductory patient state and make that the first step in the flowchart.
Click on the Allow Modification button  . Now choose the Patient State button:
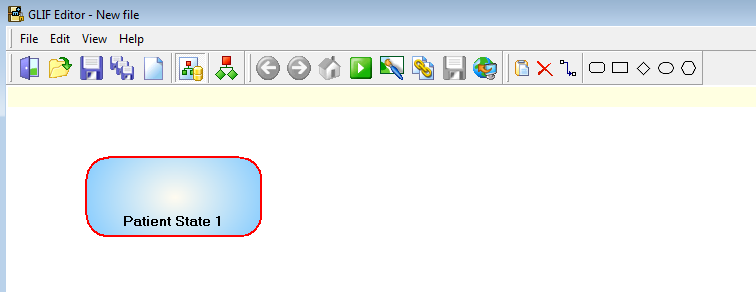
and then click in the white workspace below the menu top left hand corner:
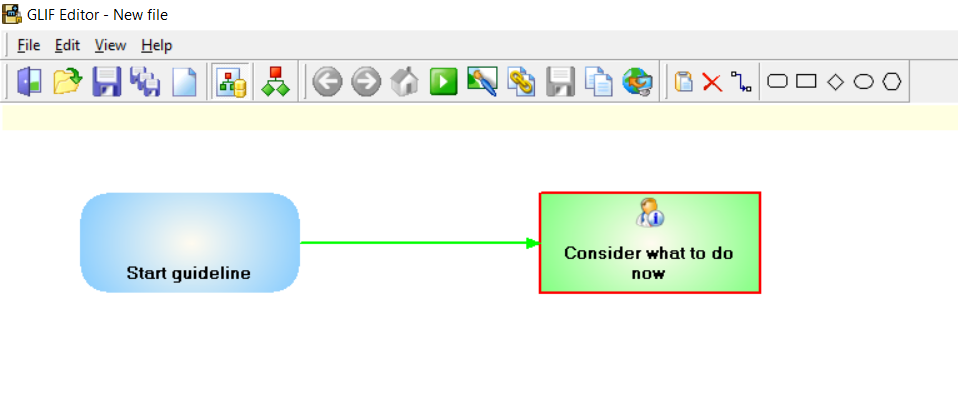
Right click on this and go Set First Step , then again to open Edit properties:
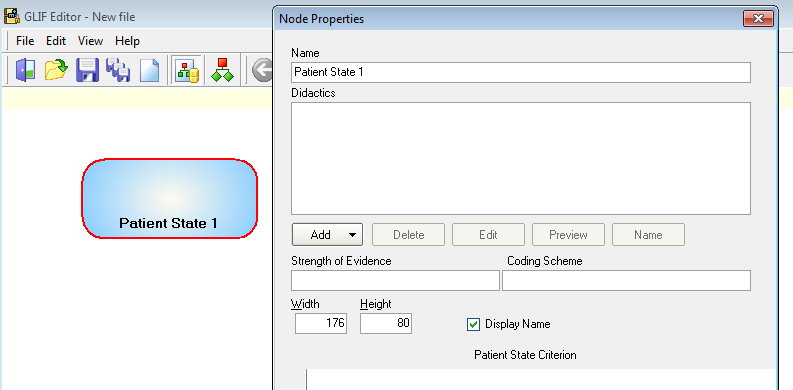
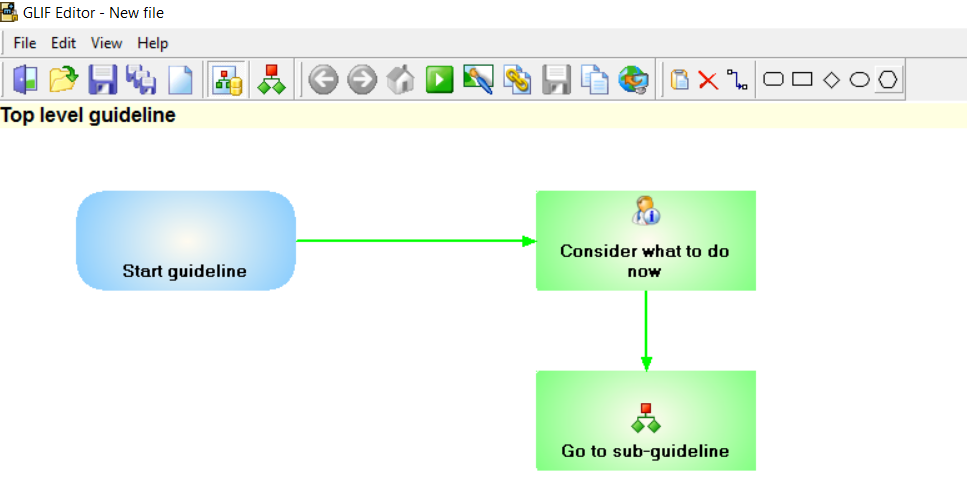
Change the Name to something like "Start guideline". Then go OK.
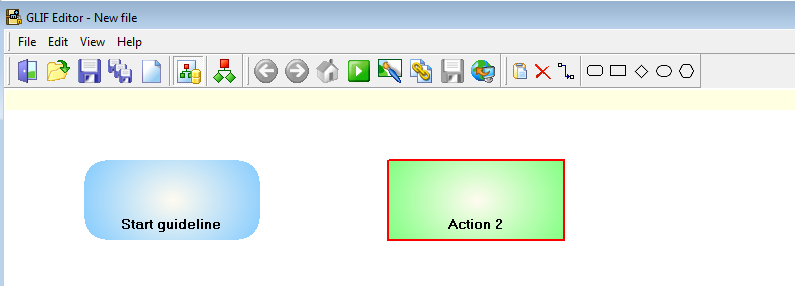
Now we will add an action node.
Click on the Add Action button which is next to the Patient State button we just used:
Then click next to the blue Patient State circle. You get a green rectangle. You can pick up the green rectangle and move it to where you want it to go:
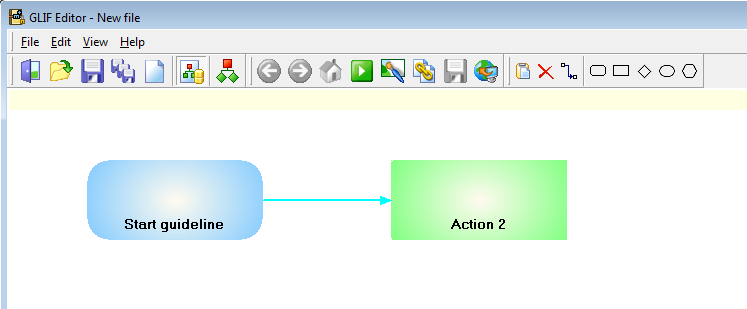
Join them together with a link arrow  . Click on the Link button, then drag the mouse from the middle of the blue circle to the middle of the green rectangle. ( Do this by clicking in the middle of the blue circle and keeping the mouse clicked on move it over to the middle of the green circle then release the mouse.)
Let's run this GLIF and see what happens. (It won't be much yet but it will be something). We have to turn off Allow Modifications .
.
Click the Run button  .
.
What happened? Yes - the link went green which means the flowchart has run down this path to the Action step.
Ok so we can keep going. Just remember we have to toggle the Allow Modifications button to move between a developer view and a user view of the GLIF.
Now right click (With Allow Modifications on!) on the green Action rectangle to rename it and see what actual actions we can do:
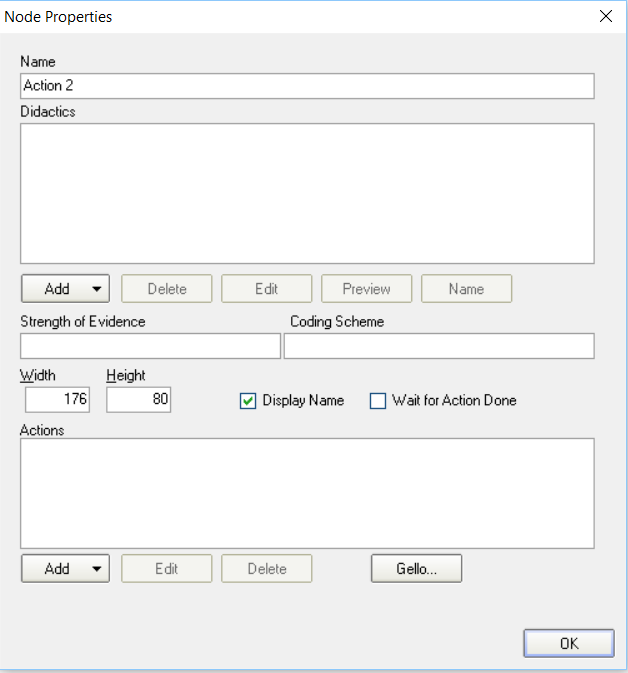
Change the name to something like 'Consider what to do now' and note we have some choices for this action node. We can add Didactics (which is written text), and we can add actions themselves further down this window.
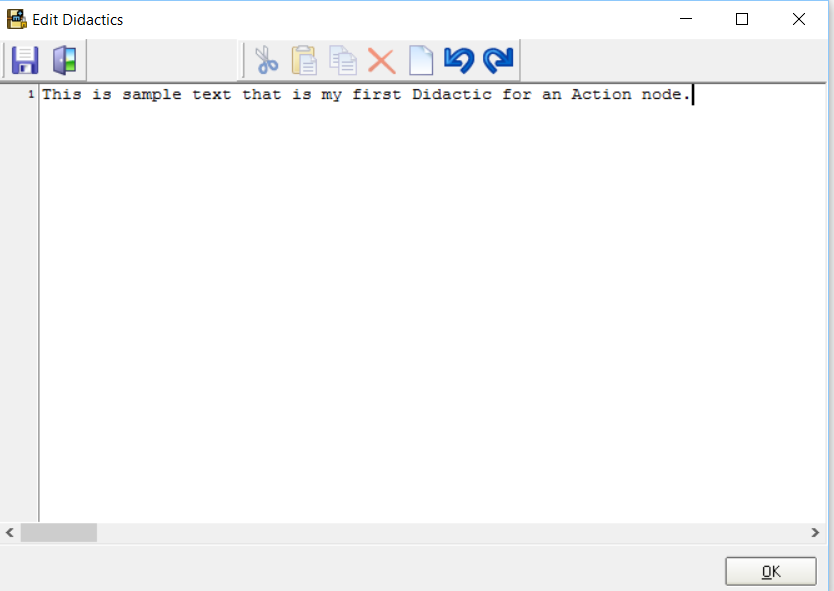
Let's start with adding some text to the node.
Click on the Add button in the middle of the window.and go Add Text. Give it a name such as 'Text', Ok and then type or paste in some sample text.
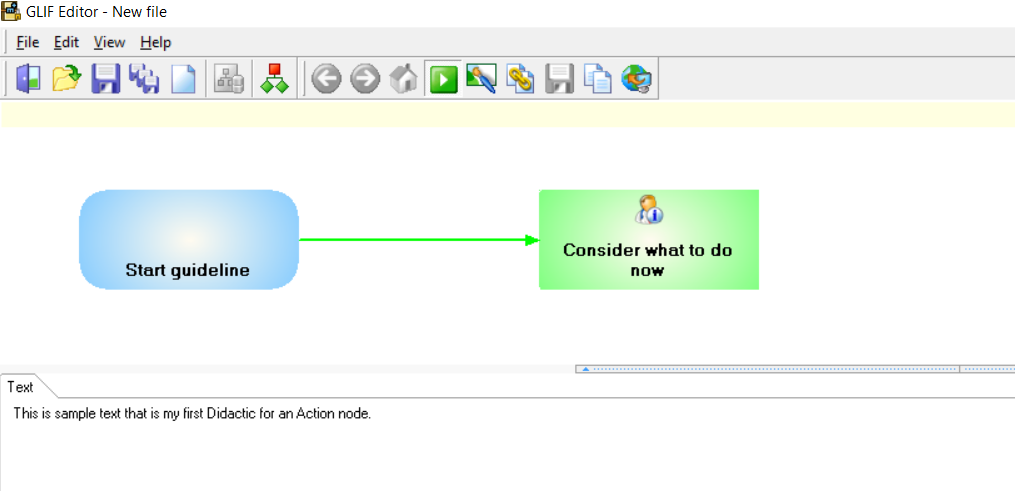
Ok out back to the main screen:
Hover the mouse over the icon in the green Action step and the text appears. Clicking on it in Run mode show the text in a new pane below:
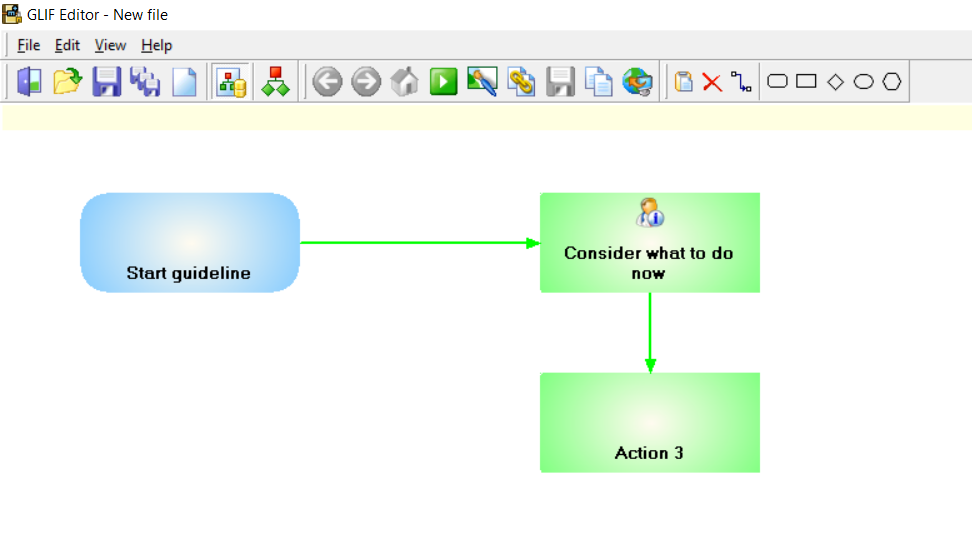
Add a new Action step:
Right click on this new node, and rename it to 'Go to sub-guideline'. Now click on the lower Add button. There are some actions available to us and choose Add sub-guideline.
It asks for the name of the new sub-guideline and we don't have one as yet so cancel out, and Ok back to the main screen. We need to give the current guideline a name and make it the top level before creating a new (nested) sub-guideline.
At the top of the screen above the top menu bar, go Edit, Edit guideline, and call it 'Top level guideline', go OK. Notice we now can see this Guideline name in the top right of the screen.
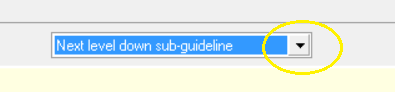
Now go Edit, New Guideline. Call it 'Next level down sub-guideline', and go OK. We are now in the newly created sub-guideline and we can link the top level to it. Go back to the top level guideline by clicking on the arrow in the menu:
Choose the top level again, right click on the latest Action step, go the lower Add button again and choose this new sub-guideline, Ok out:
Now when you click on the icon in the 'Go to subguideline' Action step you are taken to the sub-guideline page we have made for further GLIF creation. To return to the top level, you can include a final Action step in the new sub-guideline which is named 'back' and links back to the top level in the same way we have just done the link to the sub-guideline. Alternatively a user can use the green forward and back buttons in the top menu.
That completes the introductory GLIF tutorial. Next time we will learn how to add a user driven decision and look some the other GLIF artefacts (things) available to use such as the branch and synchronisation steps.