- Created by Jason F, last modified on Feb 01, 2019
You are viewing an old version of this page. View the current version.
Compare with Current View Page History
« Previous Version 4 Next »
Overview
This article will cover the basic functionality of Medical-Objects Explorer Online. If you have any questions or require any further information, please contact the Helpdesk on (07) 5456 6000.
Medical-Objects Explorer Online is a web-based application that allows you to send and receive patient documents from your own personal web browser on a tablet, desktop or laptop device.
Full user guide?
If you're looking for the full user guide please see this page.
Explorer Online was designed to run on desktops, laptops and modern tablets running Windows, MacOS or Linux. Mobile phones are not currently supported. Please take note of the browser requirements below.Requirements
Supported Browsers
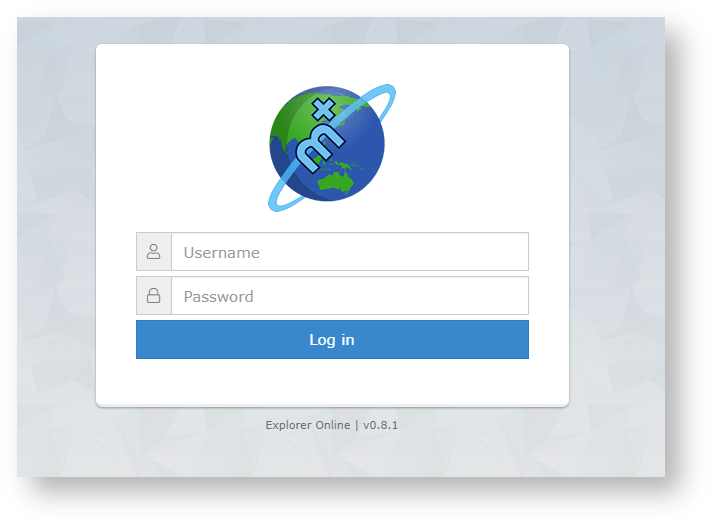
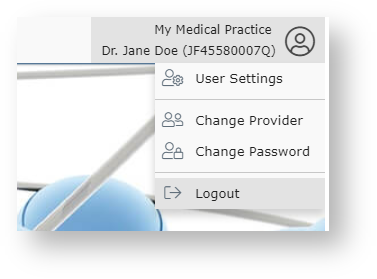
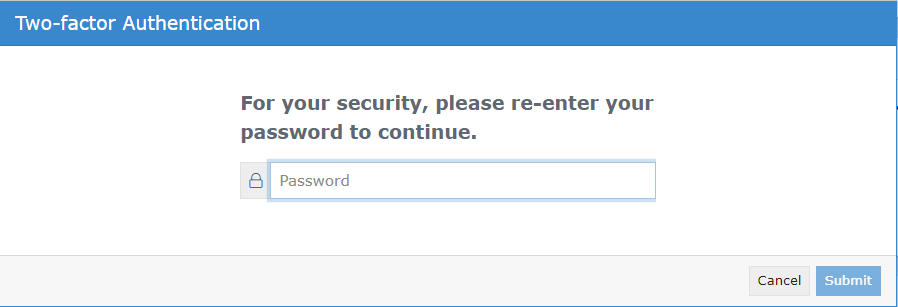
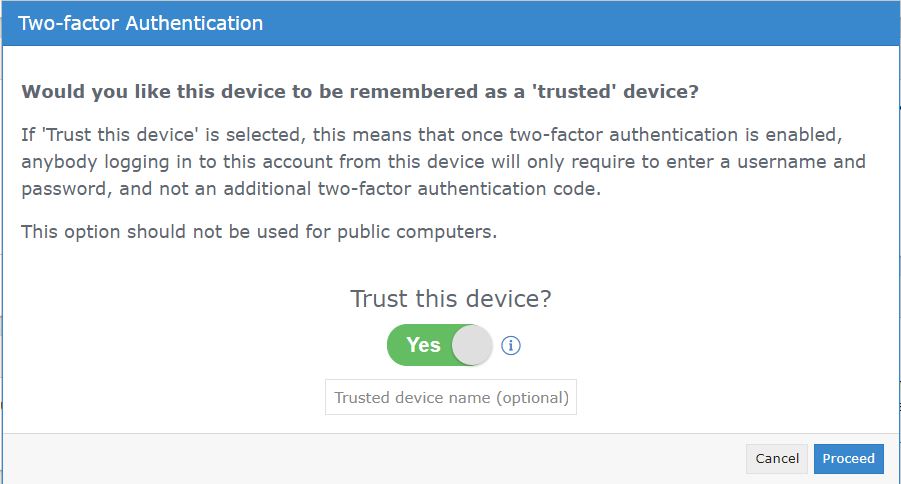
When first loading Explorer Online you will be presented with a login screen. Simply enter in your username and password and click login to proceed. Once logged in you can Logout again or Change Provider by simply clicking on the User Menu in the top right hand corner of the screen. Tip! You will be automatically logged out after 10 minutes of inactivity. You can change this via the User Settings option in the User Menu. Two-factor authentication is a security feature that helps protect your account in addition to your password. With two-factor authentication, a special login code together with your username and password will need to be entered each time someone tries to access your account from a computer or device that isn't recognised. In order to generate the special login codes, you will need to install a free app which supports the Time-based One-time Password Algorithm (TOTP) such as Google Authenticator, Authy and Microsoft Authenticator. There are many others, and some of these apps also support generating codes from desktop computers. To enable two-factor authentication can be enabled through the following steps. 1. Once you have logged in, Two-Factor Authentication can be enabled by clicking 'Enable Two-factor Authentication' on the 'Security' section in the Dashboard. 2. It will prompt you for your password 3. Decide whether you would like to set your device as a trusted device (this will allow you to skip these Two-Factor steps for 30 days on the selected device). Simply use the toggle button below “Trust this device” to select your choice, then select “Proceed”. 4. Open your Two-Factor Authentication app and scan the QR code provided (or enter the optional code), then click “Continue”. 5. Enter the code your app provided you, then select “Submit”. 6. Your Two-Factor Authentication is now setup – Click “Close”. 1. Locate the “Security” section on your Medical Objects dashboard, and select “Manage Trusted Devices”. 2. A list of trusted devices should display. Simply click “Remove” to delete a trusted device. Please note: Trusted devices will allow you to skip the Two-Factor steps for 30 days - once the 30 days expires they will show as a “Expired Trusted Device”. This means the next time you log into the portal on this device you will be prompted to enter the code you receive from your Two-Factor Authentication app. What is two-factor authentication? Two-factor authentication is a security feature that helps protect your account in addition to your password. With two-factor authentication, a special login code together with your username and password will need to be entered each time someone tries to access your account from a computer or device we don't recognise. What do I need to be able to use it? In order to generate the special login codes, you will need to install an app which supports the Time-based One-time Password Algorithm (TOTP) such as Google Authenticator, Authy, Microsoft Authenticator or Duo. There are many others, and some of these apps also support generating codes from desktop computers. Do I always need to enter a code when logging in? During login, you can choose not to use two-factor authentication again on that specific device by setting it as a ‘trusted device’. If you select this option, that device will only ask for your username and password when logging in for the next 30 days. You will still be protected, because when you or anyone else tries to sign in to your account from an unrecognised device, two-factor authentication will be required. Browser third party cookies need to be enabled for Explorer Online and two-factor authentication to operate correctly. They are usually enabled by default. You should not choose to trust a public device. How do I enable two-factor authentication? To enable two-factor authentication, you will need to use your app to scan a QR code generated by Explorer Online (or type in the code if you cannot scan it). Your app will then generate a confirmation code which you need to enter when prompted by Explorer Online. Your account will now be two-factor authentication enabled, and you will need to generate a code with your app whenever prompted by Explorer Online during login. Can this be made mandatory for everyone at the organisation? Two-factor authentication can be made mandatory for all users. This will force each account on login to enable two-factor authentication (if it is not already enabled). Please contact our helpdesk (helpdesk@medicalobjects.com) if you would like this enabled. How to reset two-factor authentication? If you have lost your device or app which was used to enable two-factor authentication, email helpdesk@medicalobjects.com for assistance.Logging in and out
Setting up Two-Factor Authentication

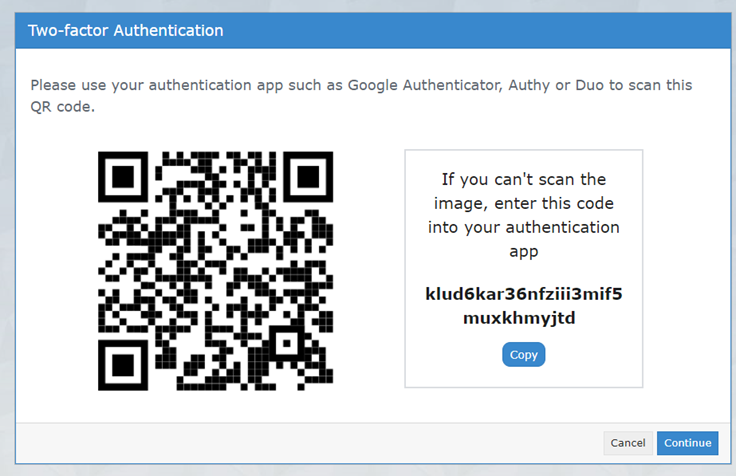
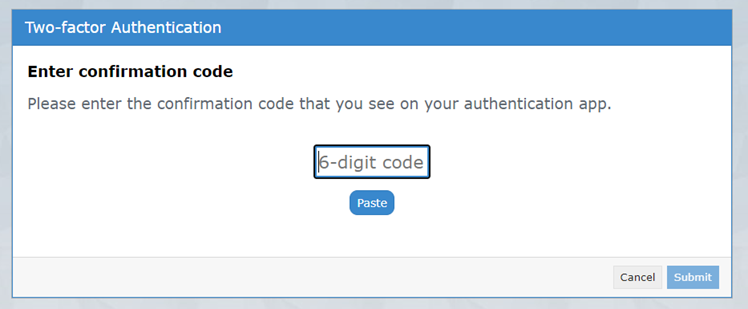

Managing Trusted Devices


2FA F.A.Q
The Dashboard is the default page that will appear once you have logged into Explorer Online. The Dashboard is split into three sections: Navigation Menu, Sidebar and the main content area.Dashboard Layout
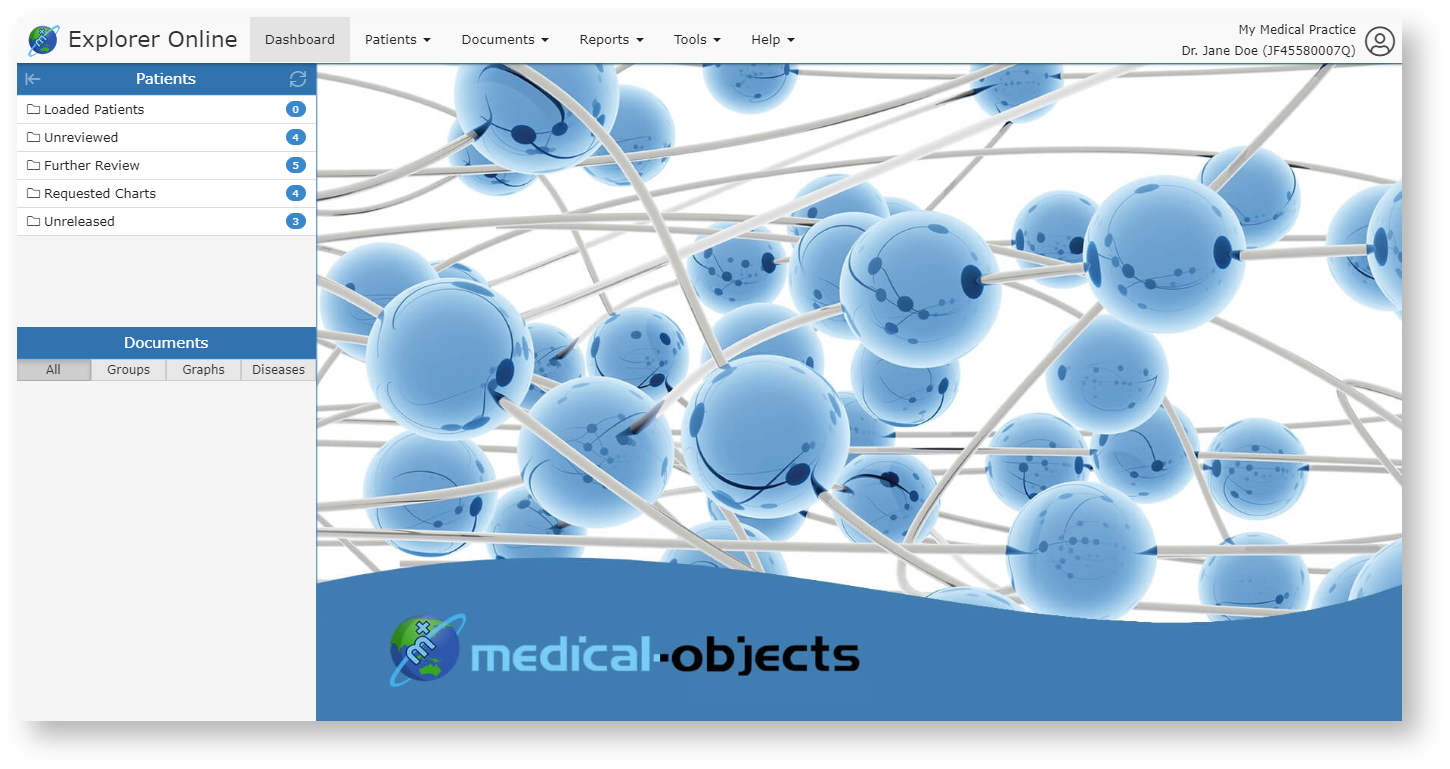
- No labels