...
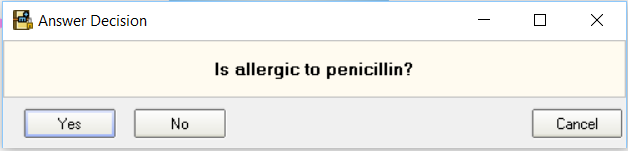
You need to click on the little green arrow in the decision. Then a dialogue box opens and you answer the question.
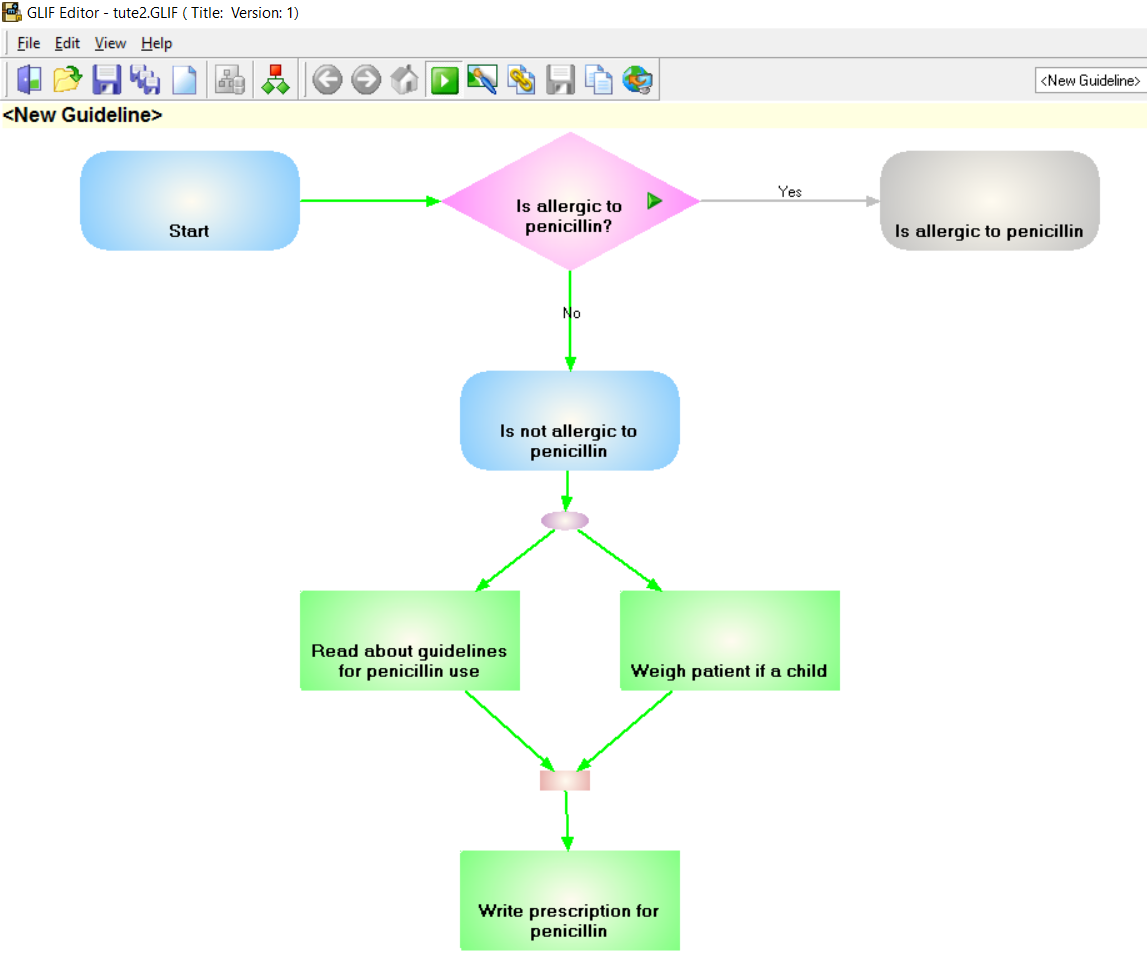
After doing this user driven decision notice how the GLIF flowchart has greyed out the path not chosen. The GLIF file therefore has a state ( basically it can remember where a user is up to). This can be tested and observed by going File, Save State in the top menu.
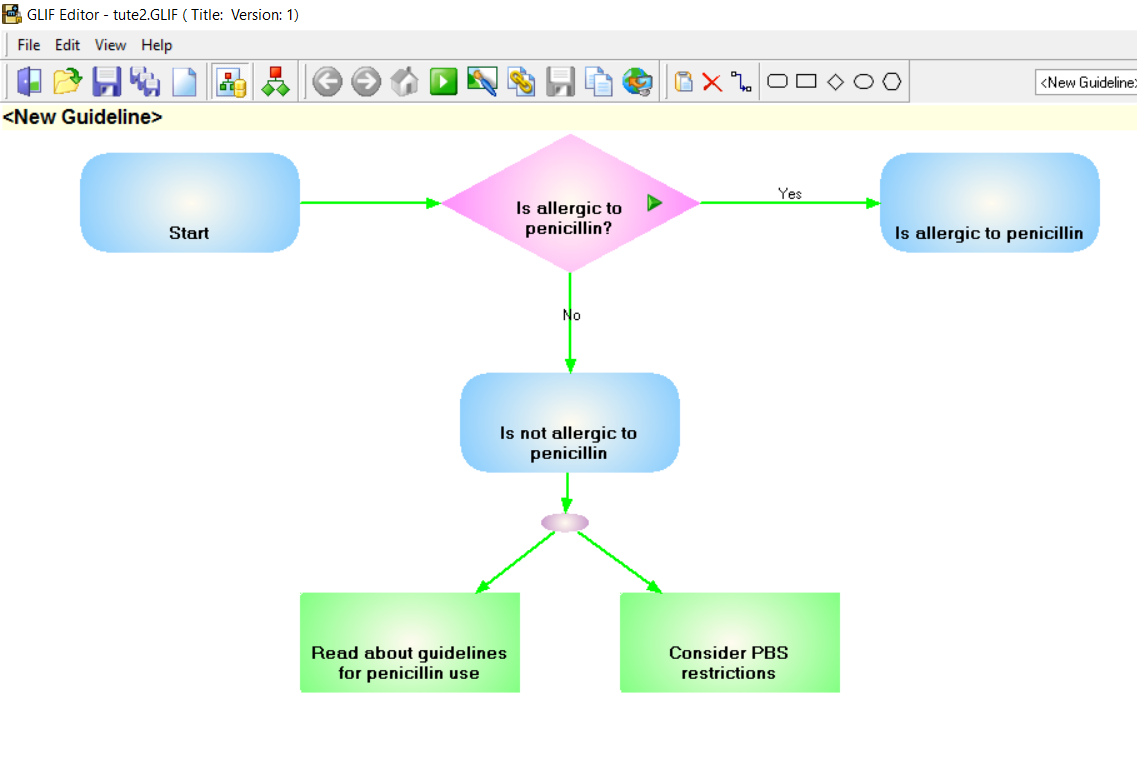
Now lets find out about branching the flowchart and bringing those branches back together. Click the Add Branch button  and then click in the workspace below the "Is not allergic to penicillin" patient state step. Right click on it and set the node properties of width to 40 and untick the Display Name box. Link the Branch step back to the patient state above it. Add two Action steps and link them to the branch step. I have given them some names in this screenshot, but we are really wanting to reserve branches for things that need to be done at the same time before a next step takes place and the names I have chosen are purely by way of example.
Now we can bring things back together. Use the Add Sync Node button , make it a width of 40 as before and feed it out to another Action step (yes the name of one of the preceding Action steps has been changed!). Run it and it should look like this when choosing the "No' decision higher up:
Last thing to notice is that when you right click on the Sync step back in edit mode (toggle the Allow Modifcations buttonwhen moving between edit and user modes in the editor - remember?) there is a button for editing GELLO. So while next we will see how we can add GELLO for automating decisions, later on we can see how patient states and sync nodes can hold GELLO to allow certain preconditions to be in place prior to the remaining flowchart firing.