Versions Compared
Key
- This line was added.
- This line was removed.
- Formatting was changed.
| Warning | ||
|---|---|---|
| ||
This content may be OUTDATED. Some information may be incorrect. |
Overview:
This guide provides instruction on configuring both Medical-Objects Capricorn and Monet software to import electronic results.
If you require any assistance with the installation or configuration, or if you have any questions, please contact the Medical-Objects Helpdesk on (07) 5456 6000.
If you have not Installed the Medical-Objects Download client, Please see the guide for Installing Capricorn on Windows.
Configuring Capricorn Software
Accessing the Capricorn Configuration Window
| Info | ||
|---|---|---|
| ||
In some cases, the Capricorn may be configured as a service. See this guide for instructions on how to launch the Capricorn if it is set up as a service. |
| Excerpt Include | ||||||
|---|---|---|---|---|---|---|
|
Capricorn Configuration Settings
- Click on Ack Management.Select Integration Options from the left hand panel.
- Set the Ack path to C:\MO\Capricorn\APPLICATION_ACKS
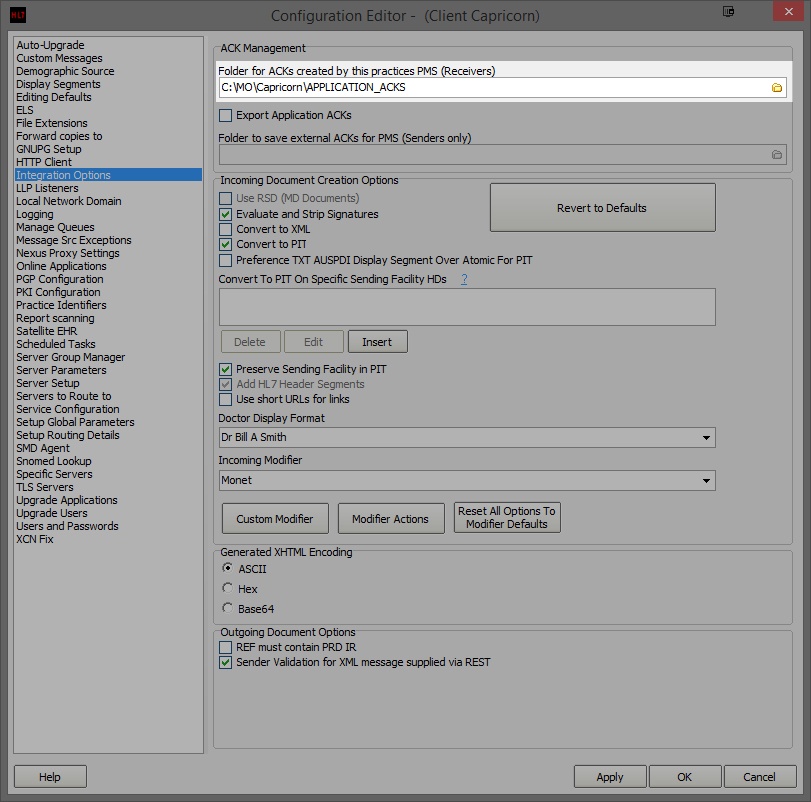 Image Removed
Under Incoming Modifier make sure the Monet Modifier is selected.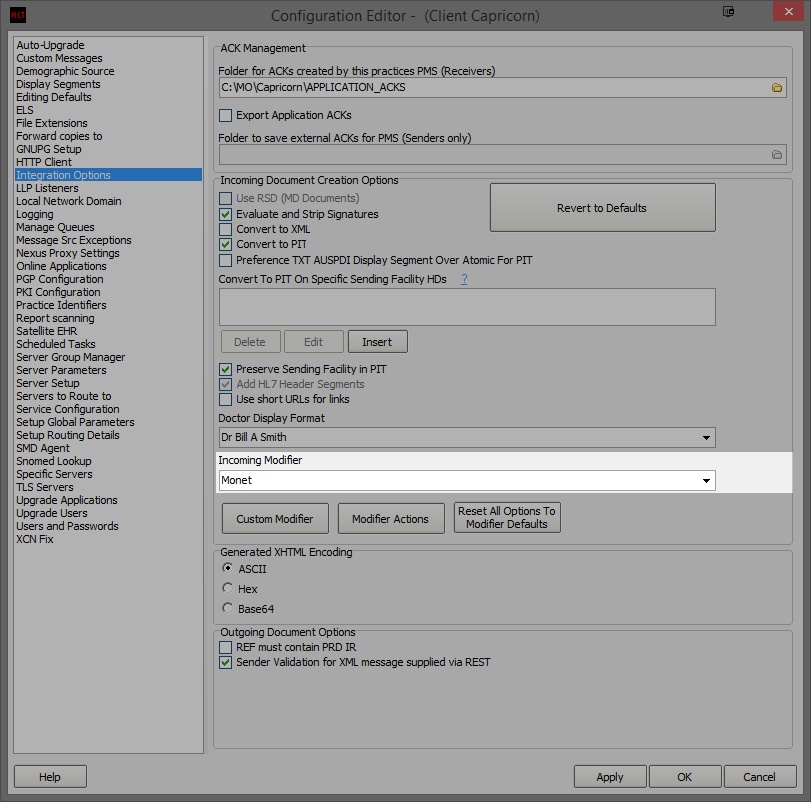 Image Removed
Make sure Convert to Pit and Preserve Sending Facility in PIT check boxes are selected.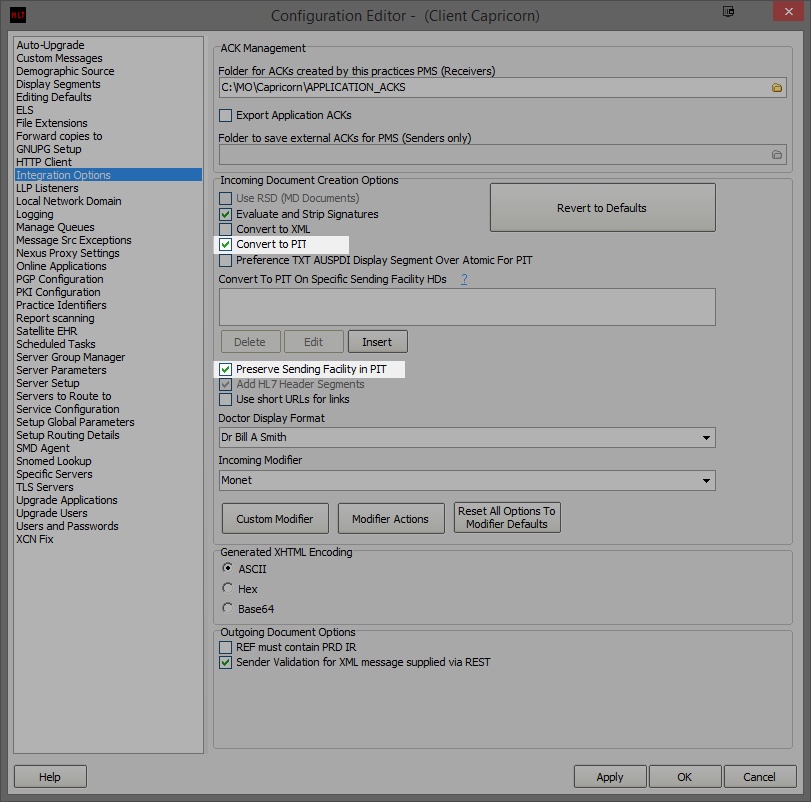 Image Removed
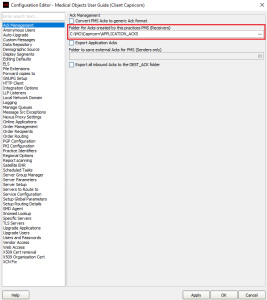 Image Added
 - Click on Integration Options.
3.1 Check that the Incoming Modifier is set to Monet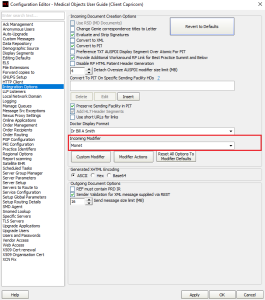 Image Added
 - Select Server Parameters from the left hand panel.
Enter the path to drop off results to - for this exampled we'll use C:\Pit\Hold
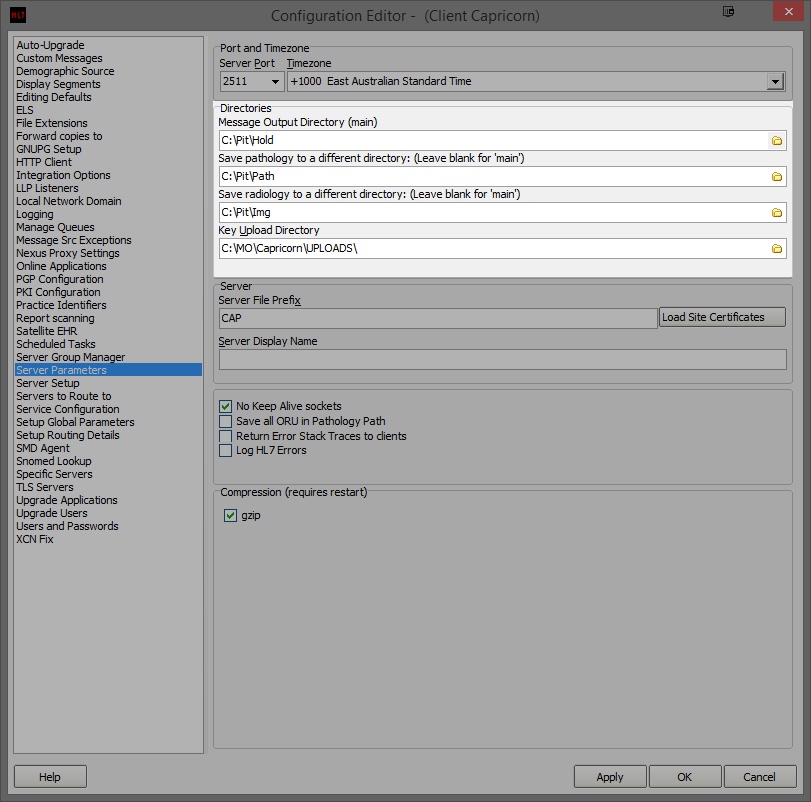
If receiving from Pathology and Radiology, Set the file paths as follows.
Pathology --> C:\Pit\Path
Radiology --> C:\Pit\ImgInfo title Note: If the folders do not exist you must create them.
- Click Apply and OK to save your configuration.
Configuring Monet
- To access the result input configurations go to the ‘Monet palette’ window of Monet.
- Click on the Check Result Icon in the left pane.
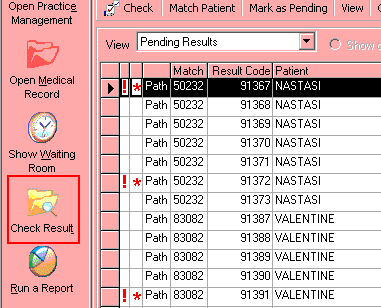
- Click on the Configure Button shown below.

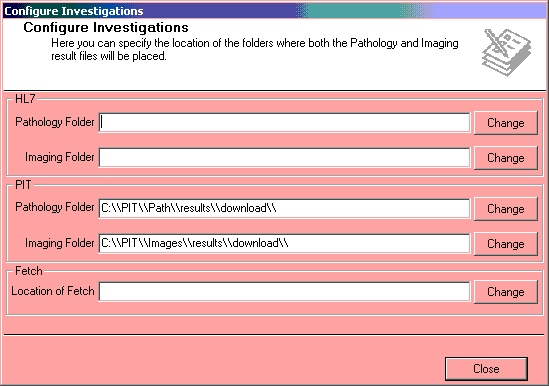
- The results input path screen will be displayed.
Importing Pathology & Radiology Results
- Open Monet, and from the Palette screen, click the Check Results button to open the Check Results screen.

- Click the PIT tab and then click the Check button to import the new results into Monet.
- The PIT Pathology Results message box will appear advising that the results have been imported. Click the OK button.
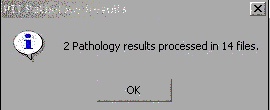
- Repeat steps 1-3 for each Pathology and Radiology company from the external downloading software.
- Each pathology & radiology company data must be downloaded and subsequently imported into the Check Results screen one company’s group of results at a time. Do not combine the process of downloading the data for each company and then attempt to import them together.
- The imported results will display in the Check Results screen. The results will automatically match to a Patient if all the Patient’s details within the result file (the. pit file) match the Patient’s demographics in Monet.
- Where the imported results cannot match to a Patient’s file, a red cross will be displayed in the Match column.
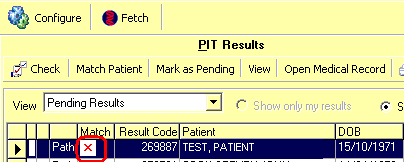
- Click the Match button on the top toolbar to display the Patient Match screen.
- Type in the Patient’s name to perform the search and then click the Match Again button.
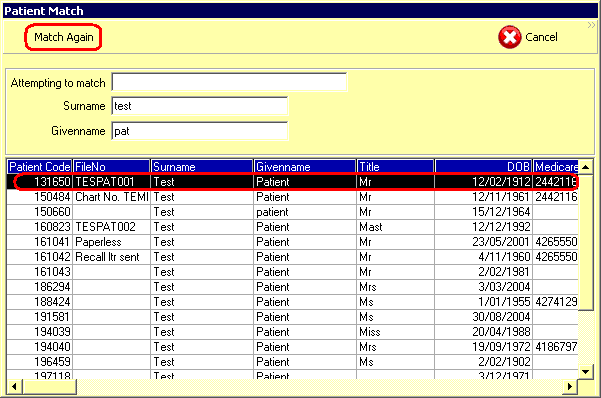
| Table of Contents | ||||
|---|---|---|---|---|
|