Overview
This article is to inform users how to prepare p12 certificates for use with iOS.
Steps(Windows)
This should not be required for newer versions of iOS. Medical Objects p12 should work without needing conversion via Windows.
- You should have a p12 either supplied by Medical Objects or generated using the Client Certificate Wizard here
- Import the certificate into your Windows Certificate Store.
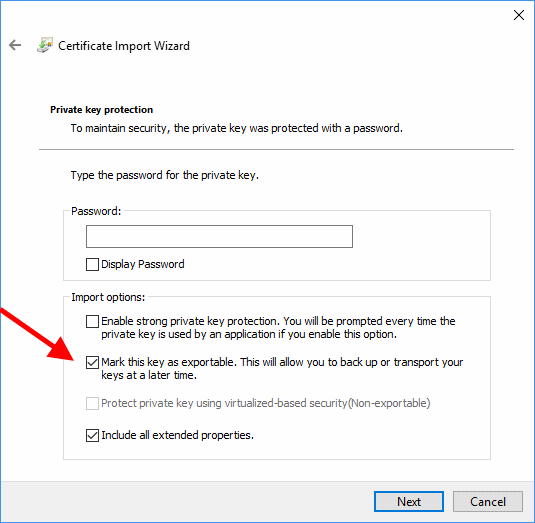
- Double click on the p12. When asked make sure you mark the certificate as exportable.
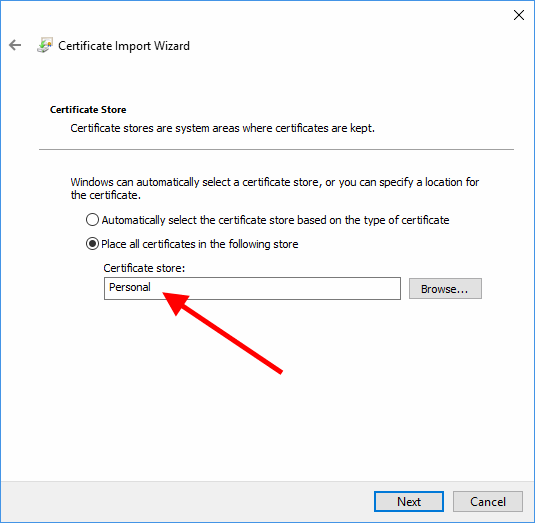
- Install the certificate into the Personal Store.
- Double click on the p12. When asked make sure you mark the certificate as exportable.
- Open the certificate manager by typing certmgr.msc into a run dialog (Press the Windows Logo key
 + R.) and selecting OK.
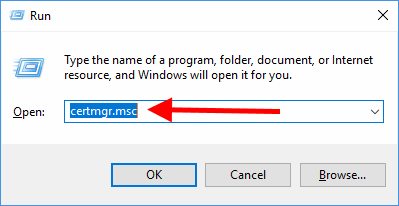
- Navigate to the personal keystore and find your key.
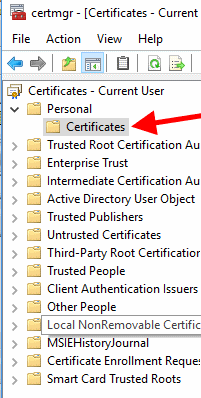
- Right click on your certificate and choose All Tasks → Export.

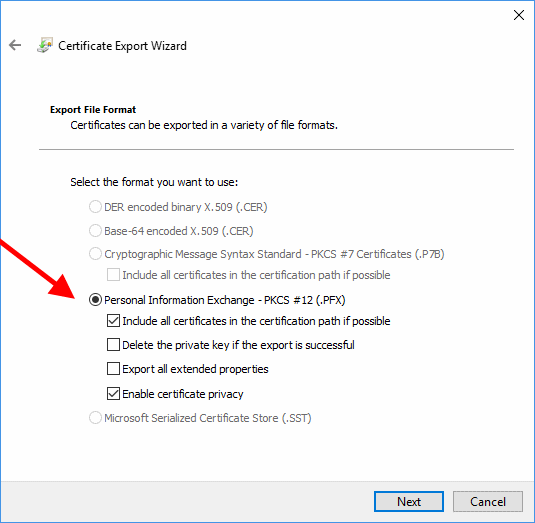
- Choose to export the private key.

- Use the defaults on the next page per the screenshot.
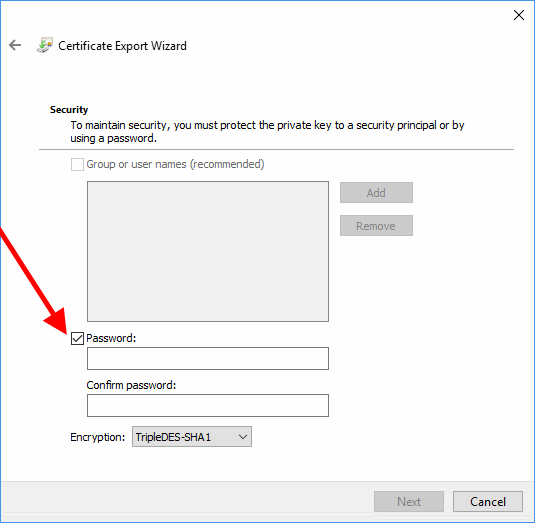
- Set a password for the file you're about to generate (If you're emailing the final certificate to your iOS device don't email it with the password in the email as the combination of certificate and password could be stolen and used to impersonate you).
- Supply the resulting .pfx file to your iOS device (Email is useful for this. Itunes file sharing will not give you an option to install the certificate so that won't be useful). Open the file and follow the installation instructions. Note you may have to use your passcode to get to the point of installing the certificate before you are asked for the password for the certificate itself so if it's failing it may be because you're using the wrong password.
- Note Safari may need restarting for the certificate you have just installed to become available. Instructions from Apple on this can be found here.