Overview
The Manage Template form is where you can create, upload, download or edit document templates.
You can also create headers and footers for the templates and tell Explorer when to use particular headers.
Manage Templates Form
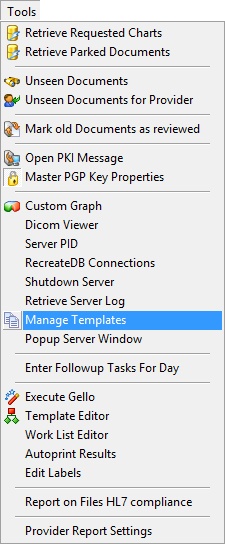
- To open the Manage Templates form, from the Main Menu select Tools > Manage Templates.
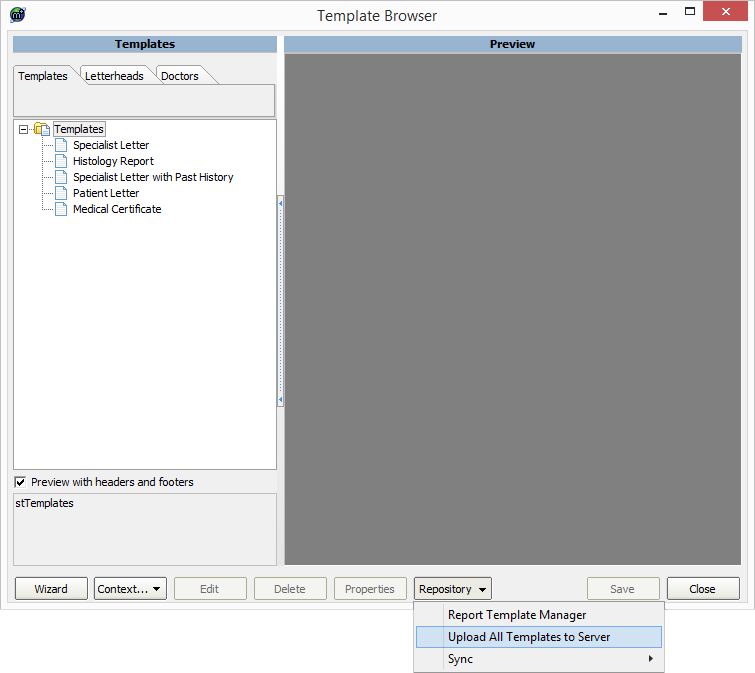
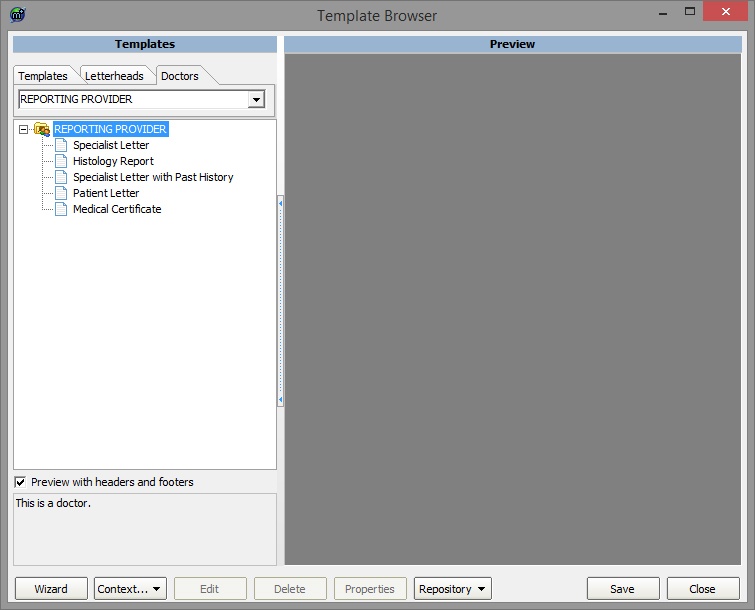
- This is where you can work with the templates. As you can see in the image below the form consists of a Tree pane(on the left side of the window) and a Preview pane(on the right side of the window).
In the tree pane you can select to modify the templates, the headers and the Providers(doctors).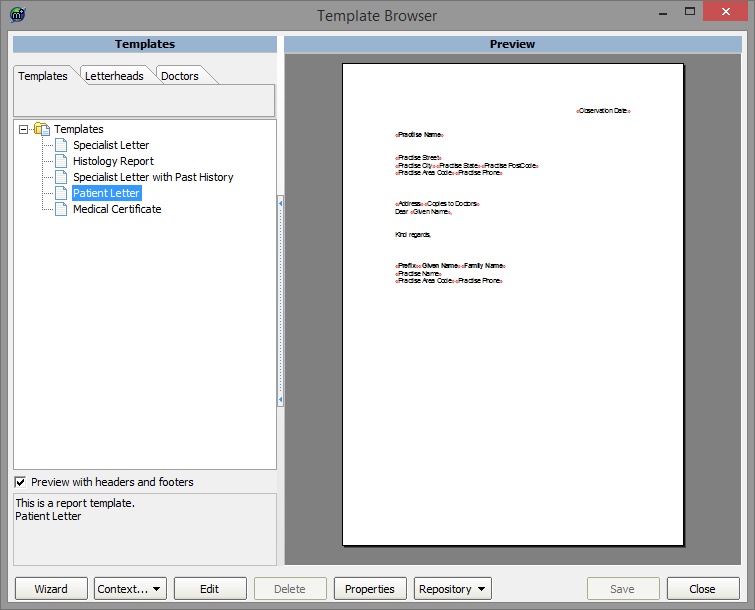
Template Wizard
The easiest way to create a document or Header/Footer is to open the Template Wizard by clicking the Wizard button at the bottom left corner of the window.
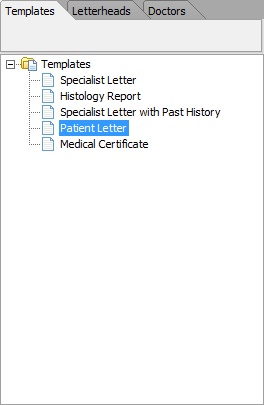
Templates List
This lists the Templates that have currently been installed on to your computer and are ready to use.
From here you can add, edit or delete a template.
Adding a Template
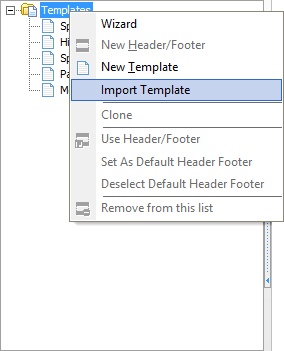
- Highlight the top level item and either right-click the item (as shown below) or press the Context button at the bottom of the page.
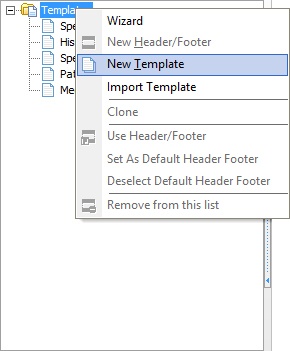
- Then find the menu item New Template and click it.
- The following dialog will open.
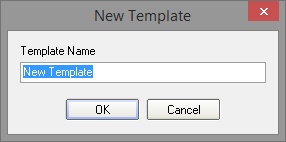
- Enter a meaningful name for the new template and press the OK button.
A new blank template will be added to the list ready for editing.
Note:
Note: Changes to the templates are not saved until you press the Save button or agree to save when the Manage Templates form is closed.
Importing a Template
You can import a file by right clicking on the tree and selecting Import Template
Note:
Valid file types include Word (*.doc) and Rich text (*.rtf) files.
If the imported file contains merge fields then Explorer will attempt to convert these fields.
Changes to the templates are not saved until you click the Save button or agree to save when the Manage Templates form is closed
Editing a template
Double click on a template in the list to open the Built-in Word Processor or highlight a template item and click the Edit button.
See Built-in Word Processor for details on the word processor.
Note:
Changes to the templates are not saved until you click the Save button or agree to save when the Manage Templates form is closed.
Uploading a template to the repository
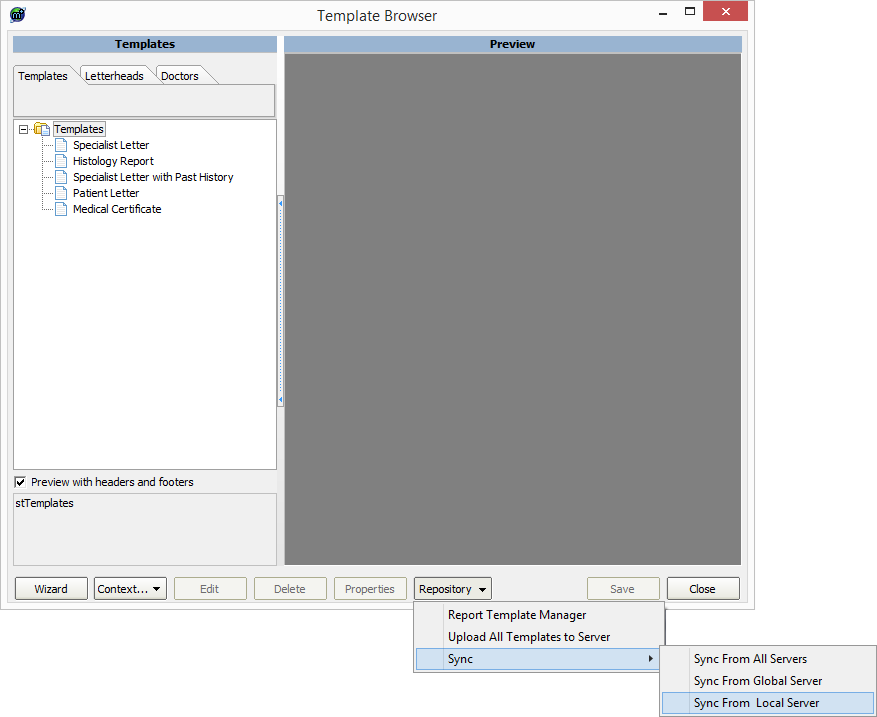
To upload a template to the repository you will need to click on the "Repository" button in the bottom right and then click on "Upload All Templates to Server".
In the next Window you will need to click on your Template and then press the World Icon (5th from the left)
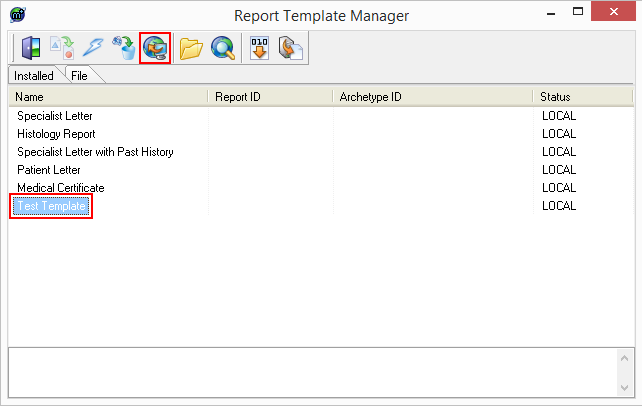
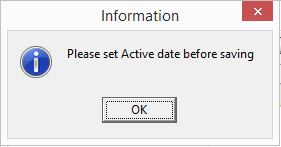
When you do this you will be asked to set the active date before saving. Press "OK" on the prompt.
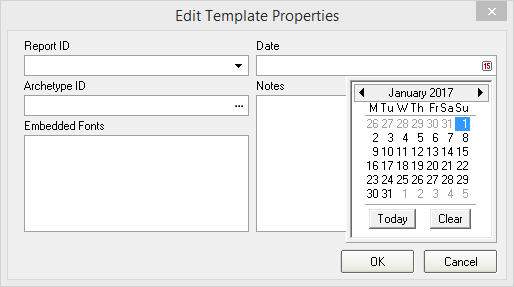
You will then need to set the date – Setting it to the current date is advisable. Once you have done this, press "OK"
Retrieving uploaded templates
To retrieve an uploaded template from the Repository You will need to click on the "Repository" button in the bottom right of the window.
Deleting a template
Highlight the template you wish to delete and click the Delete button. The item will then be removed from the list without confirmation but the deletion will not be permanent until you save the changes.
Note:
Changes to the templates are not saved until you click the Save button or agree to save when the Manage Templates form is closed.
Headers list
Headers and footers are kept separate from the templates. This is to allow a consistent look and feel for all your templates but you can also configure Explorer to use a particular header/footer for particular doctors or even a particular header/footer for particular doctor when using a particular template or templates. Like the templates header/footers can contain merge fields.
Creating a Header/Footer
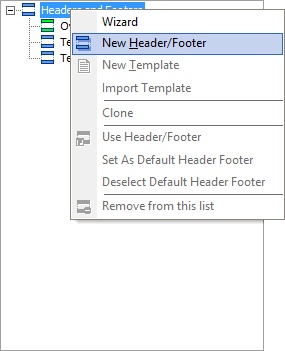
To create a Header/Footer highlight the top item in the header/footer tree, right-click and select "New Header/Footer"
A new Item is created in the list called "New Header/Footer" and is highlighted. Change the name to something meaningfull.
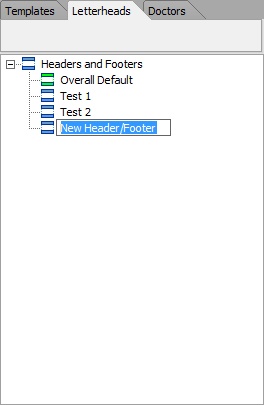
A new blank template will be added to the list ready for editing.
Note:
Changes to Headers/Footers are not saved until you press the "Save" button or agree to save when the "Manage Templates" form is closed.
Editing a Header/Footer
Double Click on a Header/Footer in the list to open the built-in word processor. Or Highlight a template item and press the "Edit" button. See Built in word processor for details on the word processor.
Note:
Changes to Headers/Footers are not saved until you press the "Save" button or agree to save when the "Manage Templates" form is closed.
Deleting a Header/Footer
Highlight the Header/Footer you wish to delete and press the delete button. The Item will then be removed from the list without confirmation but the deletion will not be permanent until you save the changes.
Note:
Changes to Headers/Footers are not saved until you press the "Save" button or agree to save when the "Manage Templates" form is closed.
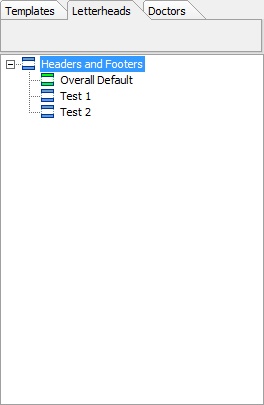
Setting a Header/Footer to Default
A default Header/Footer is used when ever a template is printed unless it has been overridden. The default Header/Footer is shown in green while all others are shown in blue
To set another Header/Footer to be the default, right-click on your intended target to bring up the popup menu. Select "Set as Default Header/Footer" as shown in Fig.10
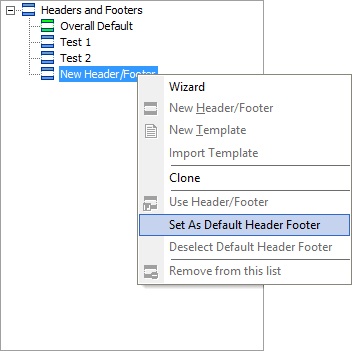
The target item will turn green indicating that it is now the default Header/Footer.
Note:
Changes to Headers/Footers are not saved until you press the "Save" button or agree to save when the "Manage Templates" form is closed.
Doctors list
The Doctors page shows the list of people within your organization that can send documents via Explorer. You are able to configure tha letter writer to place different headers and footers onto documents for particular documents.
Setting a Doctors Default Header/Footer
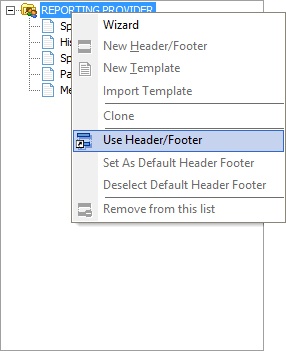
Use the drop down box to select the provider you wish to configure. The tree control below the selected control will update and show the current configuration. Right-Click on the top item in the list ( the providers name) to drop down the confuration menu. Select "Use Header/Footer" as shown.
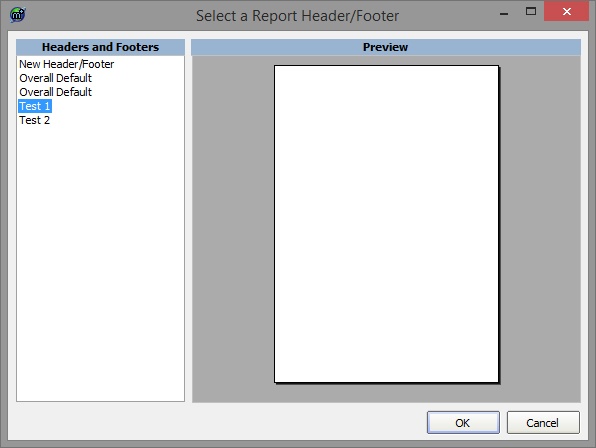
This opens up the Header/Footer section dialog. Preview and select the header footer you wish to use by pressing the OK button.
Once the 'OK' button is pressed then the selected Header/Footer is placed on the Doctors list directly under his name. Any documents printed or sent under this doctors name will now use this header/Footer. Other doctors documents remain unaffected.
Note:
Changes to Headers/Footers are not saved until you press the "Save" button or agree to save when the "Manage Templates" form is closed.
Replacing a Doctors Default Header/Footer
Replacing a Doctors default header/footer is exactly the same as Setting a Doctors Default Header/Footer
Setting a Doctors Header/Footer for a particular document
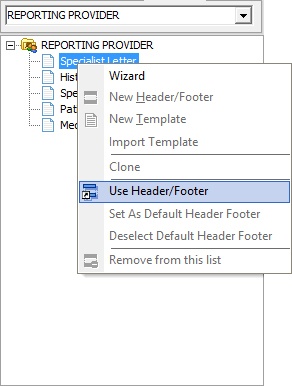
It is possible to configure Explorer to us a particular Header/Footer for a particular Doctor. Select the doctor via the drop down control then right-click on the document you wish to modify to bring up the menu. Select the menu item "Use Header/Footer" as shown.
This opens up the Header/Footer section dialog. Preview and select the header footer you wish to use by pressing the OK button.
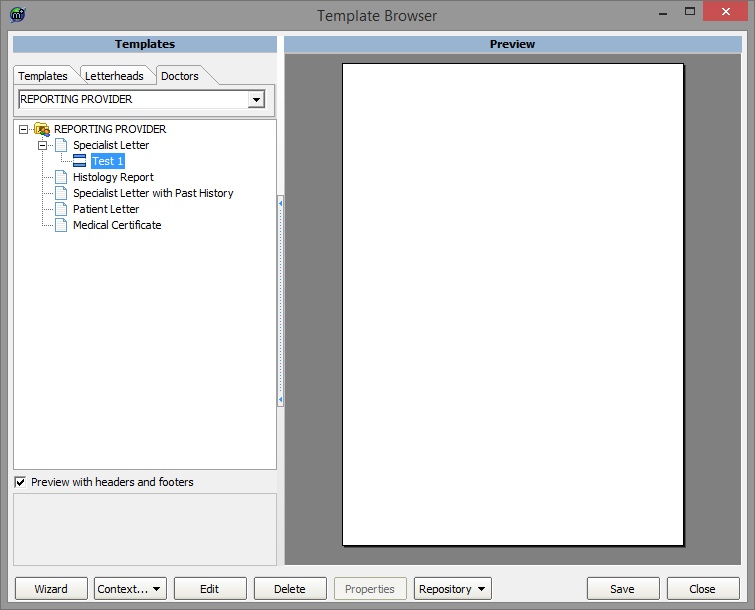
Once the 'OK' button is pressed then the selected Header/Footer is placed on the Doctors list directly under the document. When this document printed or sent under this doctors name will now use this Header/Footer. Other documents remain unaffected.
Note:
Changes to Headers/Footers are not saved until you press the "Save" button or agree to save when the "Manage Templates" form is closed.