Overview
This section includes instructions for setting up the Medical-Objects Capricorn for sending through Shexie. This step is designed to be included in the Capricorn configuration for Shexie Here.
You will also need to set up providers within the Shexie address book. This step can be found here.
If you require any assistance with the installation or configuration, or if you have any questions, please contact the Medical-Objects Helpdesk on (07) 5456 6000.
If you have not Installed the Medical-Objects Download client, Please see the guide for Installing Capricorn on Windows.
Shexie warning system
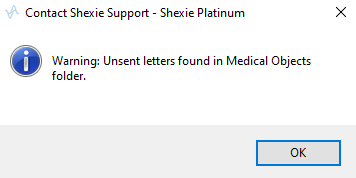
Newer Shexie installs from 31/08/2020 may show the following warning on first log in for the day. The wording will be "Unsent letters found in Medical Objects folder." This is an important error and needs to be resolved ASAP for correspondence being sent electronically to be delivered.
Normally the customer will contact Shexie support and they will in turn liaise with the Medical Objects helpdesk to resolve the issue. Alternatively the Medical Objects helpdesk can liaise with Shexie support if the customer contacts us first.
Configuring Capricorn Software
Accessing the Capricorn Configuration Window
Note:
In some cases, the Capricorn may be configured as a service. See this guide for instructions on how to launch the Capricorn if it is set up as a service.
- To launch the HL7 Tray application, Go to Start Menu, All Programs, Medical-Objects and select the Medical-Objects Capricorn. Alternatively, You can go to C:\MO\Capricorn and run the Capricorn.exe.
- The following icon will appear in the tray. Double click on it to bring up the log window.

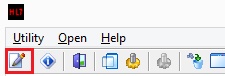
- When the log window is displayed, Click on the Configuration icon highlighted below, or select Utility and select Configuration.
Capricorn Configuration Settings
Note:
Create two sending queues (PIT Sending & HL7 Sending)
- To launch the HL7 Tray application, Go to Start Menu, All Programs, Medical-Objects and select the Medical-Objects Capricorn. Alternatively, You can go to C:\MO\Capricorn and run the Capricorn.exe.
- The following icon will appear in the tray. Double click on it to bring up the log window.
- When the log window is displayed, Click on the Configuration icon highlighted below, or select Utility and select Configuration.
Click on Manage Queues in the left hand side panel.
Click Add.
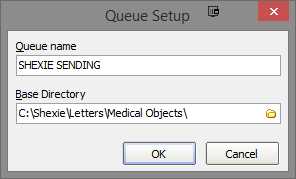
Set the Queue name to SHEXIE SENDING

Set the Base Directory to C:\Shexie\Letters\Medical Objects\
Note:
Please note that the Base Directory location can change, depending on the version of Shexie you own and where it is installed to.
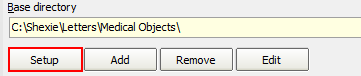
Click the OK button to save.- Click the setup button.
- Click the Add button and search for Specify File Mask.
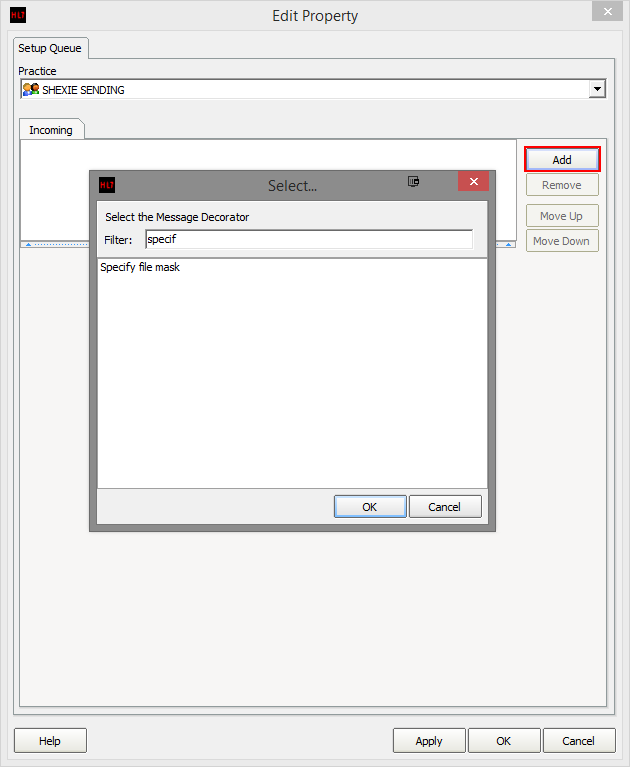
- Set the file mask to *.HL7 (HL7 Messages)
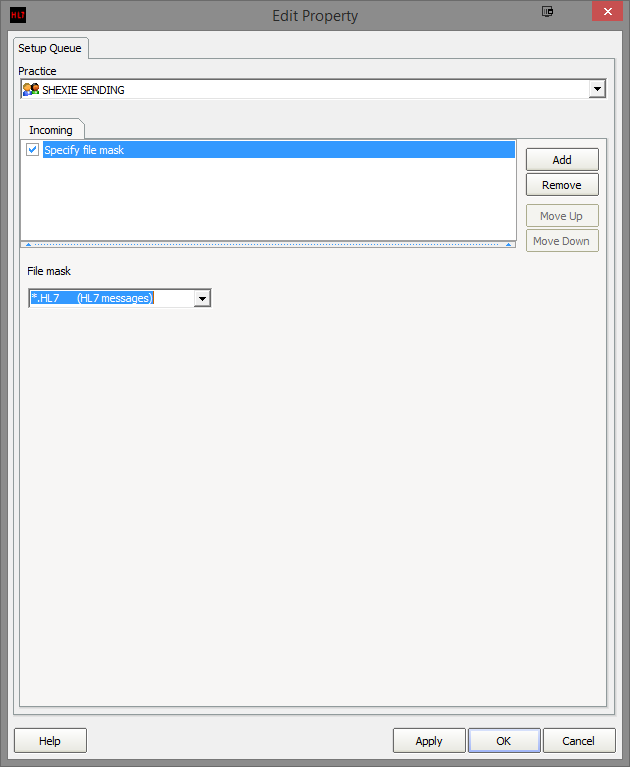
Add the following decorators using the previous steps.
For sending as HL7, use the following.Specify File mask (Set to *.HL7 (HL7 Messages))
Override Sender HD Fields to This Value
Expand MO routing ID's
Modify Message with HL7 Script
Modify Message with HL7 Script
Route with Capricorn
For sending as PIT, Use the following.Specify File mask (Set to *.PIT (PIT Files))
Convert PIT to HL7 (Set to Clinical letter or report [PHY])
Override Sender HD Fields to This Value
Expand MO Routing ID
Modify message with HL7 Script
Route with CapricornNote:
Please note that for the Override Sender HD Fields to This Value decorator, You will need to contact Medical-Objects to obtain the Practice Identifier details. This applies for both queues.
Add the following script in the box provided for Modify Message with HL7 Script. Please note that the same script applies to both HL7 and PIT sending.
program FixResultStatus;

begin
if HL7Data['OBR.25.0'] = '' then
HL7Data['OBR.25'] := 'F';

end.
Add the following script in the box provided for the second Modify Message with HL7 Script. Please note that the script applies to only to the HL7sending queue.
program ShexieMOIDs;
var
  i: Integer;
  recipient: string;
begin
  for i := 0 to HL7Data.SegmentCount - 1 do
  begin
     if SameText(HL7Data.SegmentName[i], 'MSH') then
     begin
         recipient := HL7Data.GetFieldValue(i, 5, 0, 0, 0);
         break;
     end;
  end;
  if ValidateMedicalObjectsID(recipient, false) then
  begin
      for i := 0 to HL7Data.SegmentCount - 1 do
      begin
          if SameText(HL7Data.SegmentName[i], 'PRD') and SameText(HL7Data.GetFieldValue(i, 1, 0, 0, 0), 'RT') then
          begin
              HL7Data.SetFieldValue(recipient, i, 7, 0, 0, 0);
          end;
          if SameText(HL7Data.SegmentName[i], 'PV1') then
          begin
              HL7Data.SetFieldValue(recipient, i, 9, 0, 0, 0);
          end;
      end;
  end;
end.
Click the Apply and OK buttons to save your settings.