Overview
This guide contains the instructions to install the Medical-Objects Download Client (Capricorn) on a Windows operating system.
If you have any questions or require any assistance, Feel free to contact the Medical-Objects Helpdesk on (07) 5456 6000.
Installation and Configuration of Capricorn Software
Download the latest Capricorn from the following link.
http://download.medical-objects.com.au/
The link on the download page looks like the following:
The following window will appear:
Click on Save.
The following Save As window will appear. Save the Capricorn-Setup.exe in the directory C:\MO
Once you have clicked Save, the following download screens will appear
After it has been downloaded, click Run. If a Security warning comes up again, Click Run Again.
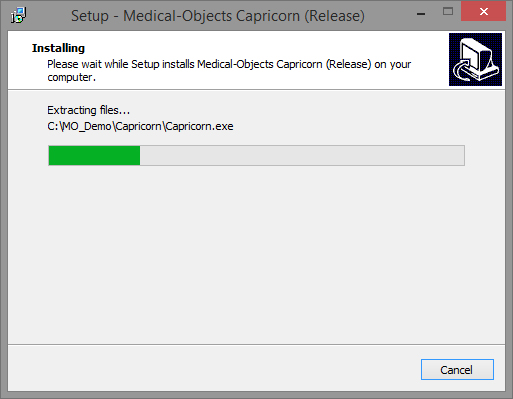
Once you have clicked Run, the installation process starts.
Click Next.
Click Next.
Click Install.
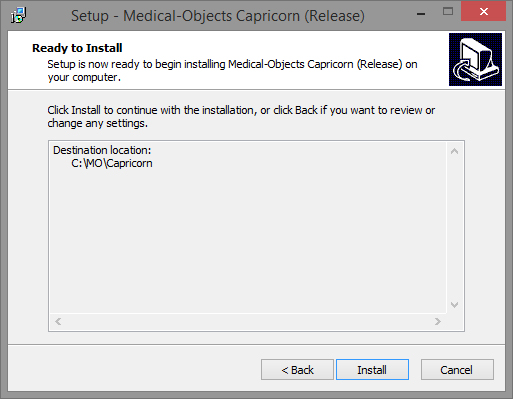
The following window will appear.
The Setup wizard is now complete.
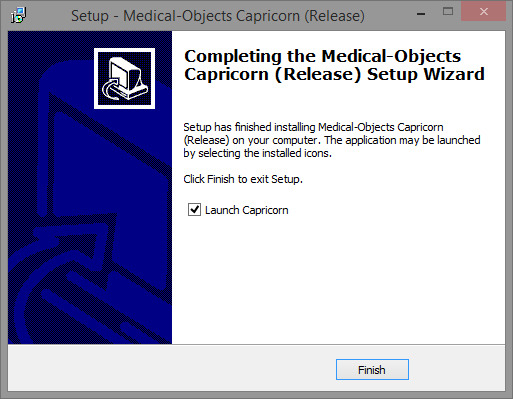
Click Finish.
Registration Process
Once the setup is complete you will need to enter the Token or Serial key provided by the Medical-Objects help desk.

From the email, copy the token and click the Paste Token link.
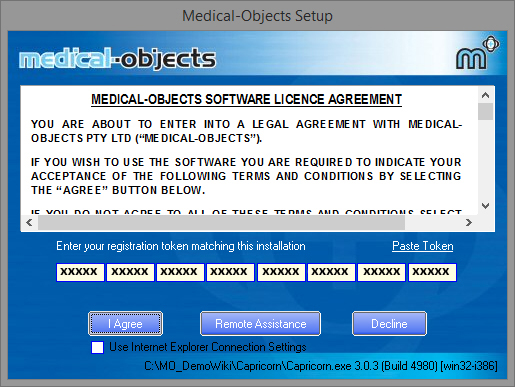
- Click I Agree.
- The PGP Key Generation Window will then appear.
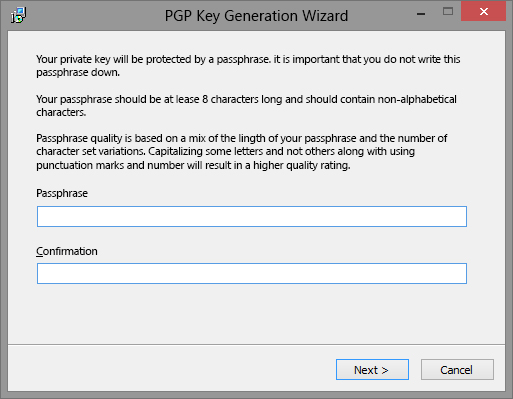
- Enter pgp in lowercase into both fields. Then click Next.
- The following window will appear.
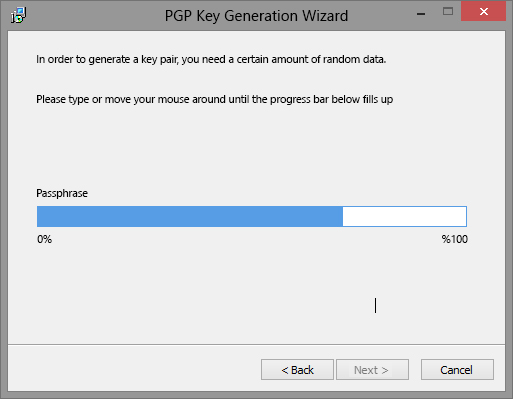
- At this window you can just type anything to make the blue bar move to 100%, then click Next.
- The following window will appear.

Click Finish.

The installation of the Medical-Objects Download client is complete. Please continue to the Practice Software Configuration Guides.