Overview
This guide provides instruction on configuring both Medical-Objects Capricorn and VIP software to import electronic results.
If you require any assistance with the installation or configuration, or if you have any questions, please contact the Medical-Objects Helpdesk on (07) 5456 6000.
If you have not Installed the Medical-Objects Download client, Please see the guide for Installing Capricorn on Windows.
Configuring Capricorn Software
Accessing the Capricorn Configuration Window
| Info | ||
|---|---|---|
| ||
In some cases, the Capricorn may be configured as a service. See this guide for instructions on how to launch the Capricorn if it is set up as a service. |
| Excerpt Include | ||||||
|---|---|---|---|---|---|---|
|
Capricorn Configuration Settings
- Click on Integration Optionson Ack Management.
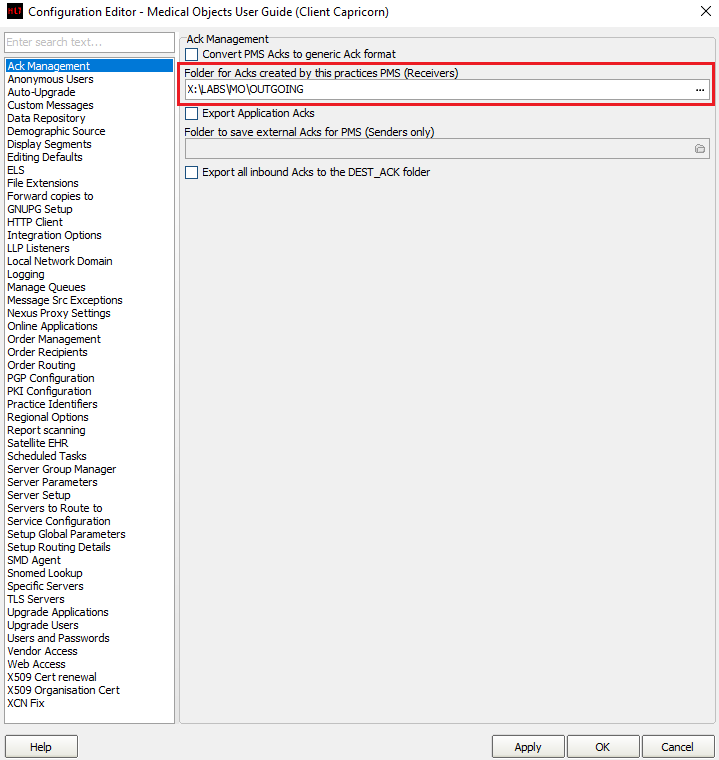
Set the Ack Management path to the VIP folder.
Info title Note: This may vary for different installations. Use an existing mapped Network path if possible.
For exampleLeave the ACK Management path as default, Which should be:No Format CX:\MO\Capricorn\APPLICATION_ACKSLABS\MO\OUTGOING
- Click on Integration Options.
3.1 Check that the Incoming Modifier is set to VIP Modifier.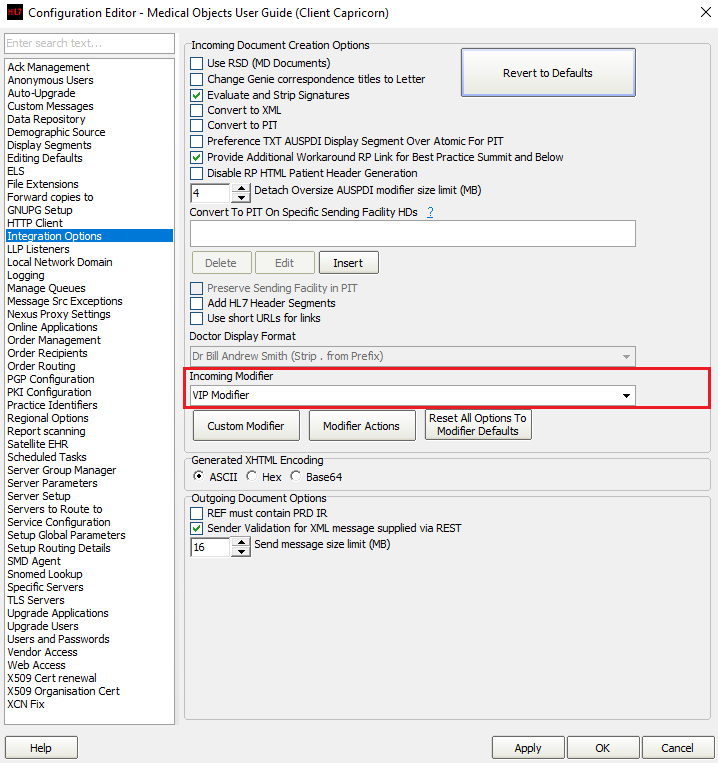
- Select Server Parameters from the left panel.
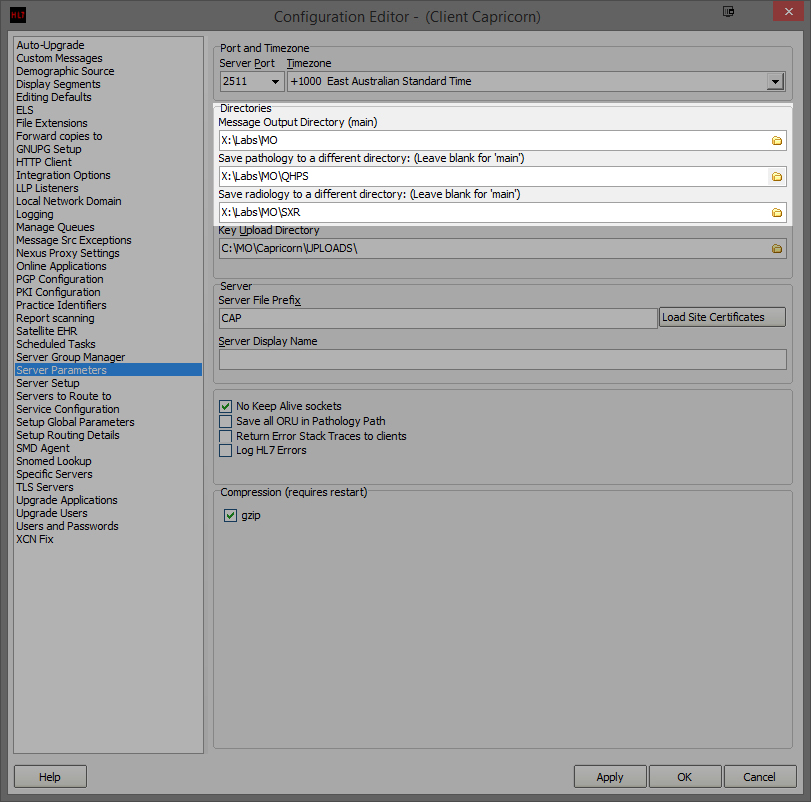
Under Message Output Directory (main), set the results import path to the drive the results are stored on.
For Example:No Format Main Directory - X:\Labs\MO
By Default, Everything will be imported under the Medical-Objects contact explained later in this guide.
However, If the site requires the files to show up as the Pathology/Radiology sender (i.e QHPS/SXR) you will need to set Message Source Exceptions and divert those specific files to another path.No Format Pathology - X:\Labs\MO\QHPS Radiology - X:\Labs\MO\SXR
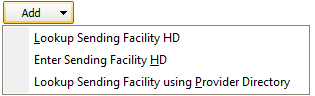
- Select Message Src Exceptions from the left hand panel of the Capricorn configuration window.
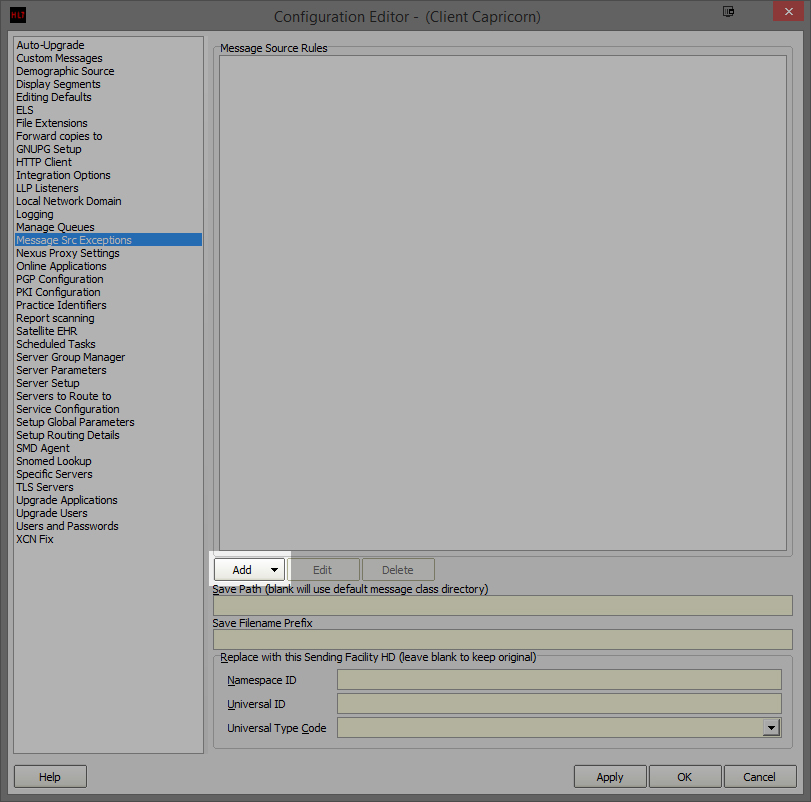
- Click Add as shown above, and select Lookup Sending Facility HD. Do not use any other selection.
- A new window will appear called Select Identifier.
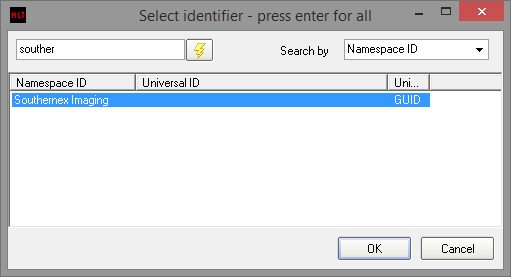
- Enter Southern and press Enter or click the Lightning Bolt to search.
- Select Southernex Imaging from the display panel.
- The following Message Source Exception window will appear.
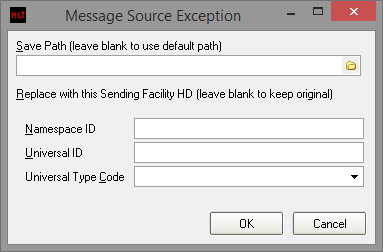
- Click OK to leave all the details blank.
- Repeat this step for each of the Contacts that are to be set up in VIP (e.g. In this case QHPS (Nata 2639) and Southernex Imaging).
The configuration is complete. Click Apply and OK.
Setup VIP to Import
- From the top Menu, choose Patient, and then Search.
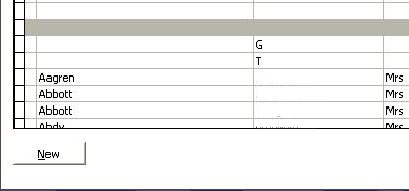
- Perform a search for your company, such as 'medical' to see if a contact currently exists for Medical-Objects.
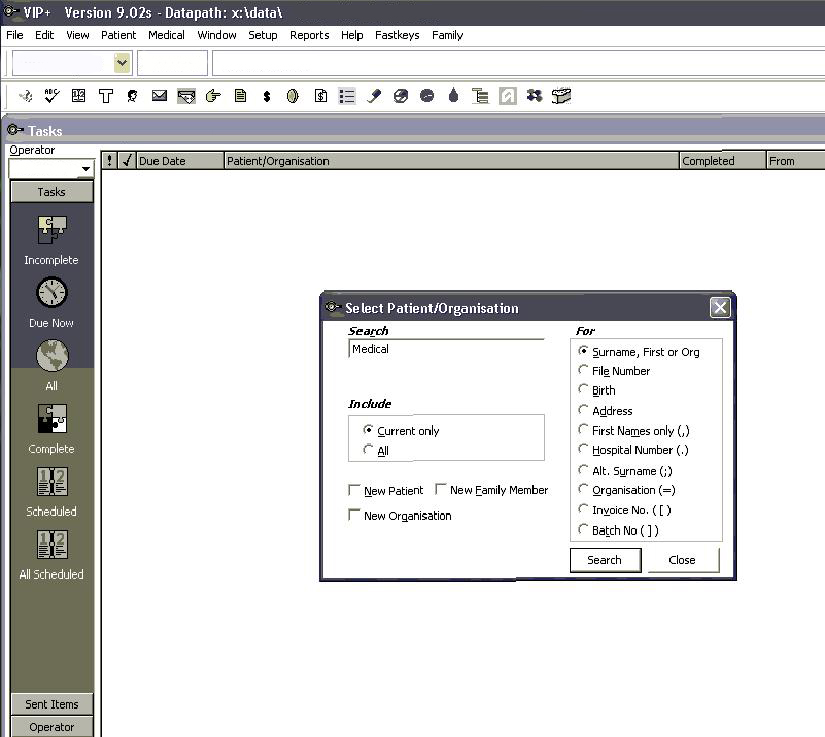
- To create the contact, tick the 'New Organisation' box and choose search.

- Click 'New' button in bottom left hand corner of screen that appears.
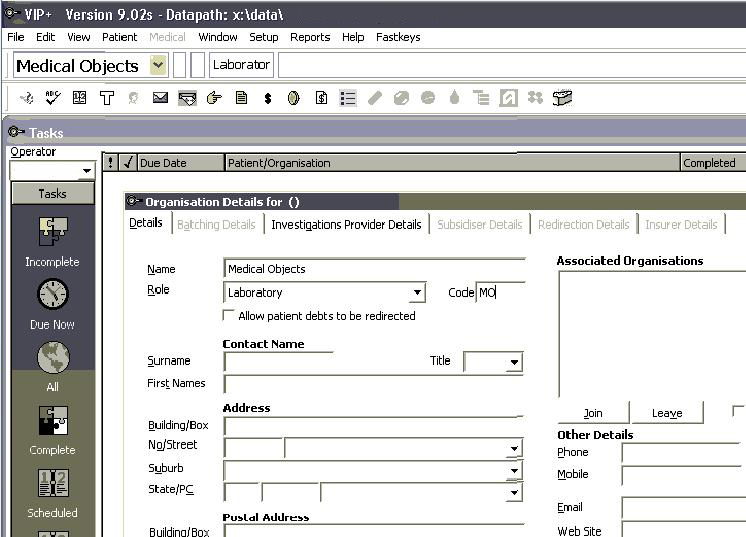
- Put company name e.g 'Medical Objects' in the name section and choose role. e.g 'Laboratory'. Put short name - e.g 'MO' in the code box.
- Click the 'Investigations Provider Details' tab. For 'Receiving Directory' put in the path you set the Capricorn to output the files to. If you used Message Source Exceptions to direct certain Pathology/Radiology companies to a different folder, you will have to put this folder name for that contact. Be sure to choose the correct file type from Results Format.
Set the Sending Directory to the Ack Management Directory mentioned earlier.Make sure Acknowledge Incoming Messages is ticked.
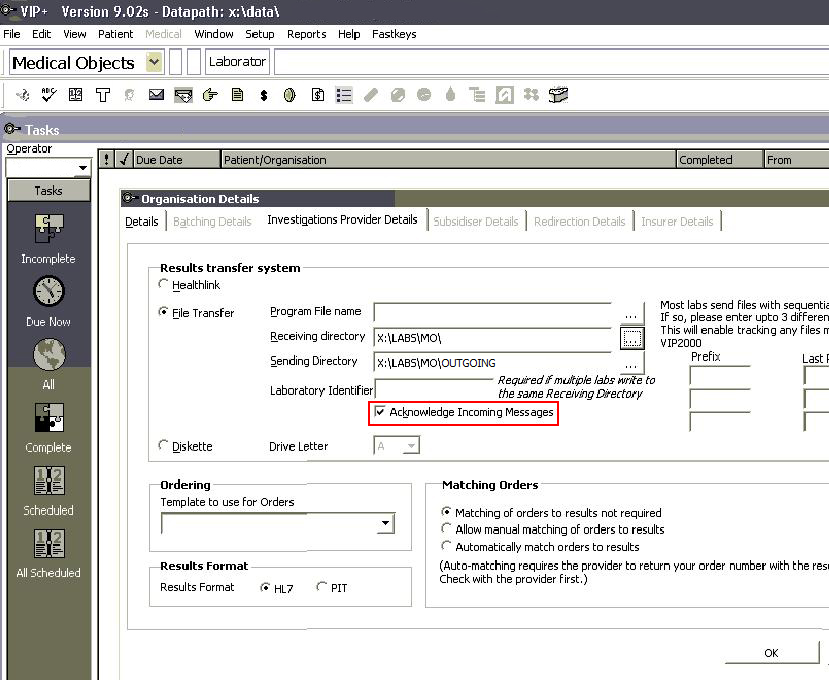
- Click OK. VIP should now pickup the files.
| Table of Contents | ||||
|---|---|---|---|---|
|