Installation and Configuration of Capricorn Software
Download the latest Capricorn from the following link.http://download.medical-objects.com.au/
The link on the download page looks like the following:
The following window will appear:
Click on Save
the directory does not exist, Create it.
Once you have clicked Save, the following download screens will appear
After it has been downloaded, click Run. If a Security warning comes up again, Click Run Again.
Click Next.
Click Install.
The following window will appear.
The Setup wizard is now complete.
Registration Process
Once the setup is complete you will need to enter the Token or Serial key provided by the Medical-Objects help desk.
| Note |
|---|
The Token or Serial Key can be emailed to you. If you do not already have a token, Please contact the Medical-Objects help desk on (07) 5456 6000. |
From the email, copy the token and click the Paste Token link.
| Note |
|---|
This will automatically fill in the Registration Token for you. |
Click I Agree.
The PGP Key Generation Window will then appear.
Enter pgp in lowercase into both fields. Then click Next.
The following window will appear.
At this window you can just type anything to make the blue bar move to 100%, then click Next.
The following window will appear.
Click Finish.
| Note |
|---|
The main installation of the Medical-Objects Capricorn is now complete. The HL7 Tray icon will now be shown in the system tray located at the bottome right hand corner of the desktop. |
Configuring Capricorn Software
Double click the HL7 tray icon.
| Note |
|---|
| If the Capricorn HL7 tray icon is not visible, open Capricorn from Start Menu > All Programs > Medical-Objects > Medical Objects Capricorn or from the C:\MO\Capricorn\Capricorn.exe. |
The Log window is displayed.
you have not Installed the Medical-Objects Download client, Please see the guide for Installing Capricorn on Windows.
Configuring Capricorn Software
Accessing the Capricorn Configuration Window
| Info | ||
|---|---|---|
| ||
In some cases, the Capricorn may be configured as a service. See this guide for instructions on how to launch the Capricorn if it is set up as a service. |
| Excerpt Include | ||||||
|---|---|---|---|---|---|---|
|
Capricorn Configuration Settings
Click on the Ack Management.
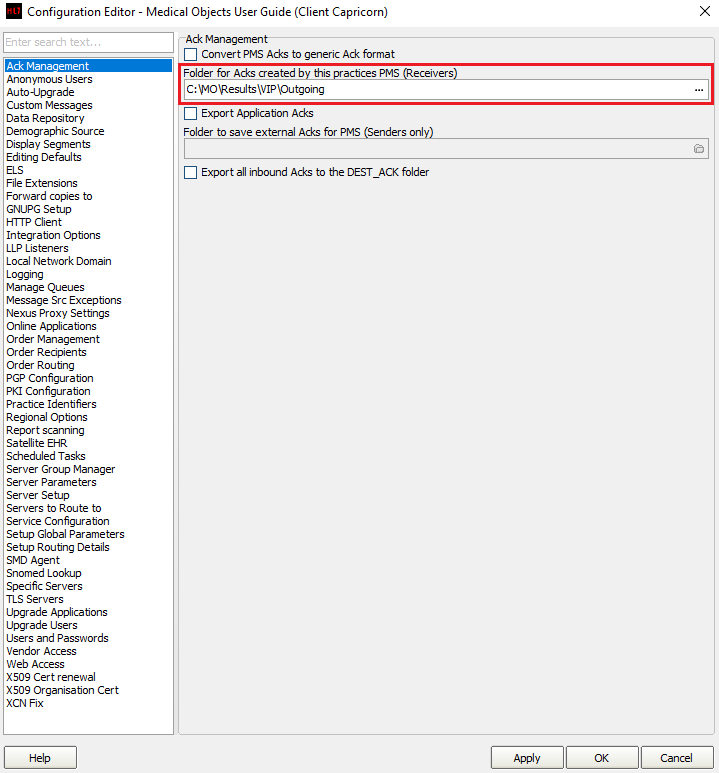
Set the ACK Management path
note you to Select
Select Server Parameters
from the left panel.
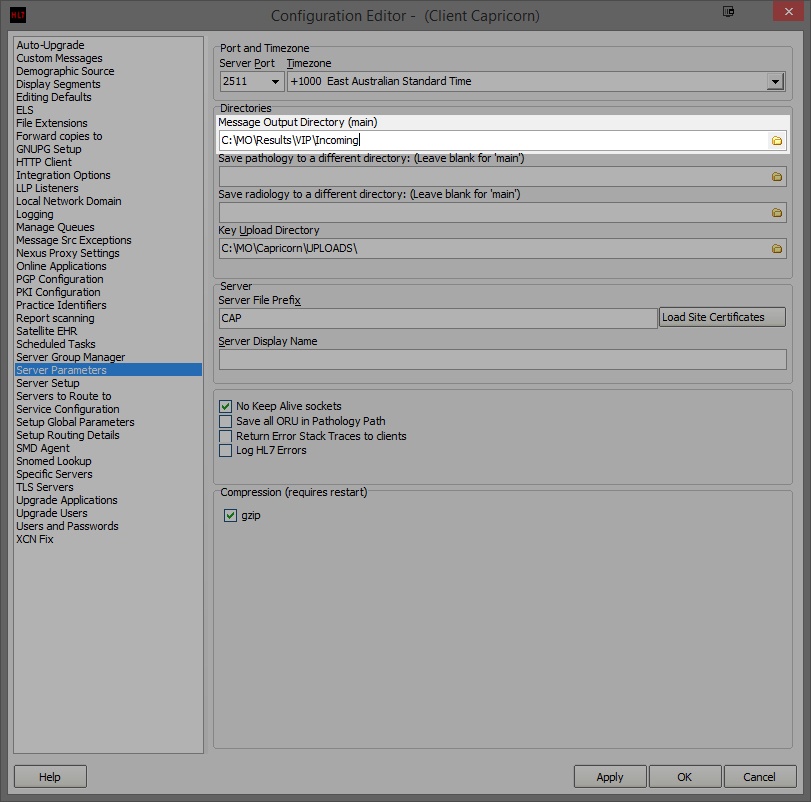
Under
CPath
Rad
Paths can be set individually for each organisation if requested from within the contact configuration.Note If the folders do not exist you must create them.
Make sure the Results folder has Modify, Read and Write permissions, AND is shared on the Network.
Select Message Src Exceptions from the left hand panel of the Capricorn configuration window.
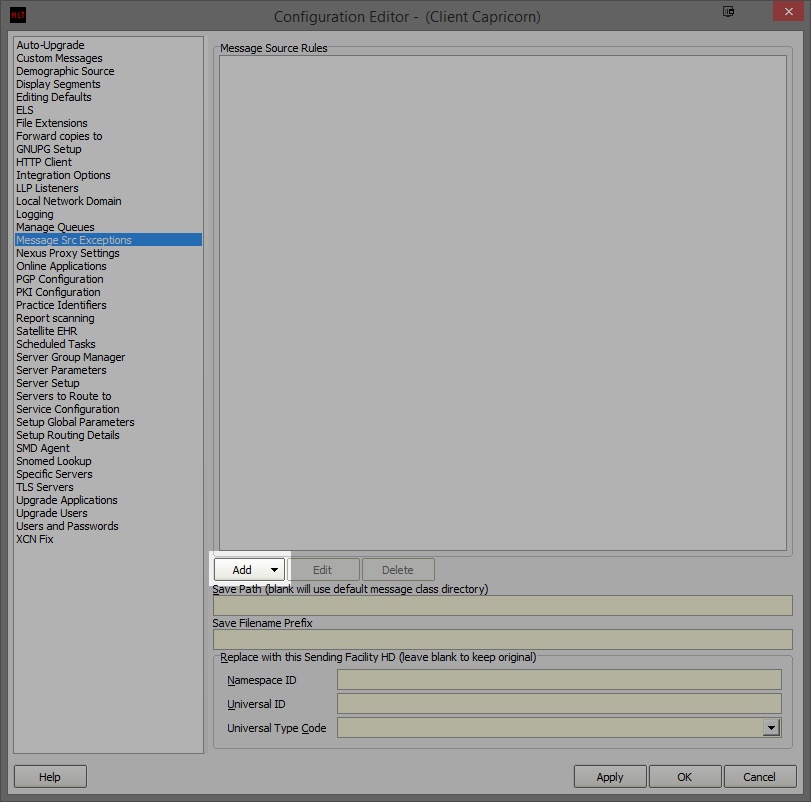
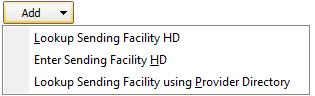
- Click Add as shown above, and select Lookup Sending Facility HD. Do not use any other selection.
- A new window will appear called Select Identifier.
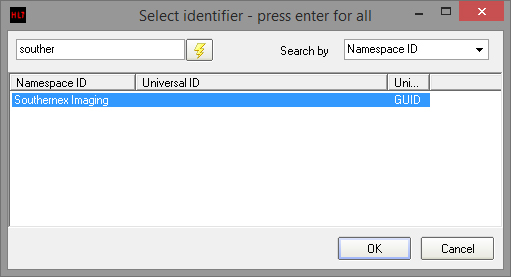
- Enter Southern and press Enter or click the Lightning Bolt to search.
- Select Southernex Imaging from the display panel.
- The following Message Source Exception window will appear.
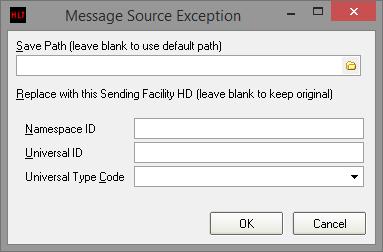
- Click OK to leave all the details blank.
- Repeat this step for each of the Contacts that are to be set up in VIP (e.g. In this case QHPS (Nata 2639) and Southernex Imaging).
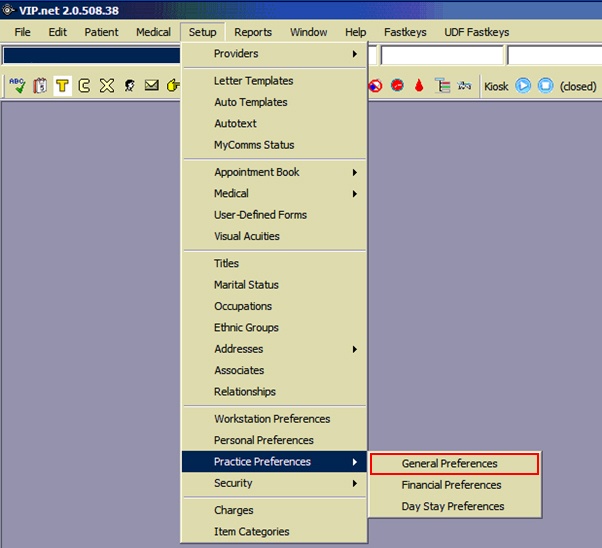
The configuration is complete. Click
and select ‘General Preferences’.
Select
button.
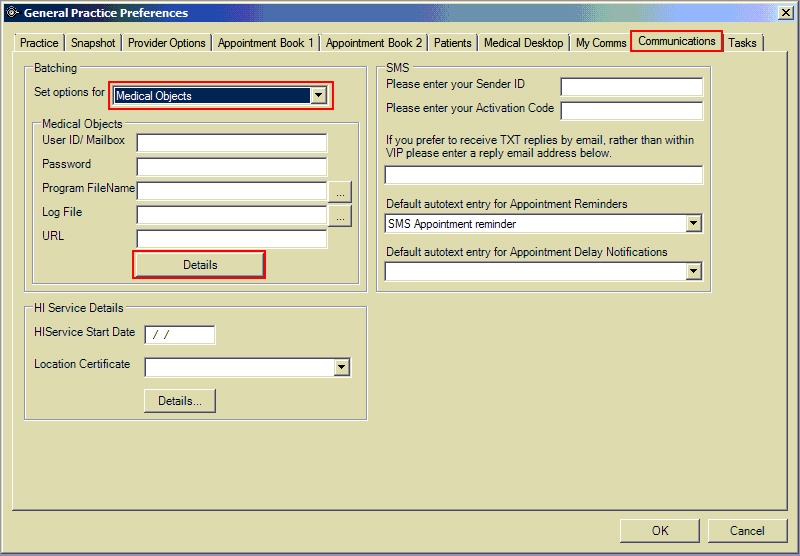
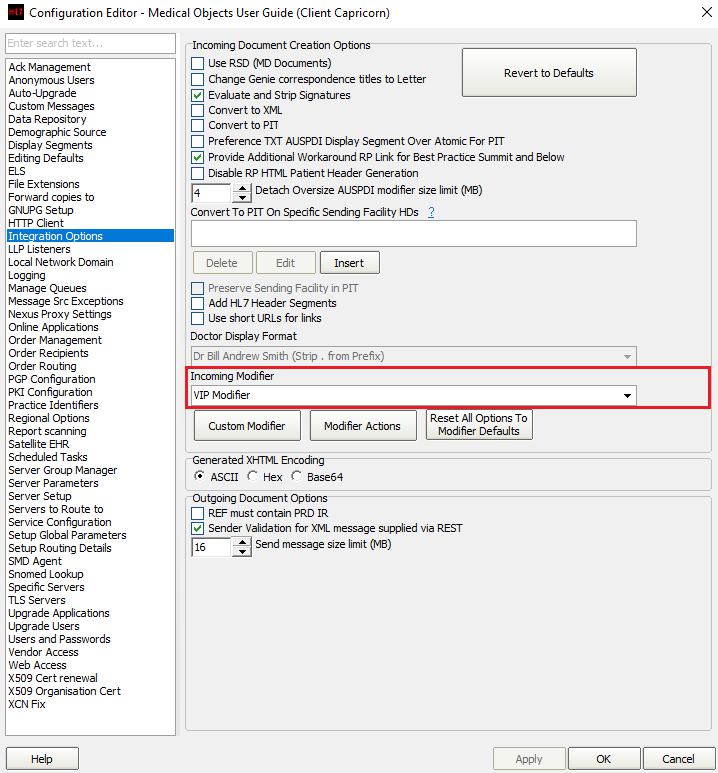
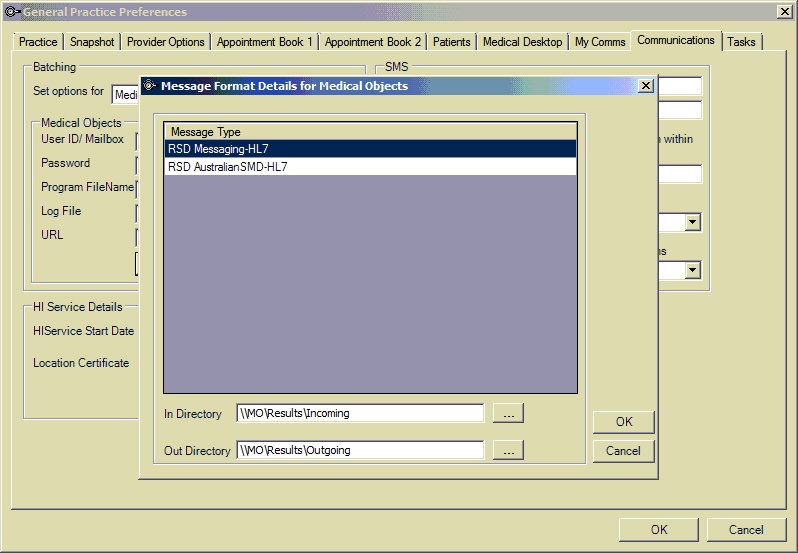
Here you can set the Incoming and Outgoing directory
– use UNC Paths for both, for the paths we set up earlier. For example
\\MO\Results\Incoming
\\MO\Results\Outgoing
Receiving Lab Results
If the site receives results from multiple Radiology and Pathology providers, VIP needs to have those Radiology and Pathology organisations created.
Press to
to open the following window.
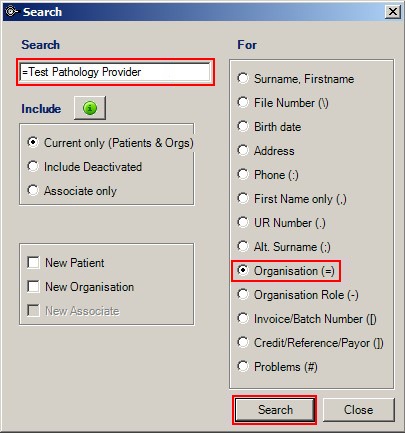
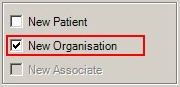
Type the name of the organisation,
to create it.
On the screen that appears, Go to
‘File Transfer’.
Info title Note: To access this window again at a later stage, press F3.
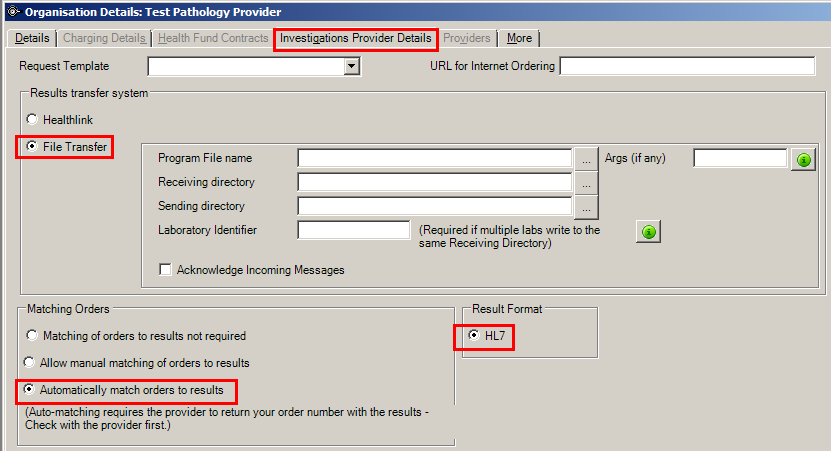
Set the receiving directory to the file path created earlier unless specified otherwise. Use UNC Paths.\\MO\Results\VIP\Path Rad
The Outgoing path is for acknowledgments. Set this path to:\\MO\Results\VIP\Outgoing
And check the box that says "Acknowledge Incoming Messages".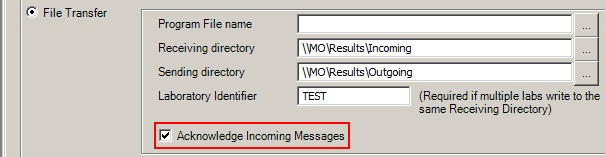
The Lab identifier is used to differentiate results from different companies. If the site receives from more than one Pathology/Radiology Organisation, you may need to set this option. This should be unique to each lab, located in the first line of the result.
Make
are ticked. Please note that the HL7 button is off by default.

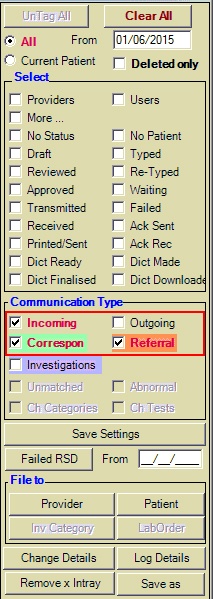
Viewing Reports
To View reports,
and ‘Referral’.