Installation and Configuration of Capricorn Software
Download the latest Capricorn from the following link.http://download.medical-objects.com.au/
The link on the download page looks like the following:
The following window will appear:
note the directory does not exist, Create it.
Once you have clicked Save, the following download screens will appear
After it has been downloaded, click Run. If a Security warning comes up again, Click Run Again.
Click Next.
Click Install.
The following window will appear.
The Setup wizard is now complete.
Registration Process
Once the setup is complete you will need to enter the Token or Serial key provided by the Medical-Objects help desk.
From the email, copy the token and click the Paste Token link.
| Note |
|---|
This will automatically fill in the Registration Token for you. |
Click I Agree.
The PGP Key Generation Window will then appear.
Enter pgp in lowercase into both fields. Then click Next.
The following window will appear.
At this window you can just type anything to make the blue bar move to 100%, then click Next.
The following window will appear.
Click Finish.
| Note |
|---|
The main installation of the Medical-Objects Capricorn is now complete. The HL7 Tray icon will now be shown in the system tray located at the bottome right hand corner of the desktop. |
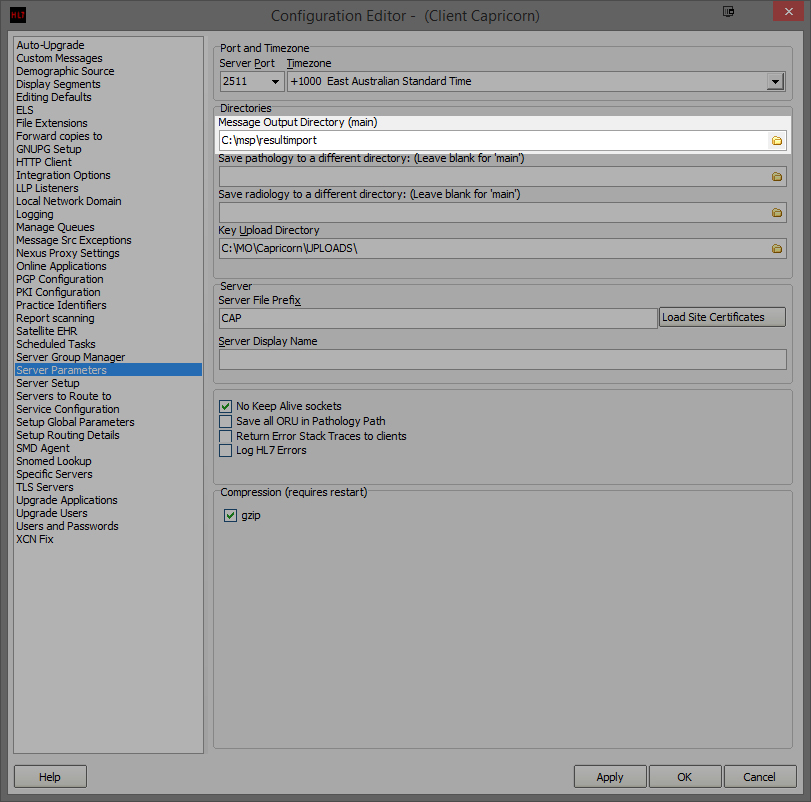
Capricorn Configuration Settings
Integration Options
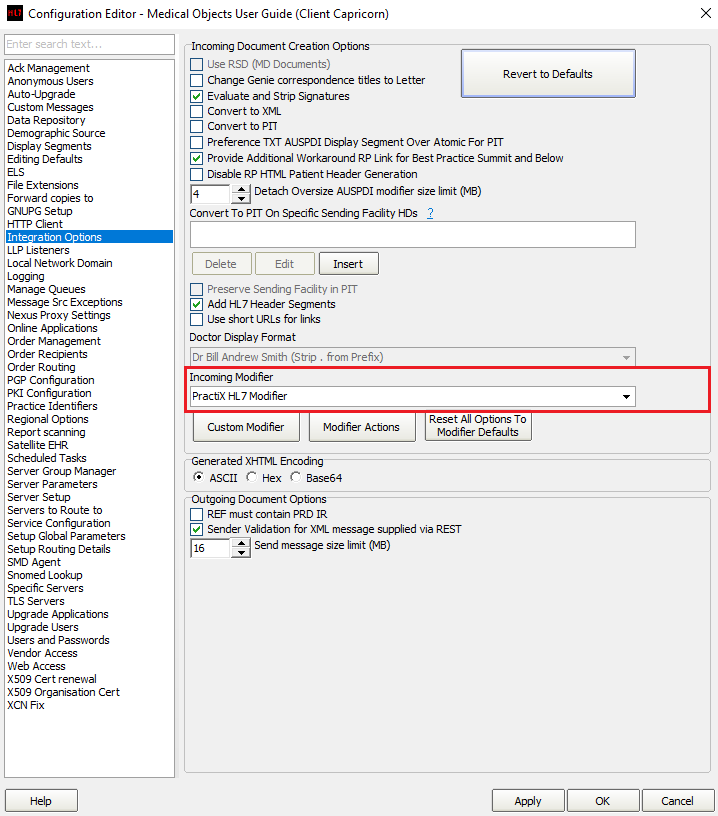
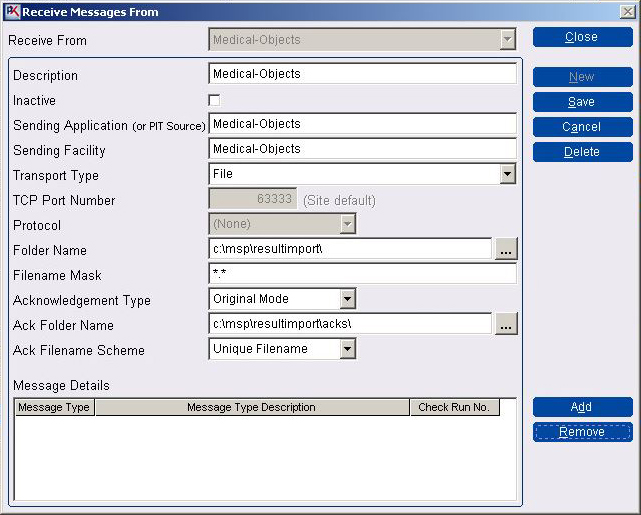
In Practix the ACK folder name was set to DMake sure at the bottom of the panel that under Incoming Modifier, The Practix HL7 Modifier is set as shown below.
Report Scanning
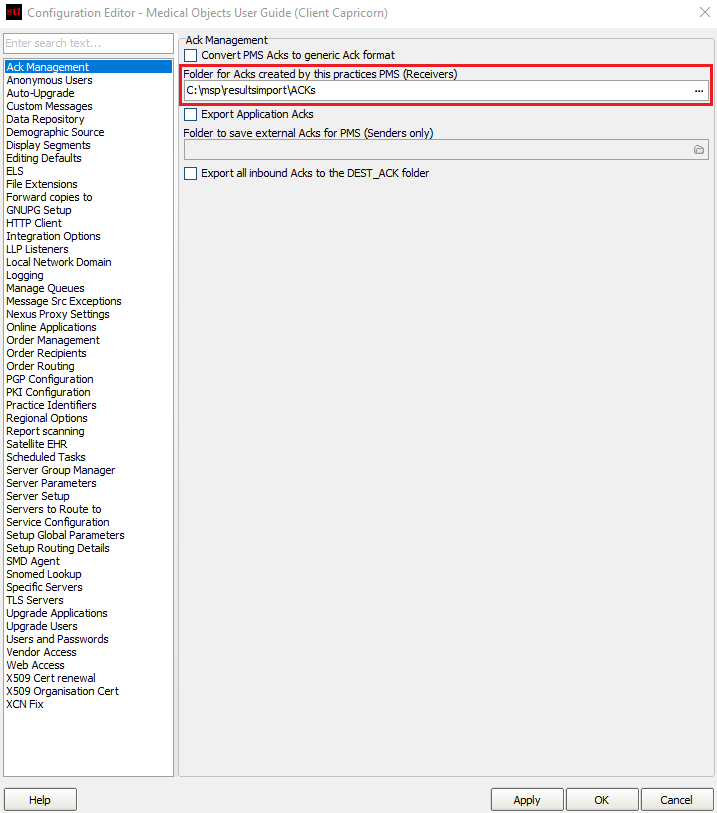
We need to add the same path in the ACK Management section in Capricorn shown below.
The same import path will need to be added to a contact in Practix, outlined later in this guide.
Click on Integration Options.
3.1 Check that the Incoming Modifier is set to Practix HL7 Modifier
Report Scanning
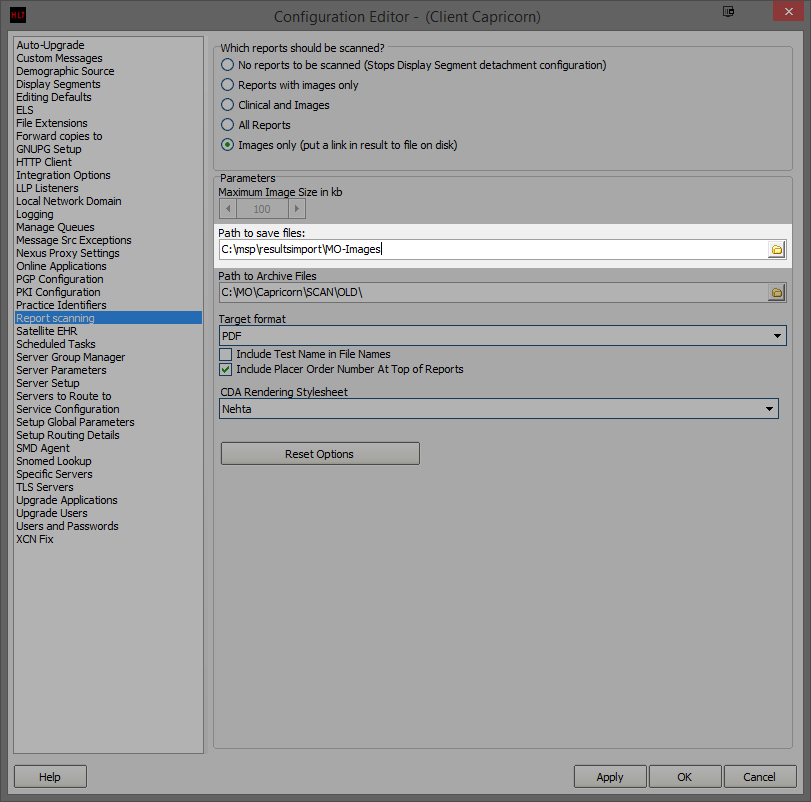
Once you have typed in the path, a message window will pop up and ask if you want to create the path.
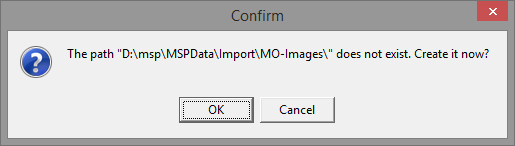
Select OK to create the path.
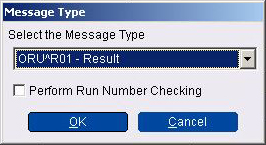
Message Source Exceptions
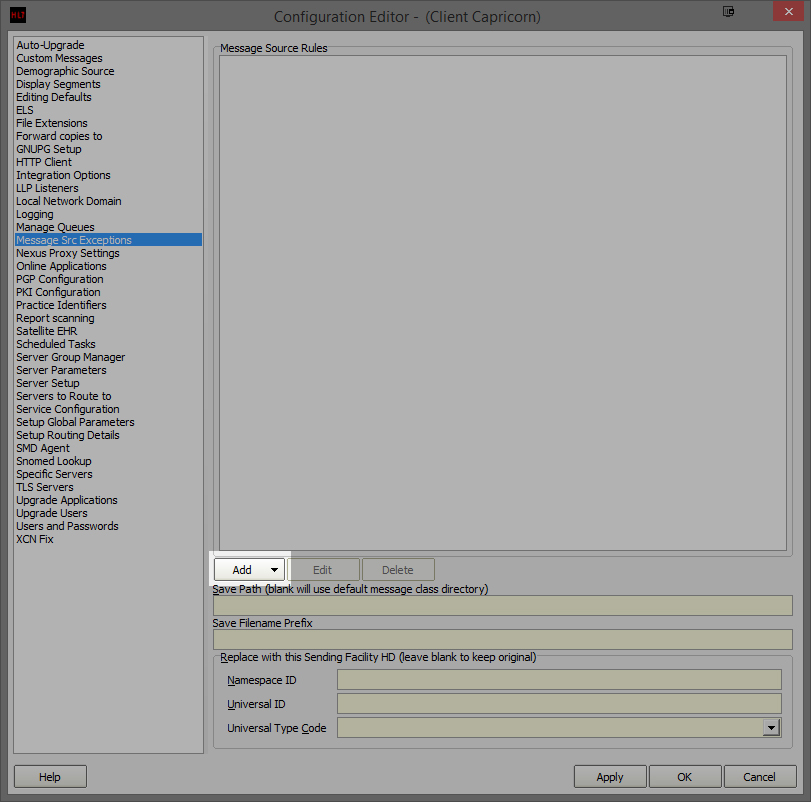
Click Add as shown above, and select Lookup Sending Facility HD. Do not use any other selection.
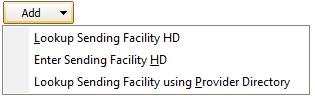
A new window will appear called Select Identifier.
Enter Southern and press Enter or click the Lightning Bolt to search.
Select Southernex Imaging from the display panel.
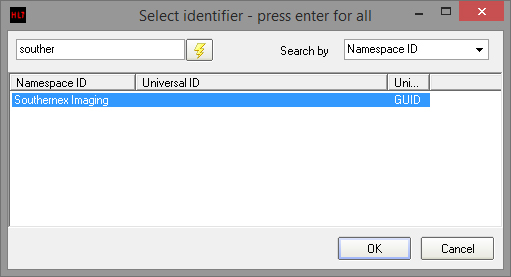
The following Message Source Exception window will appear.
Click OK to leave all the details blank.
Repeat this step for each of
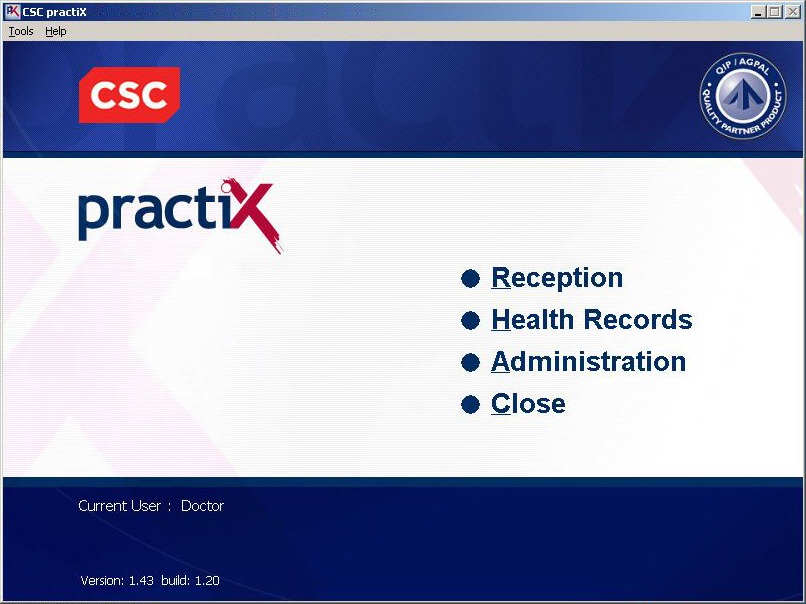
Practix Configuration
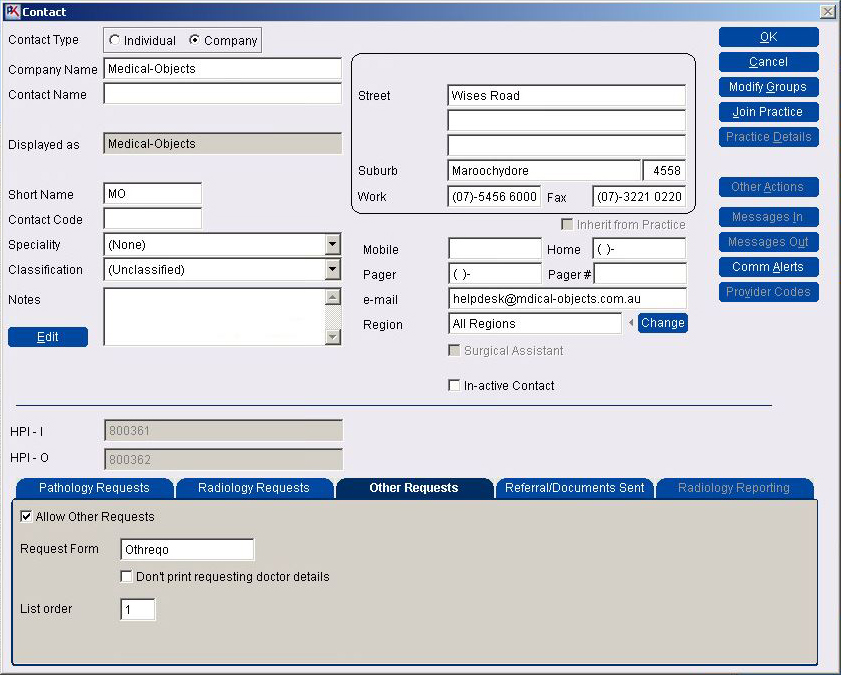
Adding a Contact for Medical-Objects
note to send results do Contact th the
- the Practix Software.
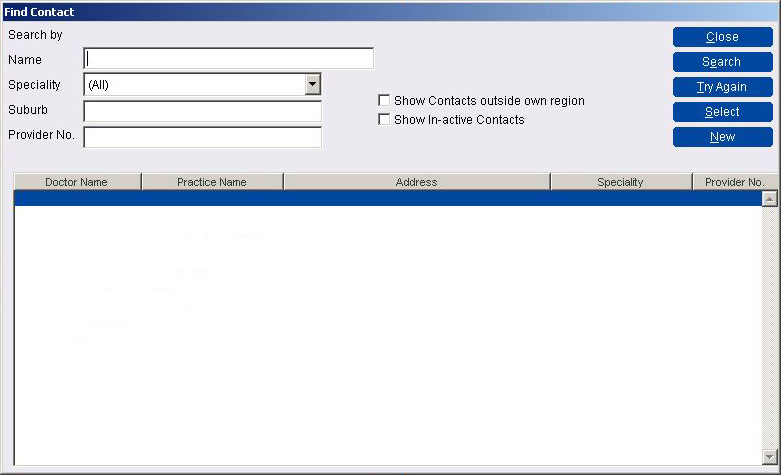
- Perform a search
Select.
Once you click Messages In, the note select .
- Enter details the from the
Message area Add button
clicked the
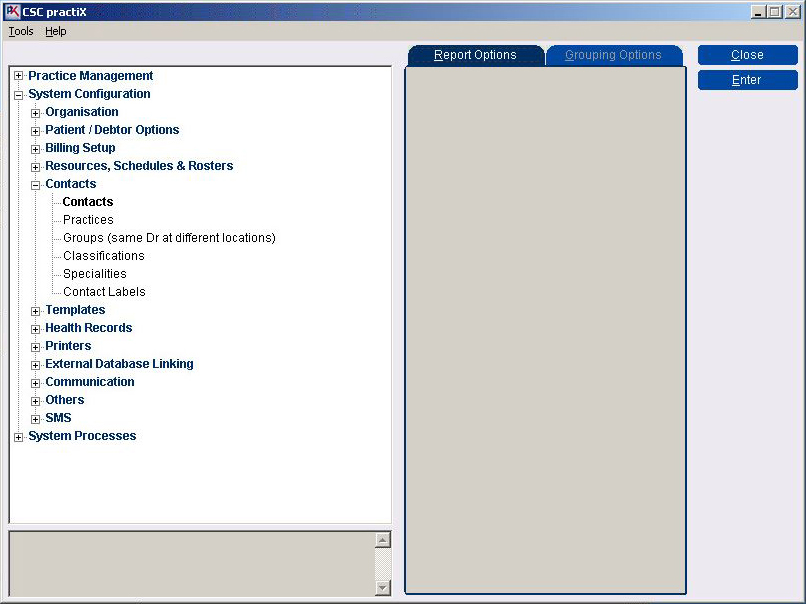
Select System Configuration then select Contacts and Contacts again.
click otherwise click
note
Info title Note: Make sure the Radiology Request tab is filled out as above.
Once you have clicked
note select

- Enter the Radiology Company’s details as shown above. (The drive letter and path may vary depending on the folder location that the practice has designated for imports).
the as Click
- Click OK.
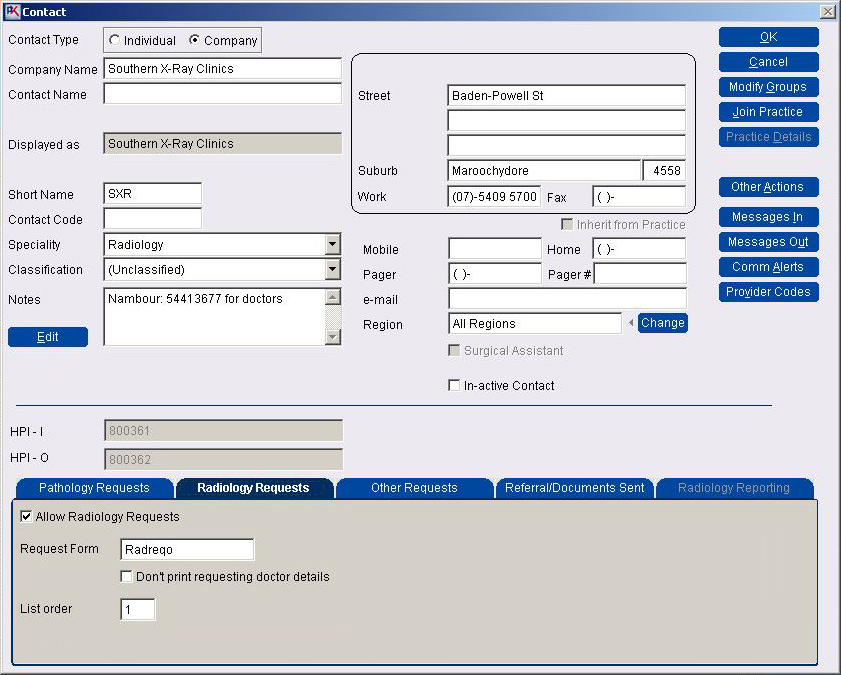
Select System Configuration then select Contacts and Contacts again.
note
.
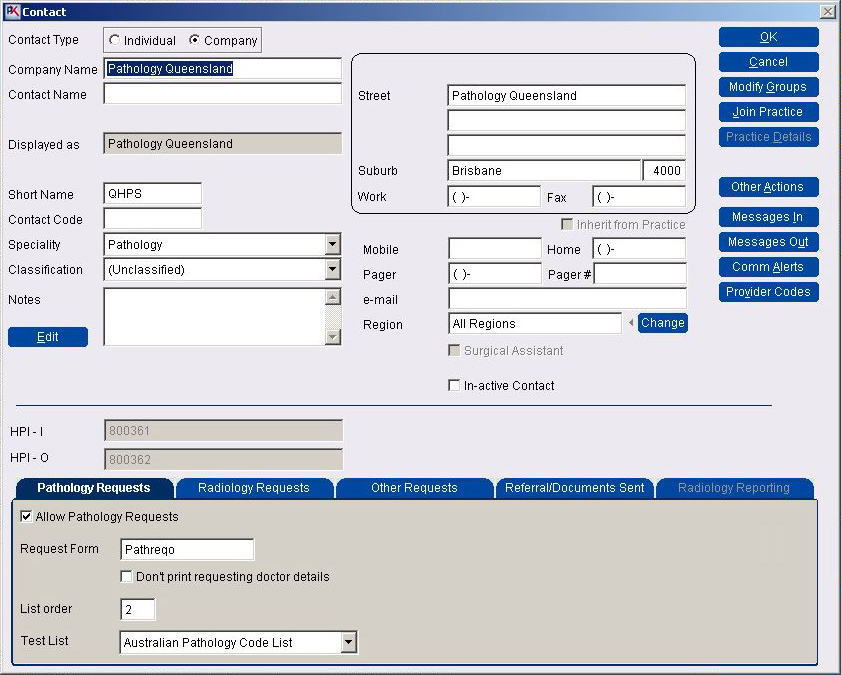
Info title Note: Make sure the Pathology Request tab is filled out as above.
Once you have clicked
note.

Enter the Pathology Company’s details as shown above. (The drive letter and path may vary depending on the folder location that the practice has designated for imports).
Click
then Click OK.