| Multiexcerpt | ||||
|---|---|---|---|---|
| ||||
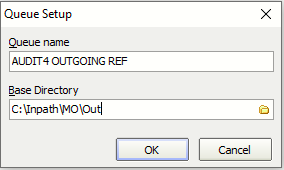
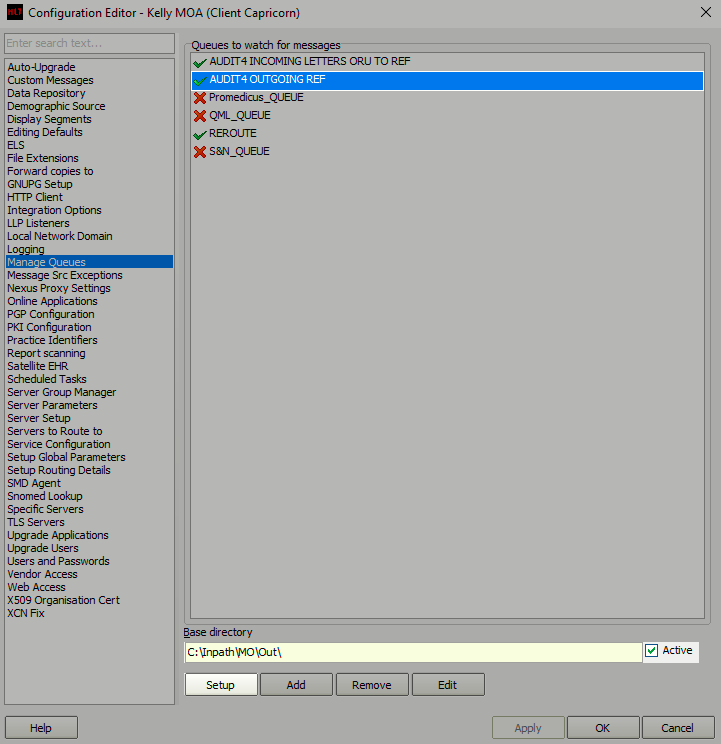
AUDIT4 OUTGOING REF
|
Previously Setup Queues
Overview
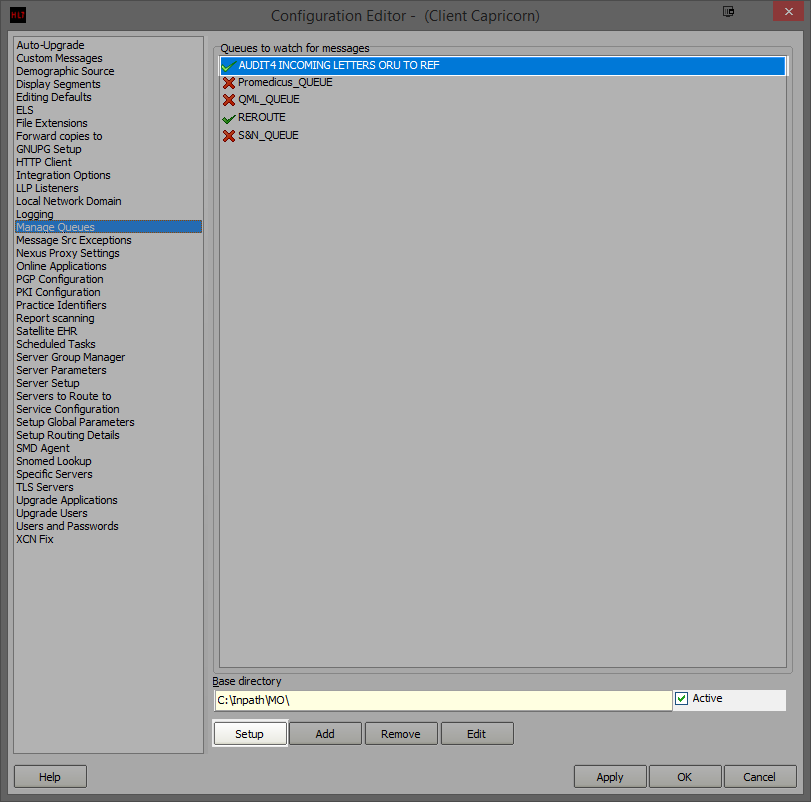
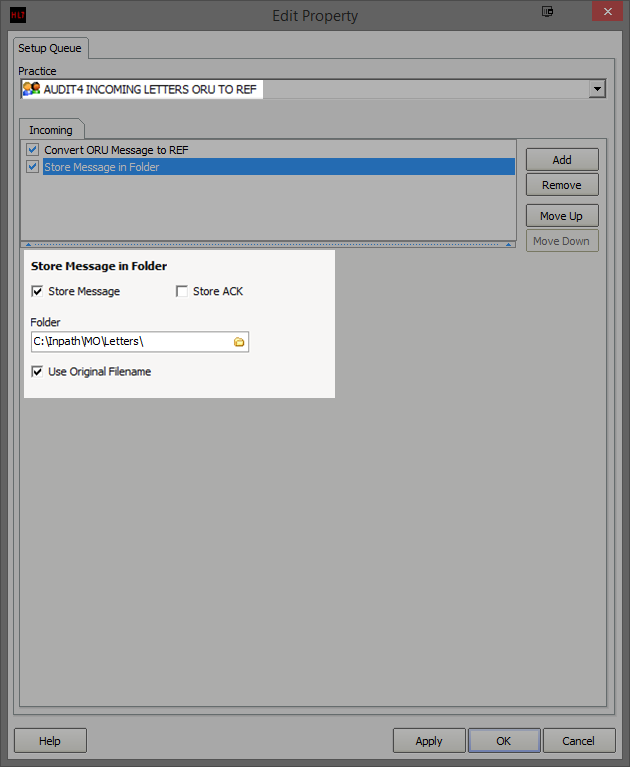
The Managed Queue is created to convert letters to REF format so they don't import as a result in Audit 4.
| Multiexcerpt | |||||||||||||
|---|---|---|---|---|---|---|---|---|---|---|---|---|---|
| |||||||||||||
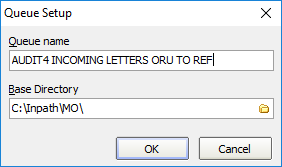
AUDIT4 INCOMING LETTERS ORU TO REF
|
| Multiexcerpt | |||||||||||||||
|---|---|---|---|---|---|---|---|---|---|---|---|---|---|---|---|
| |||||||||||||||
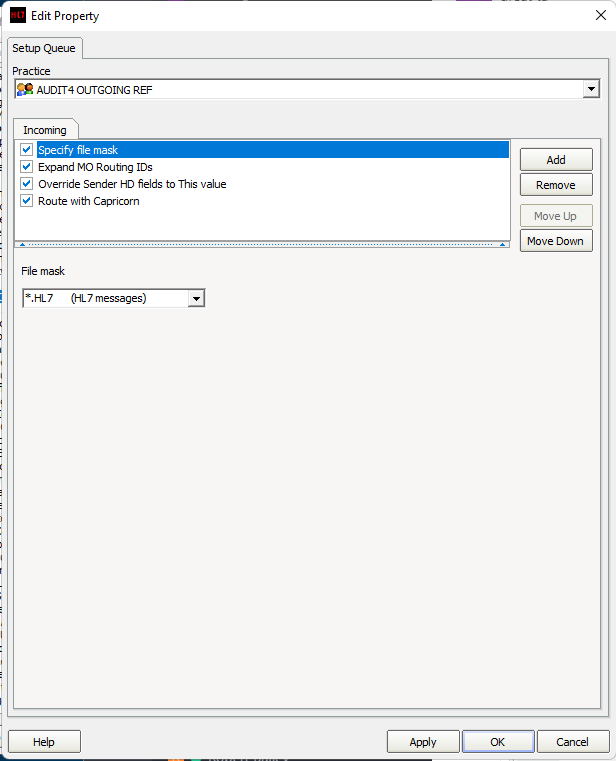
AUDIT4 OUTGOINGREF
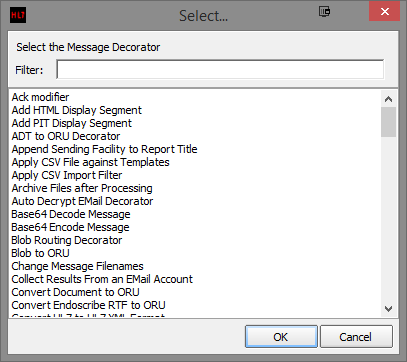
 On the right hand side, click on Add. You can search the decorators by typing in their name. Select the decorators listed below:
 Once you have added the decorators above you will need to supply additional configuration for the Specify file Mask. Set the File Mask to *.HL7 (HL7 messages). Once you have added the decorators above you will need to supply additional configuration for the Specify file Mask. Set the File Mask to *.HL7 (HL7 messages).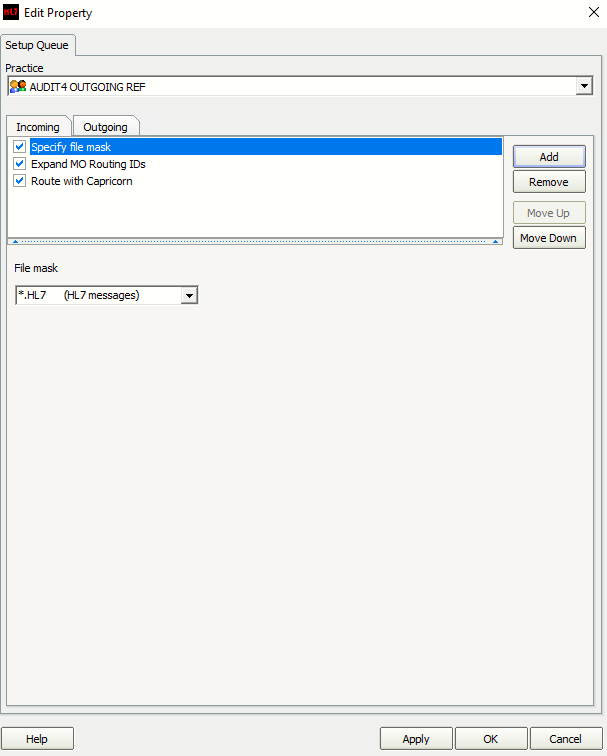 Click Apply and OK to save the AUDIT4 OUTGOING REF queue and return to the Manage Queues configuration screen. | |||||||||||||||
| Multiexcerpt | |||||||||||||||
| |||||||||||||||
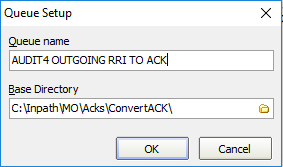
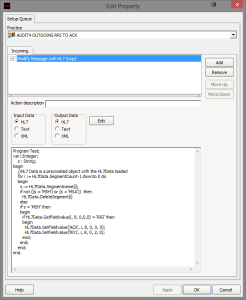
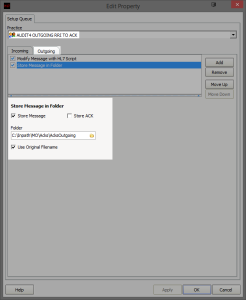
RRI TO ACK
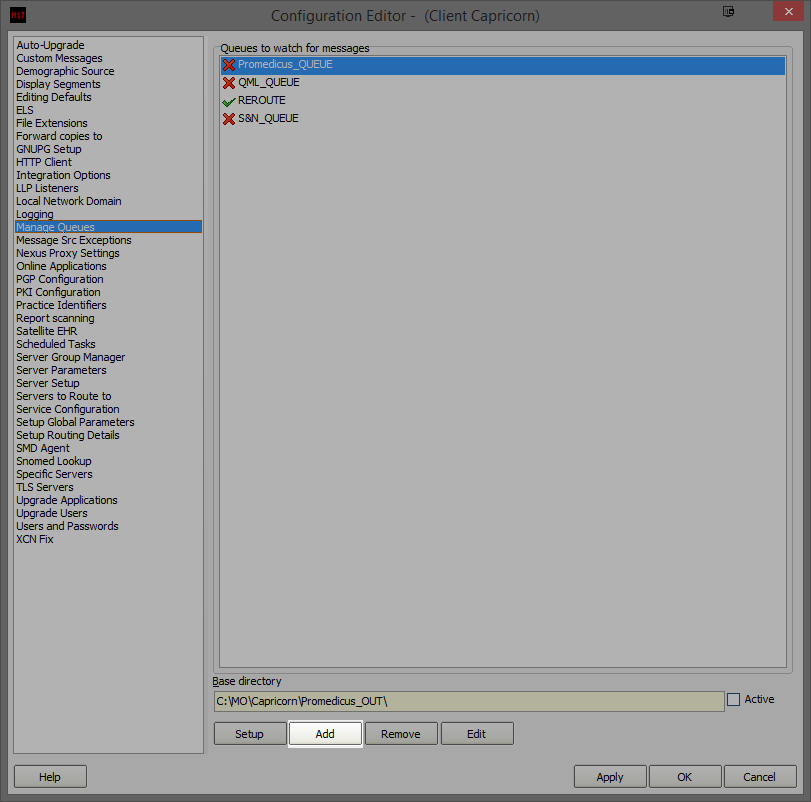
On the Manage Queues screen, click Add.
|
| Table of Contents | ||||
|---|---|---|---|---|
|