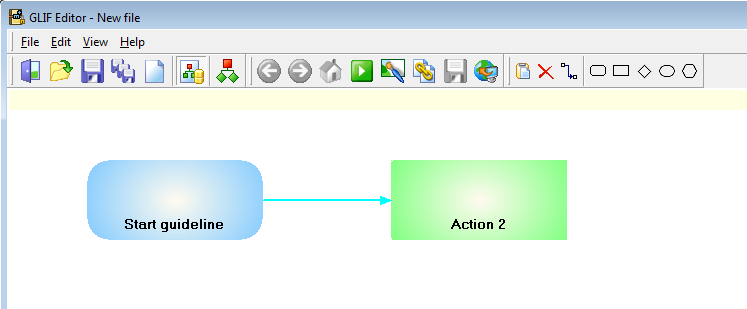
Run the application by double clicking on the file 'GLIFEditor.exe' or your shortcut.
...
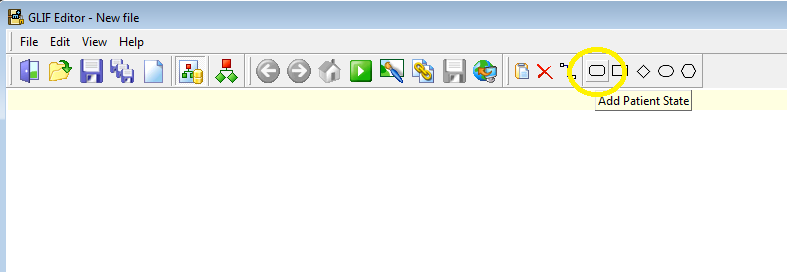
Click on the Allow Modification button . Now choose the Patient State button:
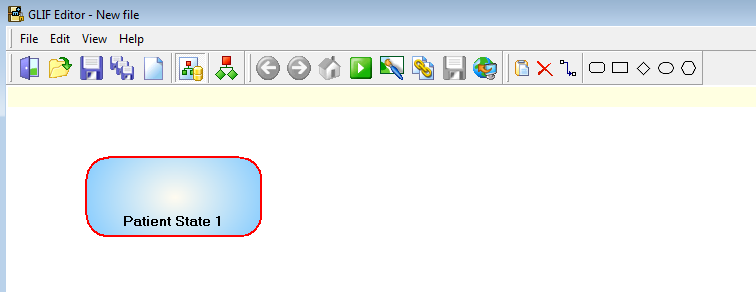
and then click in the white workspace below the menu top left hand corner:
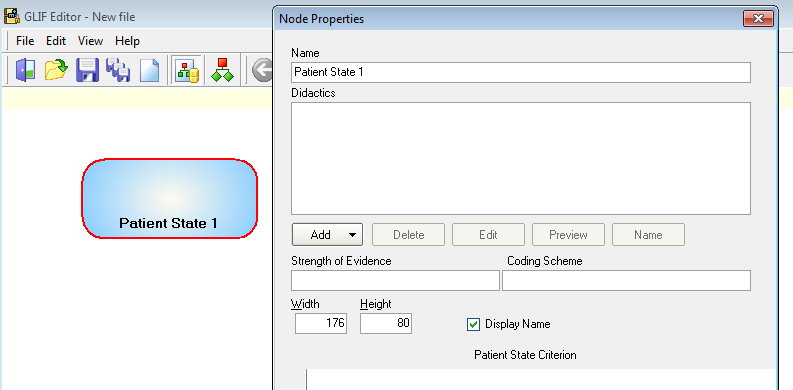
Right click on this and go Set First Step , then again to open Edit properties:
Change the Name to something like "Start guideline". Then go OK.
Now we will add an action node.
Click on the Add Action button which is next to the Patient State button we just used:
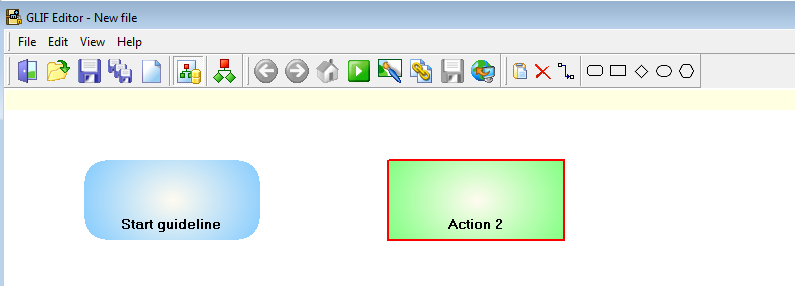
Then click next to the blue Patient State circle. You get a green rectangle. You can pick up the green rectangle and move it to where you want it to go:
Join them together with a link arrow . Click on the Link button, then drag the mouse from the middle of the blue circle to the middle of the green rectangle. ( Do this by clicking in the middle of the blue circle and keeping the mouse clicked on move it over to the middle of the green circle then release the mouse.)
Let's run this GLIF and see what happens. (It won't be much yet but it will be something). We have to turn off Allow Modifications.
Click the Run button .
What happened? Yes - the link went green.
Ok so we can keep going. Just remember we have to toggle the Allow Modifications button to move between a developer and a user view of the GLIF.
Now right click (With Allow Modifications on!) on the green Action rectangle to rename it and see what actual actions we can do.

