- Created by Andrea M, last modified by System Administrator on Jan 31, 2024
Overview
This article will cover the basic functionality of Medical Objects Online Results. If you have any questions or require any further information, please contact the Helpdesk on (07) 5456 6000.
Medical-Objects Online Results is a web-based application that allows you to send and receive results from any of your mobile devices or a stationary workstation from your own personal web browser.
Logging in and Out
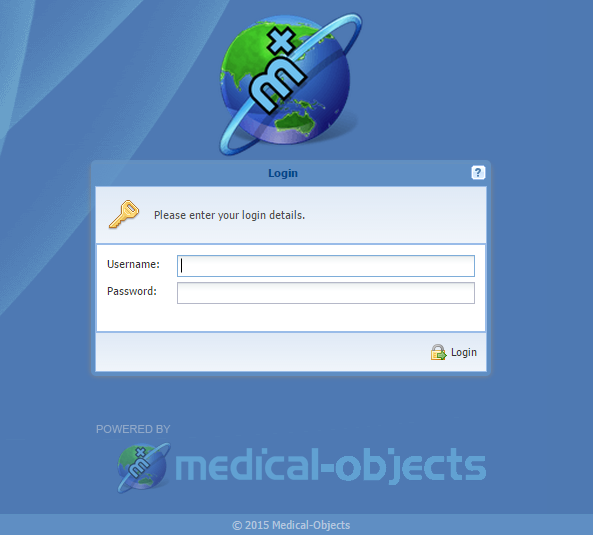
The first page you will see when accessing Medical Objects Online Results is the Login Page. To log in, enter your Username and Password then press the Login button. When the credentials have been entered correctly, you will be taken to the Dashboard.

To log out of Online Results, simply go to the top right corner of the page and click on the white triangle pointing down. This will open up another menu with the logout button. Clicking this button will take you back to the Login page.
Note:
By default, you will be automatically logged out of Online Results if you are inactive for 30 minutes for security reasons.
Dashboard Layout
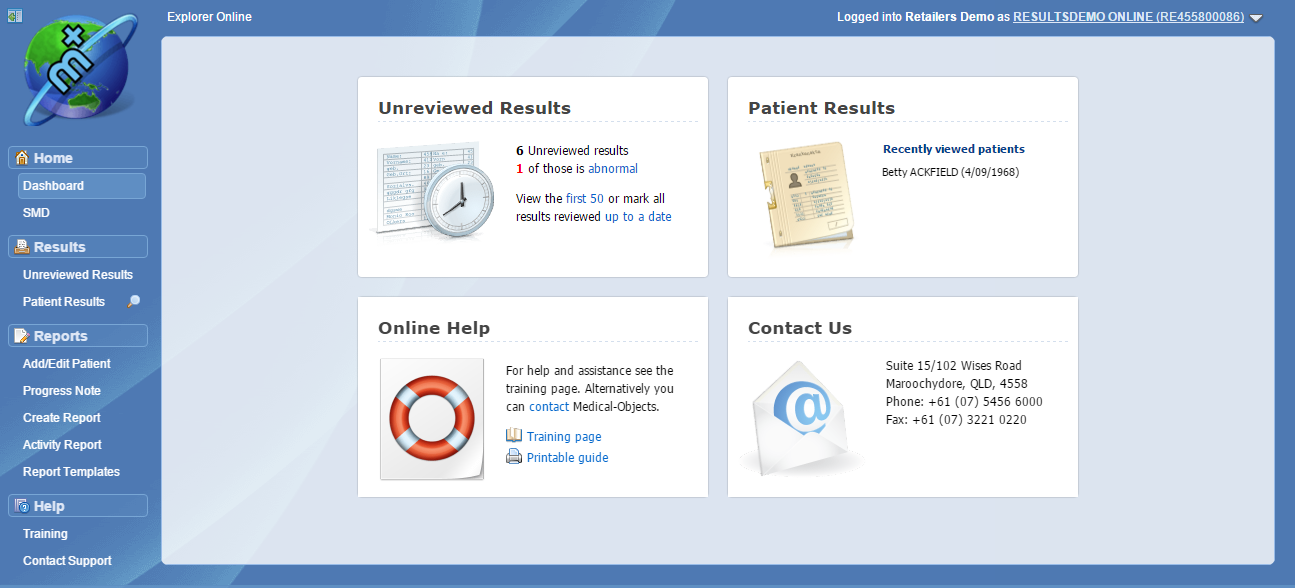
The Dashboard is the default page that will appear once you have logged into Online Results. The Dashboard has a variety of tools to help simplify your day to day use of Online Results.
At the centre of the page there are four boxes which lead to different areas of the site.
Unreviewed Results
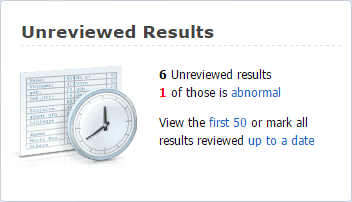
This tile will have a count of any results waiting to be reviewed as well as counting any abnormal results. In addition, it also offers a convenient way access the first 50 results or to mark results reviewed up to a specified date.
Patient Results
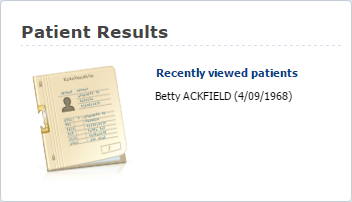
Patient Results will list the most recently viewed patients and provide links to go back to the recently viewed patient’s results.
Online Help
The Online Help tile provides convenient links to training documents and videos along with contact details to get in touch with the Medical-Objects Helpdesk should you have any questions or problems.
Contact Details

The Contact Details tile will list the contact details for your Online Results provider.
Sidebar

The sidebar will appear at the far left of the screen. From here a number of links can be selected to view various areas of Online Results.
At the very top left you will see a small icon, this is the Hide/Unhide button. Clicking this button will hide the side bar. To make the sidebar appear again simply move your mouse to the left of the screen. To have the sidebar show permanently again, simply click on the Hide/Unhide button again.
Underneath the Home tab, there is a link to the dashboard. This will immediately take you back to the dashboard from whatever page you are on.
The links within the Results tab can be used to quickly access incoming results or view patient files.
Lastly the Help tab has links to training content and support contact details.
Reviewing Results

When you open an unreviewed result, either by going to the Unreviewed Results page or searching for a patient and viewing their unseen results, you can manually mark the result as reviewed. To do this, click on the button Mark Reviewed button with the result open.
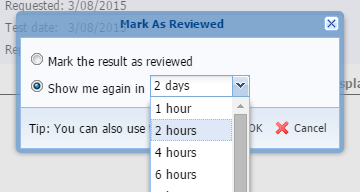
Upon being clicked, a window will appear. This will give you the choice to either mark the result as reviewed, or to remind you of the result in the selected amount of time.
Once you choose to mark the result as reviewed, a green tick will appear in the Reviewed column, letting you know that this result has been seen.
Viewing Abnormal Results
There are two ways to view Abnormal Results. The first is from the Unreviewed Results tile on the Dashboard. If there are abnormal results that have not yet been reviewed, you can click the abnormal link.

This will show you all abnormal unreviewed results for all patients. You will get the same result if you go to Unreviewed Results in the sidebar and then click the Abnormal Results Only button at the bottom.

Looking up a patient

On the sidebar under the Results section you will see Patient Results. Clicking on this link will bring up the Patient Lookup search box.
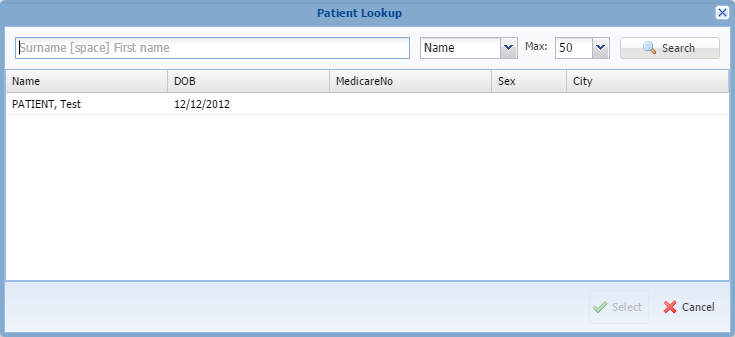
In the search box, type in the patient’s name, beginning with surname. Once that is done, click the Search button.
In addition you are able to search for patients by writing a partial amount of their name. For Example, when searching for Test Patient ‘pat te’ is sufficient.
Once the search has been completed, choose a patient from the search results and then click on the Select button. All of the Patient’s results will appear including reviewed, unreviewed and abnormal.
View Patient Details
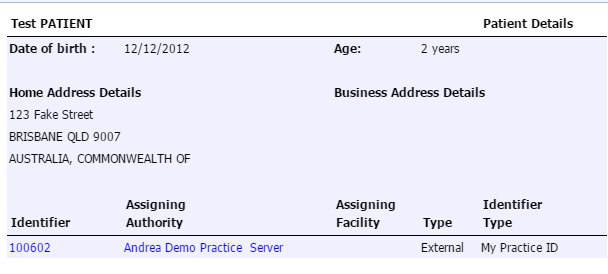
Once you have a patient’s result open you have access to a central bar with a few more options. One of these options is Show Patient Details.

Clicking on this button will show the patient’s demographics, such as their Date of Birth, Home address and their identifying patient numbers.
Filter Results by Date
When looking for a result within a specific range, or there are too many results on a page, you can filter these results by clicking on the Date Search button.

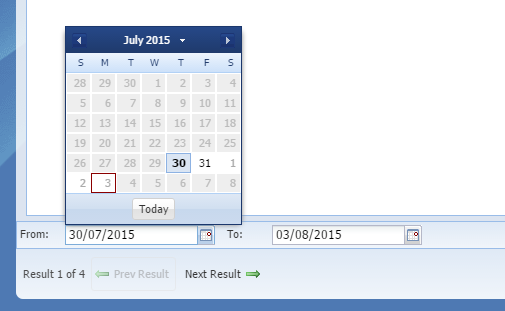
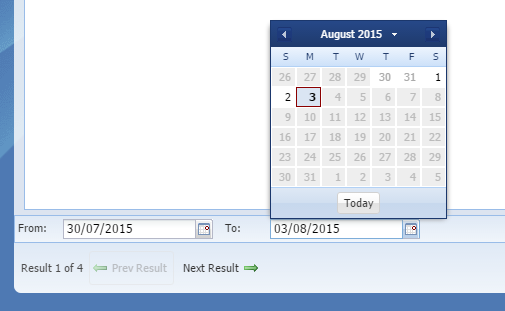
A new bar of options will appear at the bottom. These are displayed as the From and To dates which you will be searching with. From relates to everything after the date that you have input, while To relates to everything before the date.
When the dates are selected, your results listed will be filtered within the date range specified. To remove the date filter, simply click on the Date Filter button again.
The Activity Report
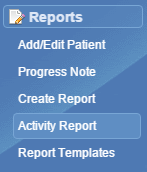
The Activity Report can be viewed by clicking on the Activity Report button under Reports on the left hand panel. This will open the below screen. 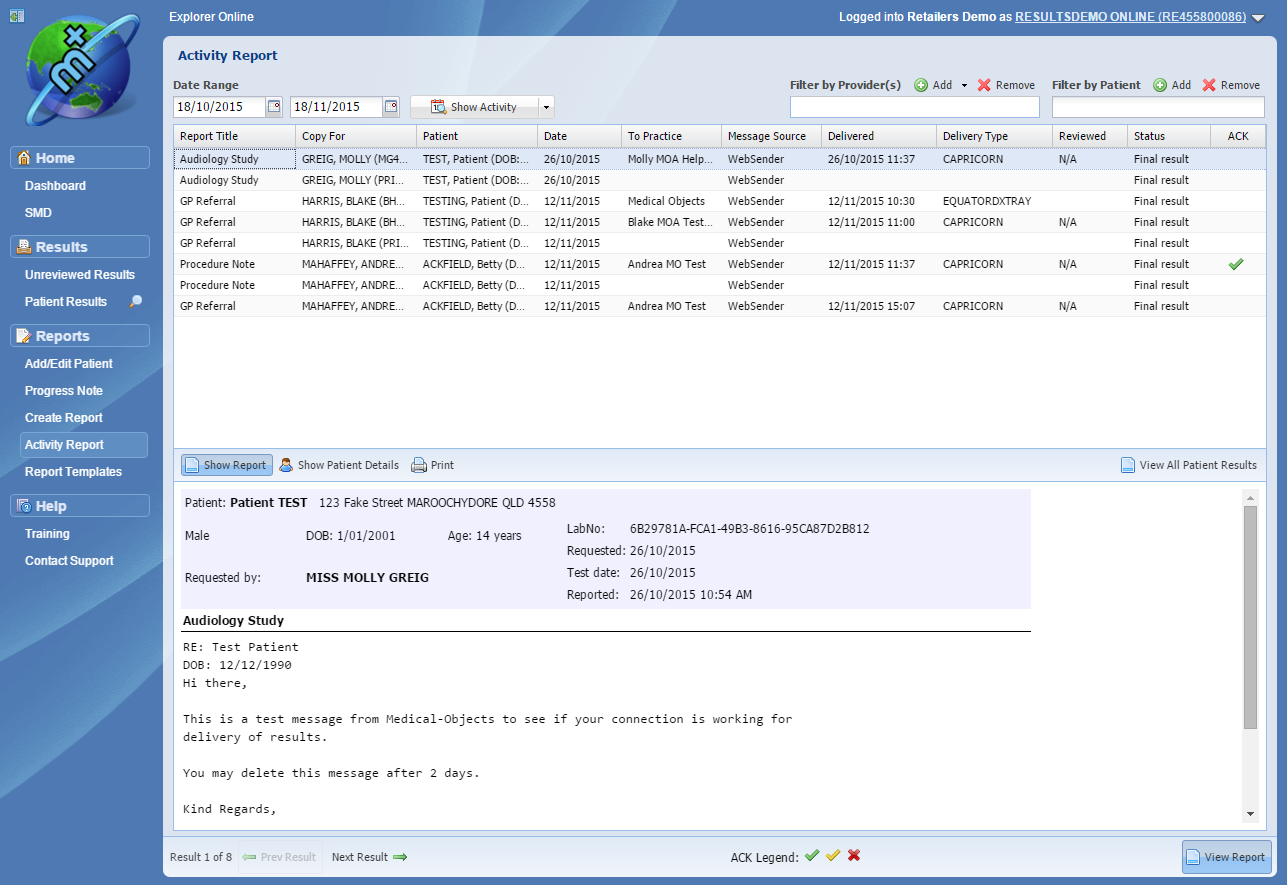
Here you can view all reports that have been sent out through Online Results. You can change the date range at the top of the page to find specific results you have sent, or search by doctor name or patient name. You will need to click the show activity button to begin your search.
To view a report, simply double click on a report to open it. Alternatively left click on the report and click View Report in the bottom right hand corner. Lastly, you can go to the next/previous report using the Next Result/Prev Results arrow in the bottom left hand corner.
Understanding the Delivery Report
The report is comprised of a number of fields. You may need to scroll to the right to see all fields depending on your screen resolution...

| Report Title | e.g. X-ray Chest |
Copy For | The name and provider number of the recipient |
| Patient | Patient name |
| Date | Date the report was sent |
| To Practice | Practice report was sent to |
| Message Source | |
Delivered | If populated, this shows the day and time that the report was downloaded by the recipient |
| Delivery Type | Shows the medical-Objects software type in use at the recipient site. They will be one of 3 types Capricorn – PC Download Client CapricornCM – Mac Download Client EquatorDxTray – Medical-Objects clinical software |
| Reviewed | Only relevant when delivery type is EquatorDXTray |
| Status | Identifies if result was sent as a correction, interim result, or final result. Should show as Final in most cases. |
| Ack | Shows if the message has gone through successfully or not. |
Reports that have been delivered
Once a report has been sent you will either get an entry under the Delivered column, and one under the Ack column. Delivered If populated, this shows the day and time that the report was downloaded by the recipient. Ack shows the status of the report, and shows if it has been delivered or not.

For this example, we will look at a number of files that have been delivered, and follow up on whether they have been imported at the recipient end.
In the previous picture there are 3 reports, all of which have a delivered date and time in the column. Let’s look at the other fields to the right to see their status &
. There are 2 reports have not gone through due to a error
or Acks is blank, it means the report hasn't been consumed. No date in the delivered column means site is offline(blank).
The green tick indicates that there is an Application Acknowledgement. The Application Acknowledgement is generated by the receivers practice software after it imports the report. This is generally a good indication that the report has been both delivered and imported. | |
| The yellow tick indicates that the report has been received and then consumed or removed from the location it was downloaded to. Generally this means the receiver's software doesn't generate an application acknowlegement so the File Consumed ACK can be used to assume the report has been imported. | |
| The cross indicates that there was an error at the receivers end. A report that returns with an error will re-try periodically. If the report does not eventually go through it's suggested that you give Medical-Objects Helpdesk a call. | |
| A blank Ack indicates that the receiving sites Capricorn software is currently offline |
You will see most reports have a ‘Capricorn’ entry in Delivery Type column. This details that the download client (Capricorn) saved the report to a directory at the receiving end. If the report has not been delivered, there will be NO application ack entries.
As we know all top 3 reports above have been delivered, we now look to see if they have been imported by the recipient’s practice software.
The only exception to above will be if you see the Delivery Type is displaying EquatorDxTray. This means they are using software similar to the Medical-Objects explorer as their clinical package. If you see EquatorDxTray as the delivery type, you should instead look under the Delivered column for a date and time.
Printing Results
When viewing a result, it can be printed via the Print button located in the central bar next to Show Patient Details.

Pressing this button will immediately bring up a window with the result in a print friendly format and your internet browser’s printer settings.
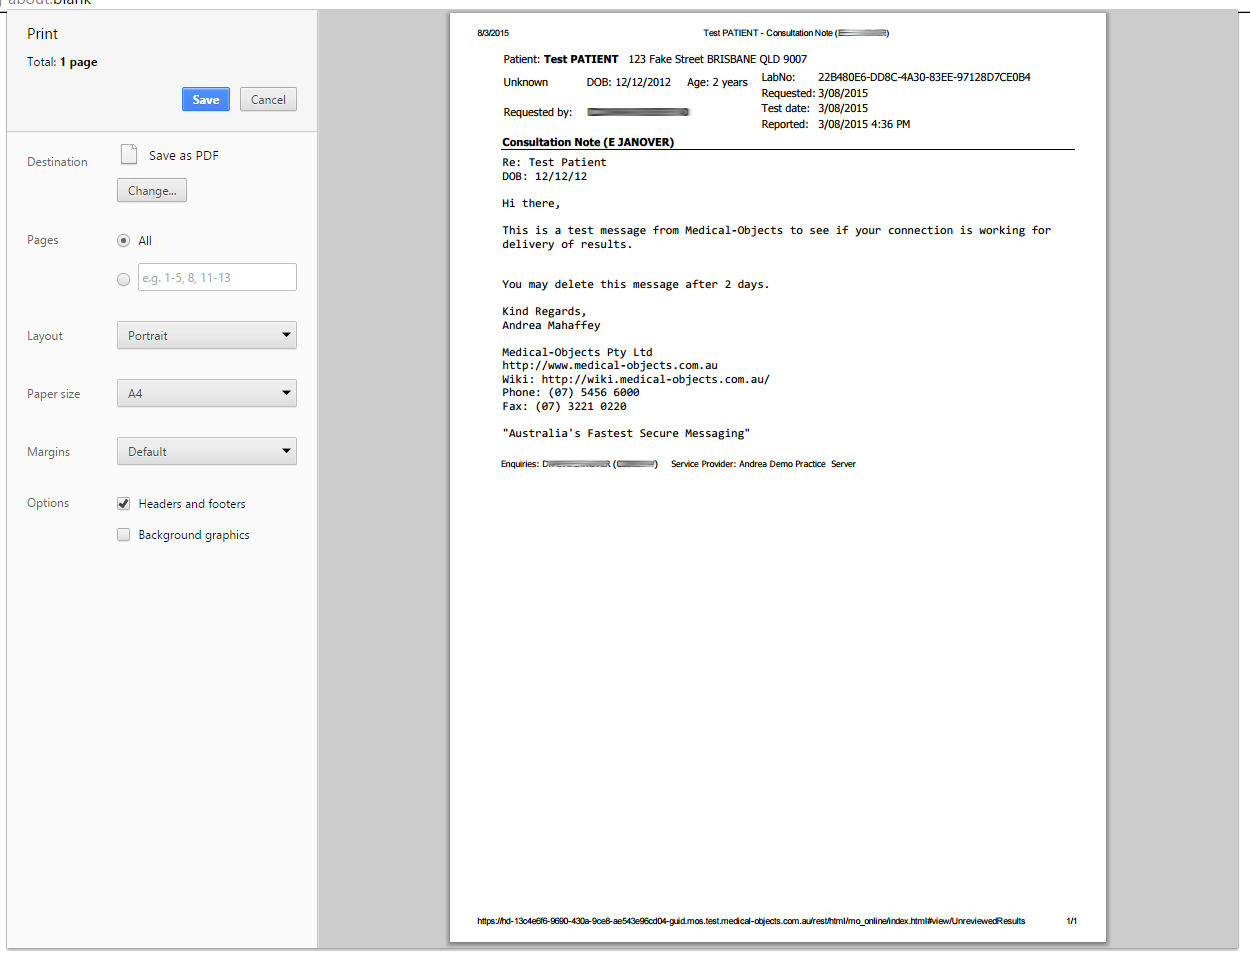
From here you can change or modify your printer settings if needed. When you are ready, press the print button to print the report.
- No labels