- Created by Andrea M, last modified by System Administrator on Jan 31, 2024
Overview
This article will cover the basic functionality of Medical Objects Explorer Online. If you have any questions or require any further information, please contact the Helpdesk on (07) 5456 6000.
Medical-Objects Explorer Online is a web-based application that allows you to send and receive results from any of your mobile devices or a stationary workstation from your own personal web browser.
Logging in and Out
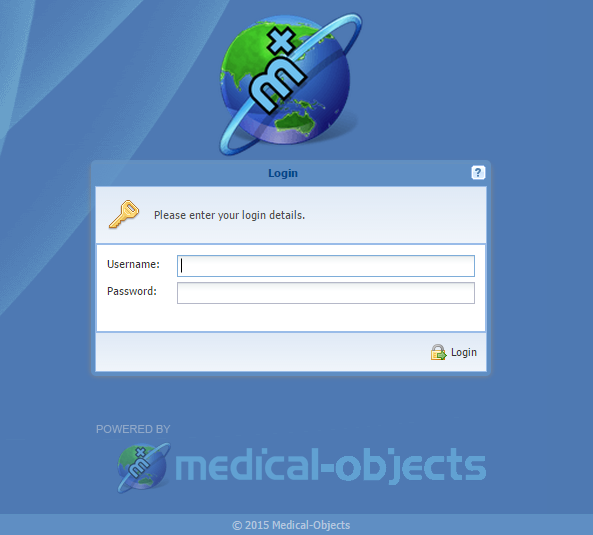
The first page you will see when accessing Medical Objects Explorer Online is the Login Page. To log in, enter your Username and Password then press the Login button. When the credentials have been entered correctly, you will be taken to the Dashboard.

To log out of Explorer Online, simply go to the top right corner of the page and click on the white triangle pointing down. This will open up another menu with the logout button. Clicking this button will take you back to the Login page.
Note:
By default, you will be automatically logged out of Explorer Online if you are inactive for 30 minutes for security reasons.
Dashboard Layout
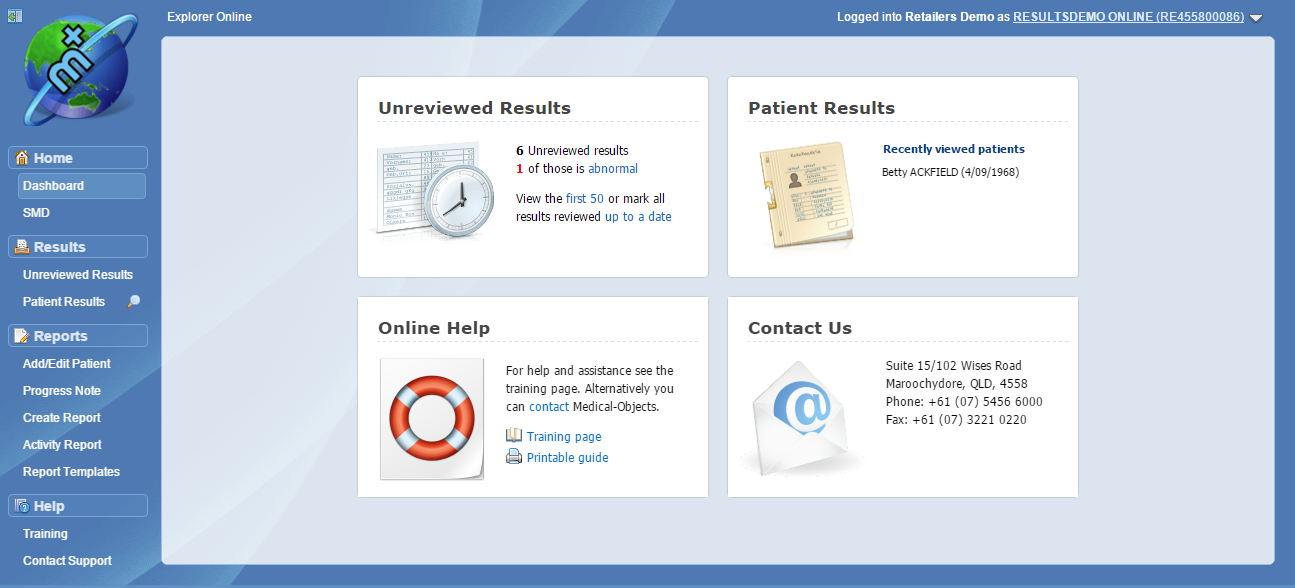
The Dashboard is the default page that will appear once you have logged into Explorer Online. The Dashboard has a variety of tools to help simplify your day to day use of Explorer Online.
At the centre of the page there are four boxes which lead to different areas of the site.
Unreviewed Results
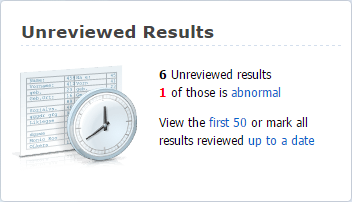
This tile will have a count of any results waiting to be reviewed as well as counting any abnormal results. In addition, it also offers a convenient way access the first 50 results or to mark results reviewed up to a specified date.
Patient Results
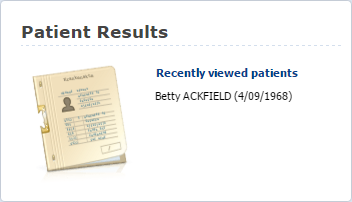
Patient Results will list the most recently viewed patients and provide links to go back to the recently viewed patient’s results.
Online Help
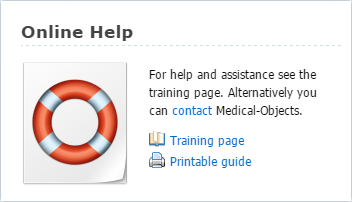
The Online Help tile provides convenient links to training documents and videos along with contact details to get in touch with the Medical-Objects Helpdesk should you have any questions or problems.
Contact Details
The Contact Details tile will list the contact details for your Explorer Online provider.
Sidebar

The sidebar will appear at the far left of the screen. From here a number of links can be selected to view various areas of Explorer Online.
At the very top left you will see a small icon, this is the Hide/Unhide button. Clicking this button will hide the side bar. To make the sidebar appear again simply move your mouse to the left of the screen. To have the sidebar show permanently again, simply click on the Hide/Unhide button again.
Underneath the Home tab, there is a link to the dashboard. This will immediately take you back to the dashboard from whatever page you are on.
The links within the Results tab can be used to quickly access incoming results or view patient files.
Lastly the Help tab has links to training content and support contact details.
Reviewing Results

When you open an unreviewed result, either by going to the Unreviewed Results page or searching for a patient and viewing their unseen results, you can manually mark the result as reviewed. To do this, click on the button Mark Reviewed button with the result open.
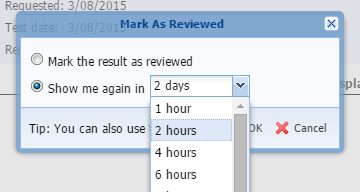
Upon being clicked, a window will appear. This will give you the choice to either mark the result as reviewed, or to remind you of the result in the selected amount of time.
Once you choose to mark the result as reviewed, a green tick will appear in the Reviewed column, letting you know that this result has been seen.
Viewing Abnormal Results
There are two ways to view Abnormal Results. The first is from the Unreviewed Results tile on the Dashboard. If there are abnormal results that have not yet been reviewed, you can click the abnormal link.

This will show you all abnormal unreviewed results for all patients. You will get the same result if you go to Unreviewed Results in the sidebar and then click the Abnormal Results Only button at the bottom.

Looking up a patient

On the sidebar under the Results section you will see Patient Results. Clicking on this link will bring up the Patient Lookup search box.
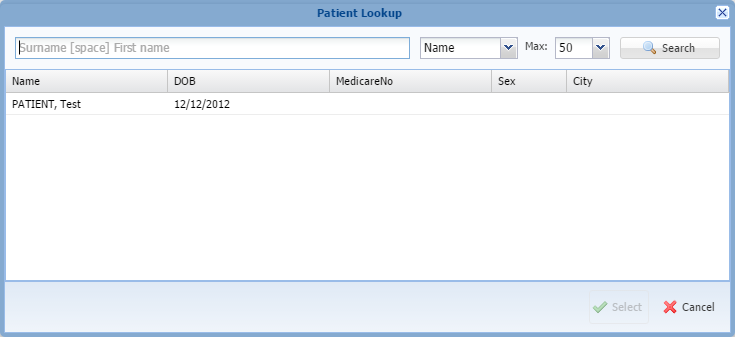
In the search box, type in the patient’s name, beginning with surname. Once that is done, click the Search button.
In addition you are able to search for patients by writing a partial amount of their name. For Example, when searching for Test Patient ‘pat te’ is sufficient.
Once the search has been completed, choose a patient from the search results and then click on the Select button. All of the Patient’s results will appear including reviewed, unreviewed and abnormal.
View Patient Details
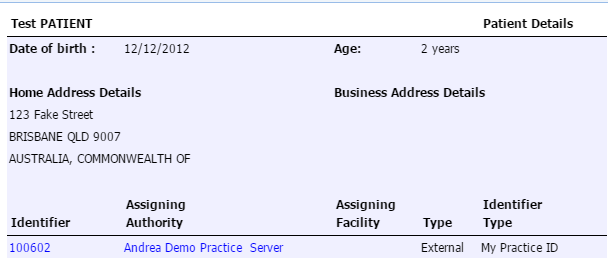
Once you have a patient’s result open you have access to a central bar with a few more options. One of these options is Show Patient Details.

Clicking on this button will show the patient’s demographics, such as their Date of Birth, Home address and their identifying patient numbers.
Filter Results by Date
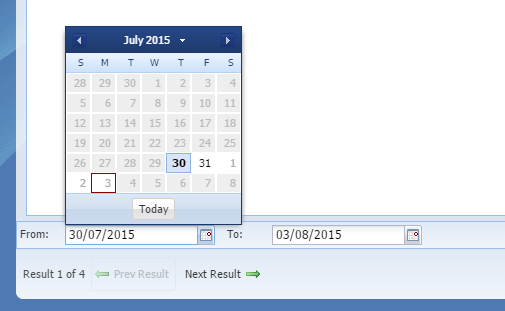
When looking for a result within a specific range, or there are too many results on a page, you can filter these results by clicking on the Date Search button.

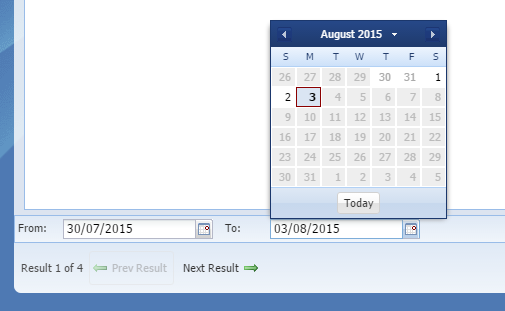
A new bar of options will appear at the bottom. These are displayed as the From and To dates which you will be searching with. From relates to everything after the date that you have input, while To relates to everything before the date.
When the dates are selected, your results listed will be filtered within the date range specified. To remove the date filter, simply click on the Date Filter button again.
Sending a report
Creating a Report Template
The template construction page can be found under Reports and by clicking on Report Templates.
Here you can enter the elements for your document to pick up from the listed patient details, sending provider and receiving provider. Simply click the green arrow beside the field name you would like to add.
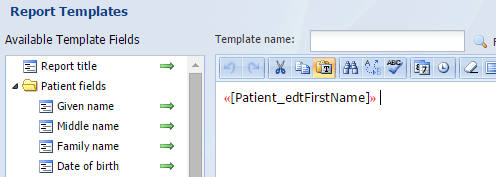
You can also enter text in the right hand box to create your template.
Give the template a name and a Description, and click on Save Template to save it in your presets.

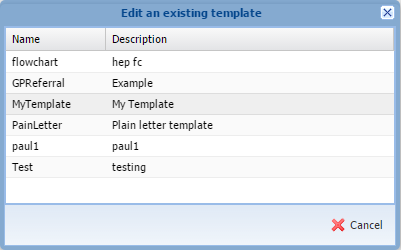
To remove a template, click on the Find button to load it, and select a template. 
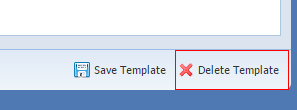
Click on the Delete Template button to remove it.
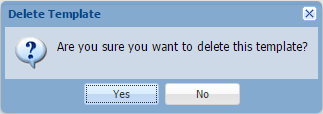
You will then be asked to confirm.
Loading a Template
From the left hand menu go to Reports > Send Report to access letter writer.
To load a pre-made template, select the last icon that say " Add Template".
The templates window will now display. Select the template you would like to use from the "Template" drop down menu.
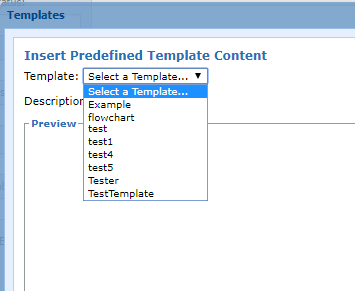
Once the template is selected, it will now display a preview of the template.
If the Patient details have been entered correctly you will see that the tagged fields have been Auto Populated with the patients details.
Sending the report
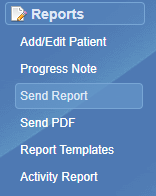
To send a report, Click on “Send Report” in the left hand column. This will open up the Send Report page.
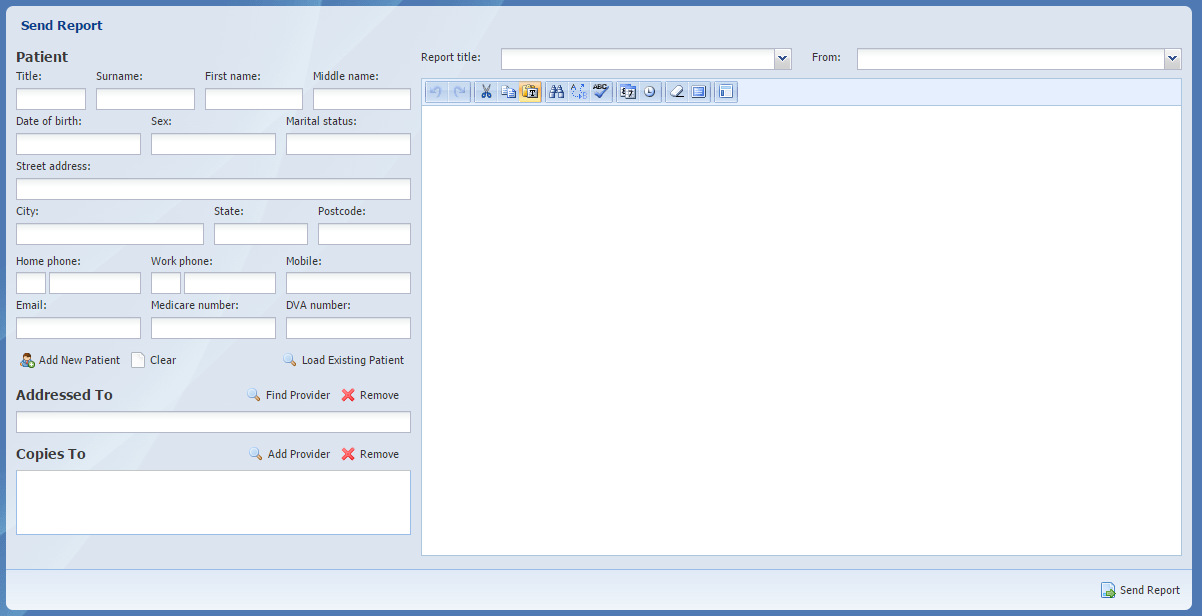
From this page you will be able to create a fresh report that you would like to send off. This is complete with a text editor and template support.
First load up the patient that you are creating correspondence for. Alternatively you can create a new patient as seen below.

Once the patients details have been loaded, select the title of your report as well as the provider number you would like to send from.
![]()
You also will need to select who you would like to send to as well as any CC doctors that will be receiving the report.
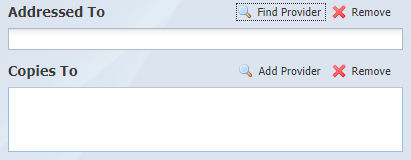
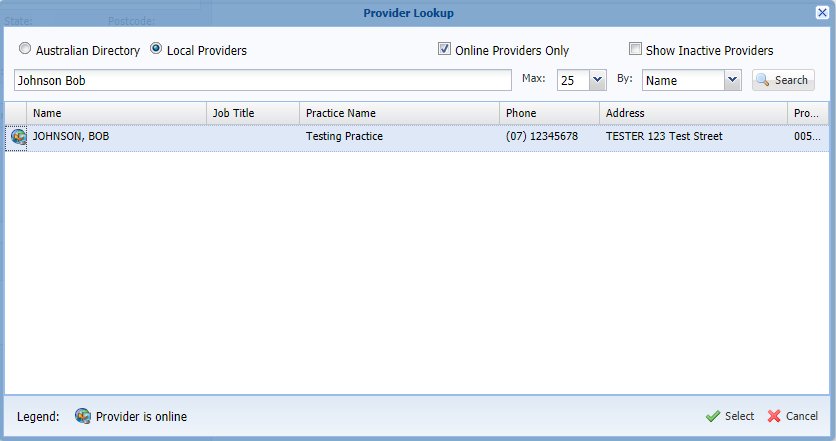
To search, select the find provider button. This will open up our provider directory. The provider directory is a database of all medical professionals using Medical-Objects.
Once all sections are filled and your report has been written. You can now send off from the bottom right corner of the page. Alternatively you can clear all data if writing simultaneous messages.

Sending a PDF Report
Select Send PDF from the navigation menu.
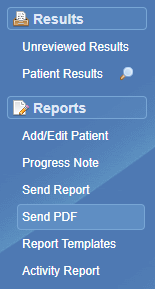
This will bring you to the PDF Sending section of Medical Objects Online.
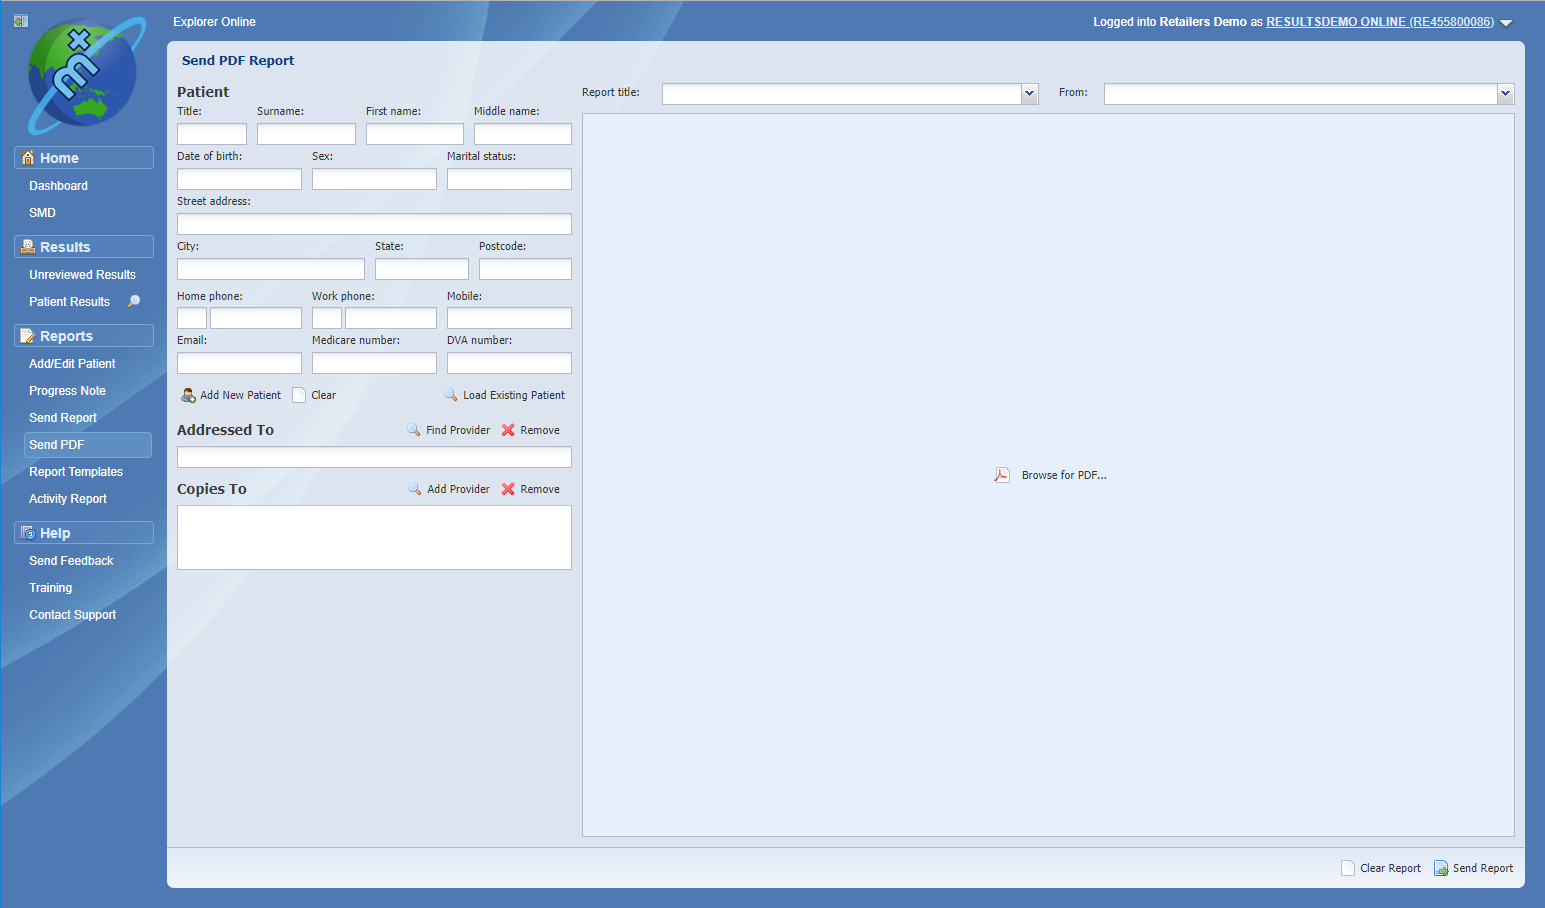
Click Browse for PDF... to locate the document you wish to send. This will allow you to browse directly from your own computer. Once you have located the PDF you wish to send and have imported it, a preview of the message will appear.
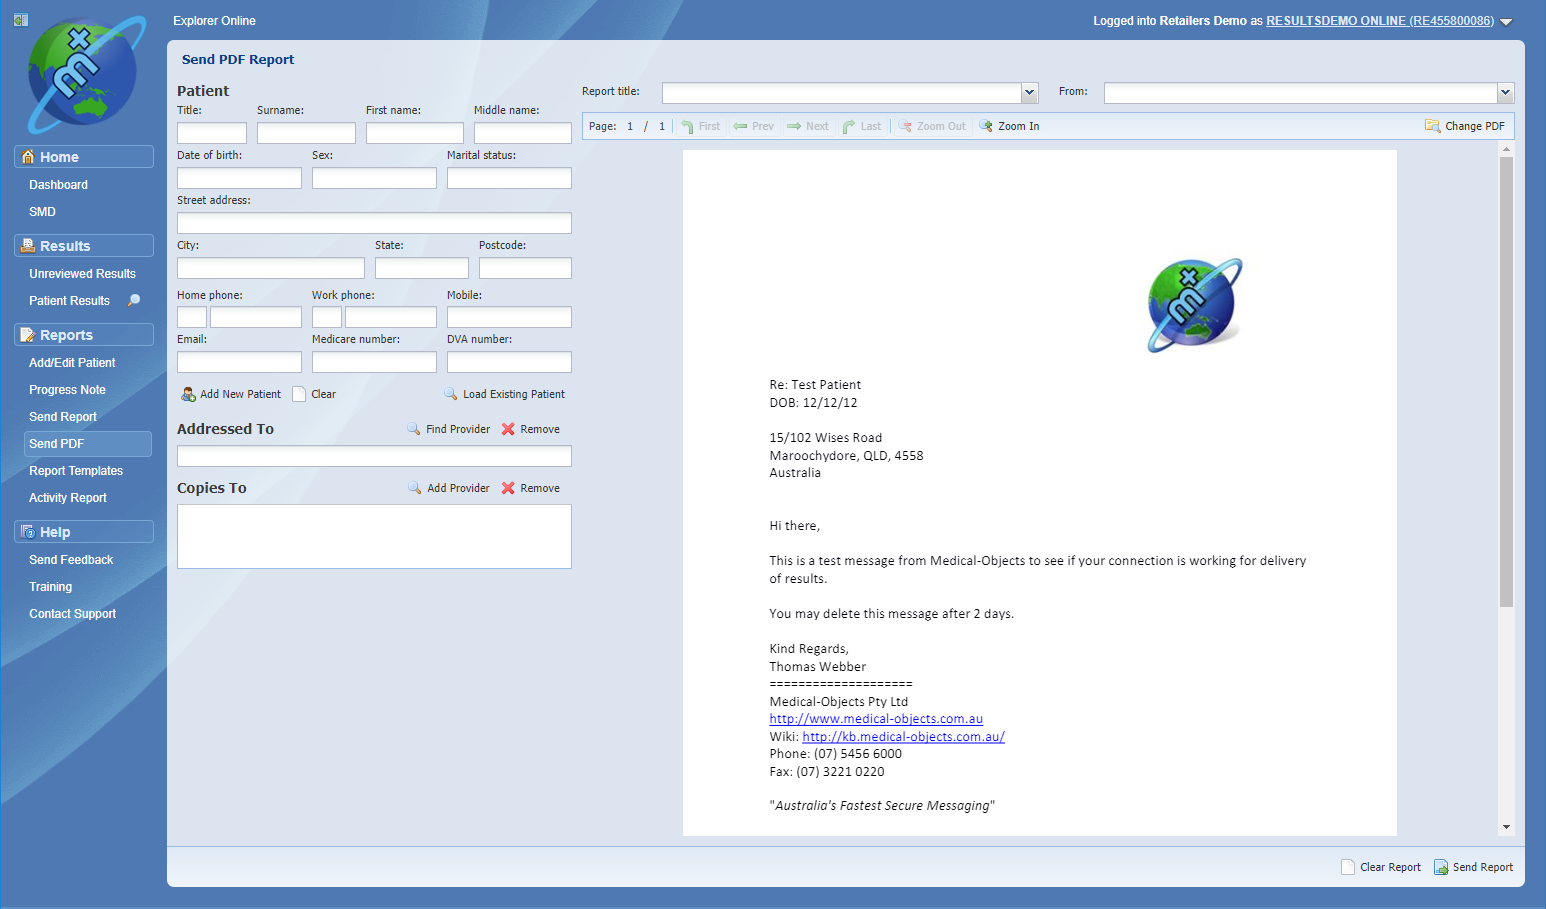
After your PDF has successfully imported. Load up an existing patients details. These will be the details attached to the report you are sending.
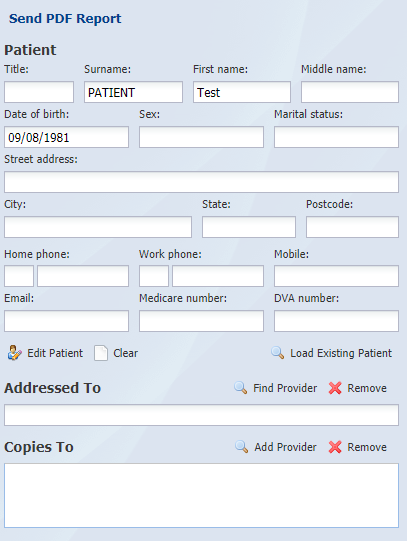
After the patients details are in, find the provider you wish to address the report to.
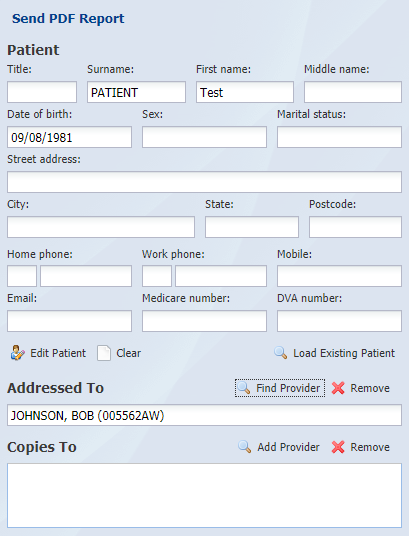
Finally, select who the report is from and a title for the report.
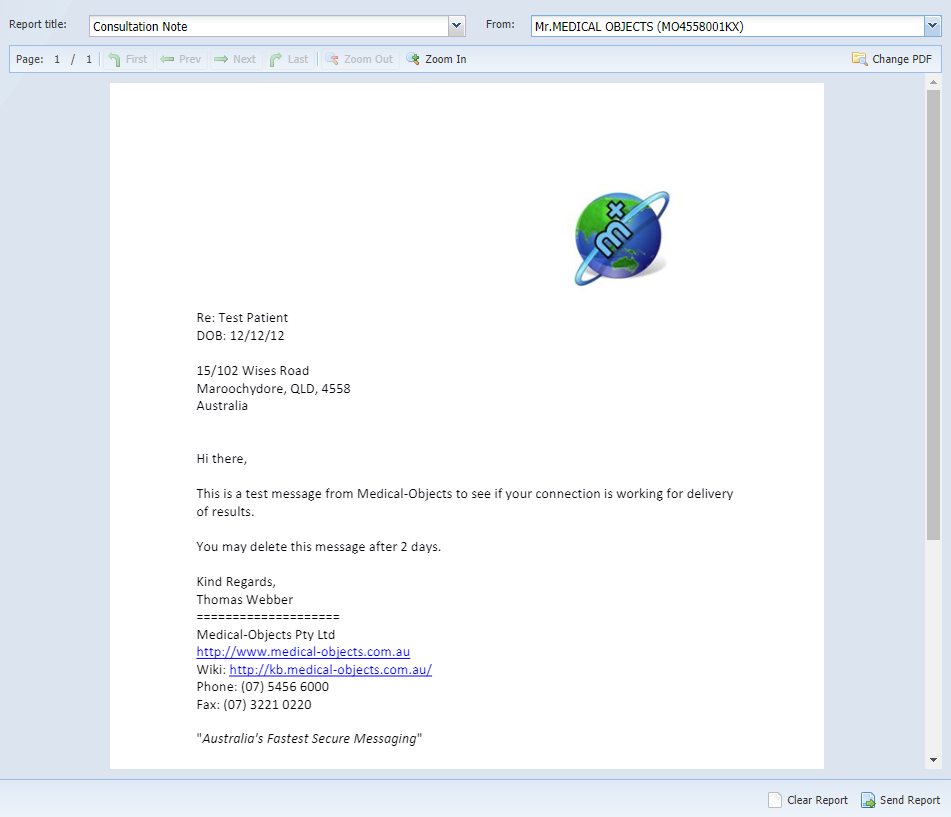
You can now send the report using the Send Report button provided.
The Activity Report
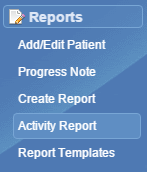
The Activity Report can be viewed by clicking on the Activity Report button under Reports on the left hand panel. This will open the below screen. 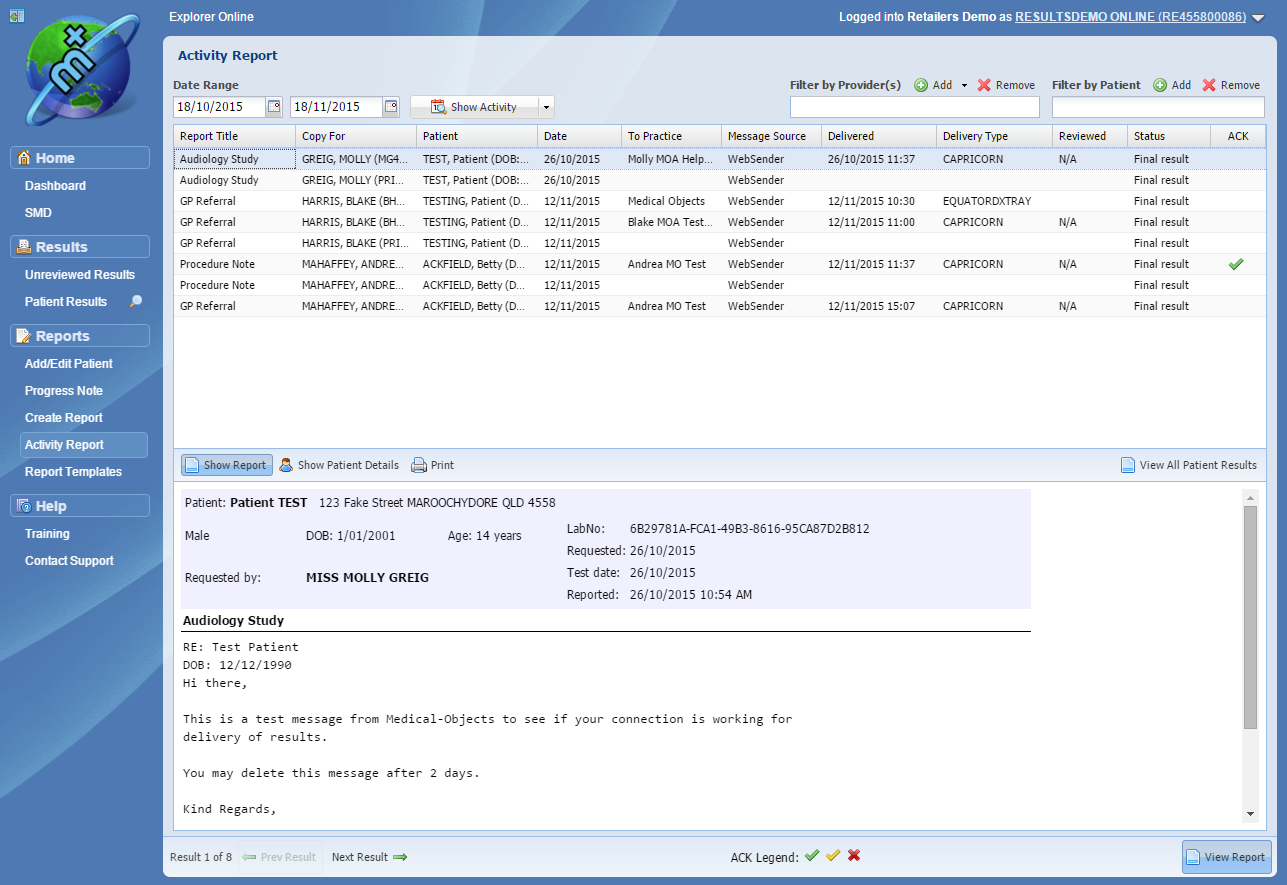
Here you can view all reports that have been sent out through Explorer Online. You can change the date range at the top of the page to find specific results you have sent, or search by doctor name or patient name. You will need to click the show activity button to begin your search.
To view a report, simply double click on a report to open it. Alternatively left click on the report and click View Report in the bottom right hand corner. Lastly, you can go to the next/previous report using the Next Result/Prev Results arrow in the bottom left hand corner.
Printing Results
When viewing a result, it can be printed via the Print button located in the central bar next to Show Patient Details.

Pressing this button will immediately bring up a window with the result in a print friendly format and your internet browser’s printer settings.
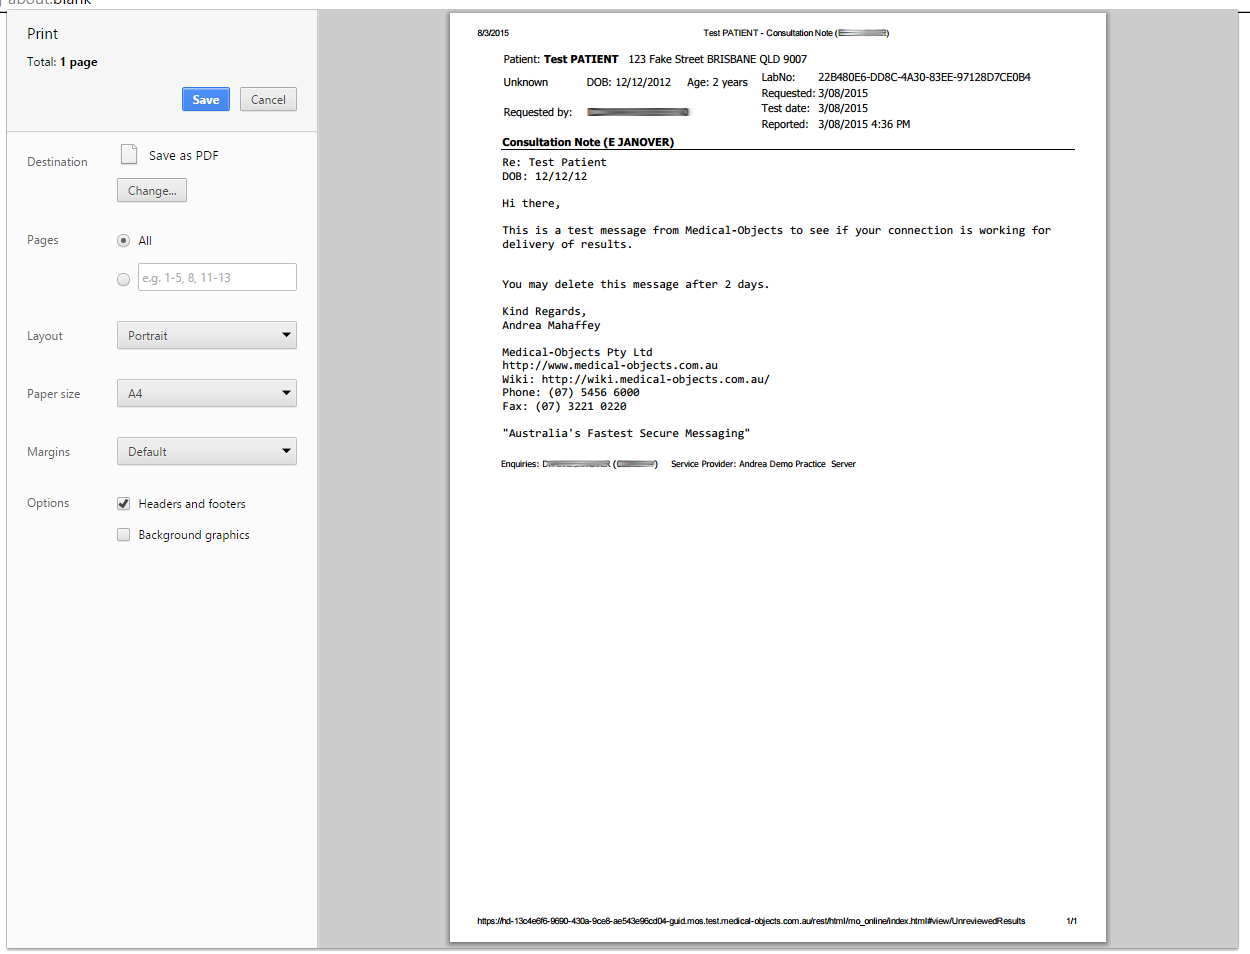
From here you can change or modify your printer settings if needed. When you are ready, press the print button to print the report.
- No labels