Overview
This article will cover the basic functionality of using the admin features in Explorer Online. If you have any questions or require any further information, please contact the Helpdesk on (07) 5456 6000.
Manage Users
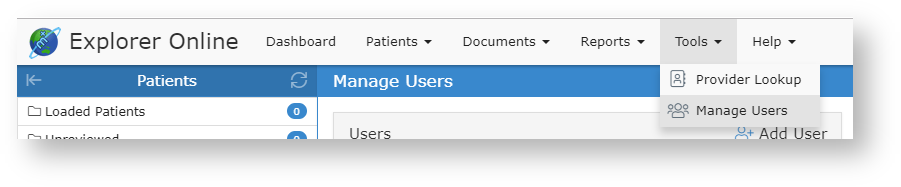
The Manage Users feature allows you to add, remove and update your Explorer Online users. You can access the Manage Users feature via the Tools navigation menu.
Creating a new user
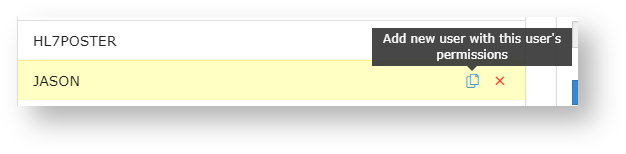
Tip!
You can clone an existing user which will copy their permissions by hovering over the user in the user list and clicking the clone icon.
To create a new user simply hit the Add User button in the header of the users list panel.
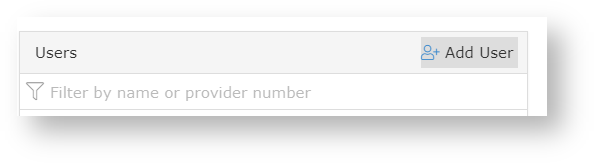
After clicking the Add User button you can then fill out the add user form to the right.
| Details | Tip | |
|---|---|---|
| Username | The username they will use to log in with. | Avoid long usernames as well as spaces or special characters. |
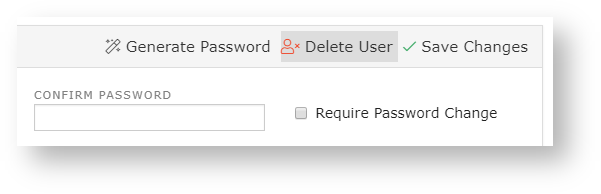
| Password | The password they will use to log in with. | You can generate a random password by clicking the Generate Password button.
|
| Require Password Change | Required This will force the user to set their own password when they first login. | |
| Providers | Click the Add button to add a provider. | If the provider you wish to add is not registered with Medical-Objects you can add an unlisted provider by clicking the drop-down arrow on the Add button and selecting Add Unlisted. |
| Permissions | The permissions the user will have. | Suggested defaults
Suggested permissions for granting user access to the Requested Charts folder
|

Once finished simply click the Save button.
Delete a user
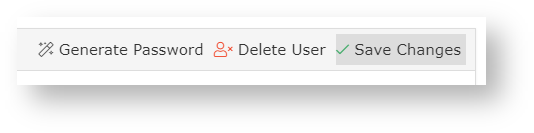
To delete an existing user, simply select the user in the user list and then on the right-hand side click on the Delete User button.
Updating a user
To update an existing user, select the user from the users list. Once selected the users' details will be displayed in the user details section to the right.
Once you've made your changes simply click the Save Changes button.
Setting Up Each User Account for Email Notifications
Note:
If the user has logged in using a client certificate, they will have access to configure every user's notification setting, otherwise they will only be able to configure their own.
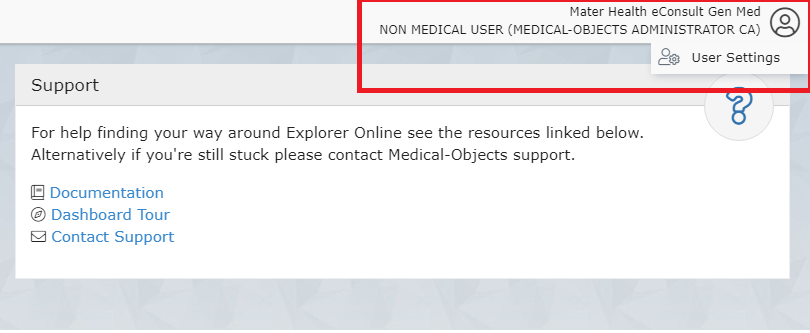
- Select the user account in the top right corner.
- Click User Settings.
- Click Document Notifications and select Add.
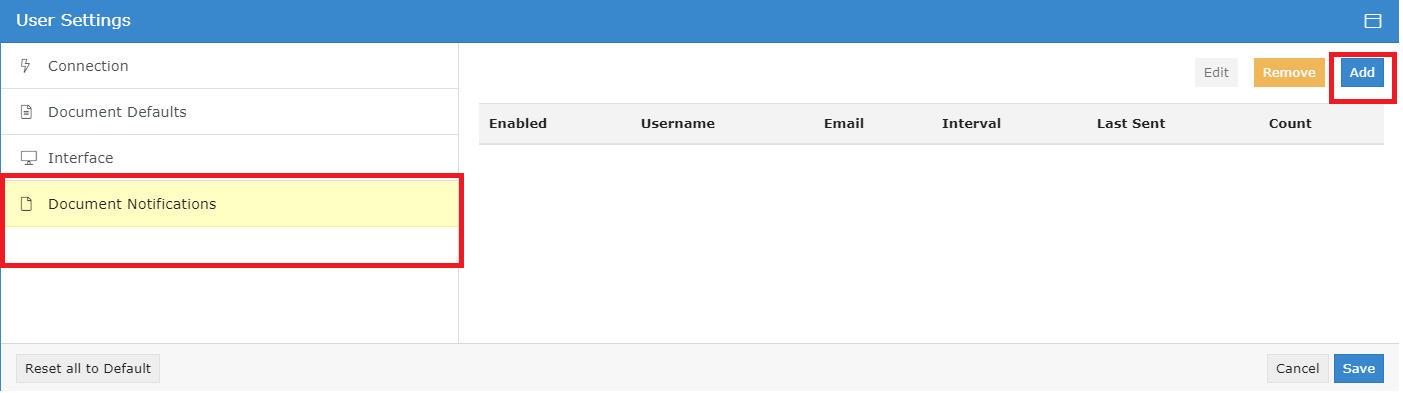
- Enter the email address they want to receive the notifications to.

- Set up the interval of how often they want to receive an email notification - it's recommended once an hour or every 4 hours, so they aren't getting spammed with emails - and select Confirm.
- Then Save the Document Notifications configuration.