Overview
This guide provides general instructions on how to set up VIP.net to run with Medical-Objects. If you have any questions, feel free to contact our Helpdesk on (07) 5456 6000 or the VIP.net Helpdesk: (02) 9669 1844.
Configuring Capricorn Software
Double click the HL7 tray icon.
The Log window is displayed.
Click the Configuration icon.
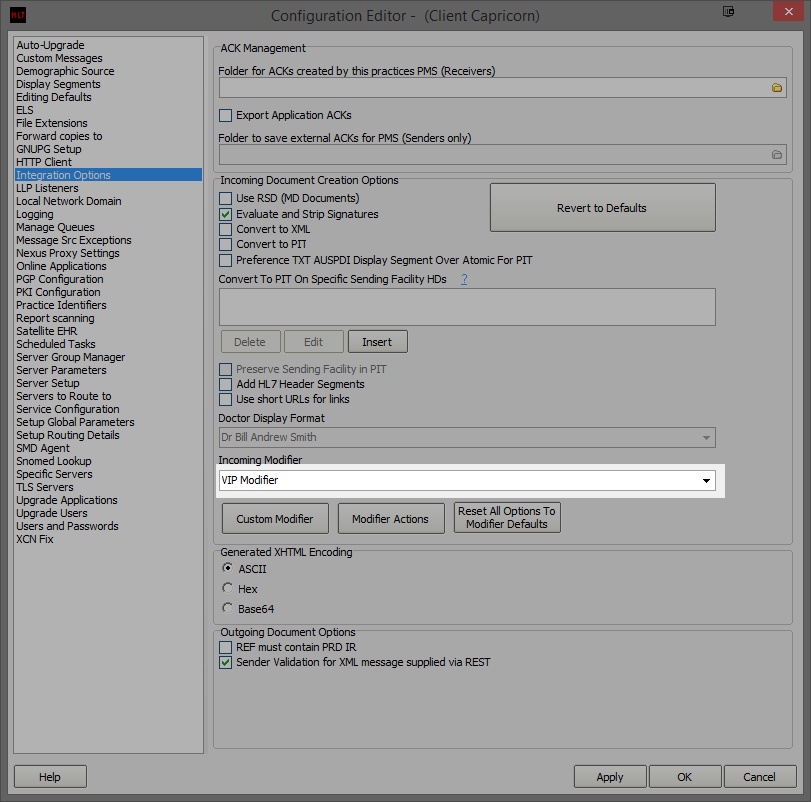
Click on the Integration Options.
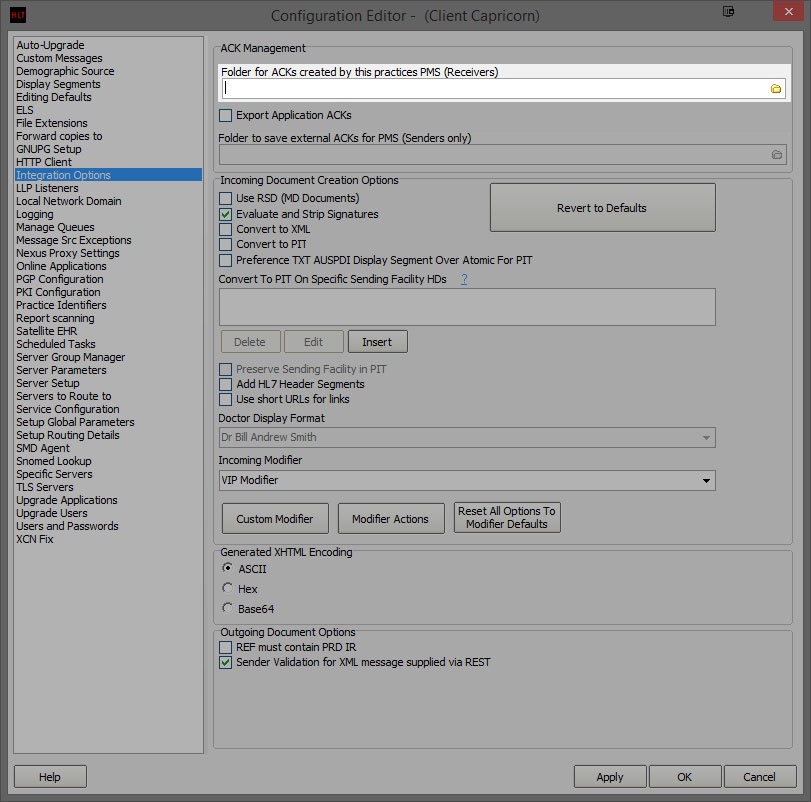
Set the ACK Management path to the C: Drive, For example:
C:\MO\Results\VIP\OutgoingCheck that the Incoming Modifier is set to VIP Modifier.
Select Server Parameters from the left panel.
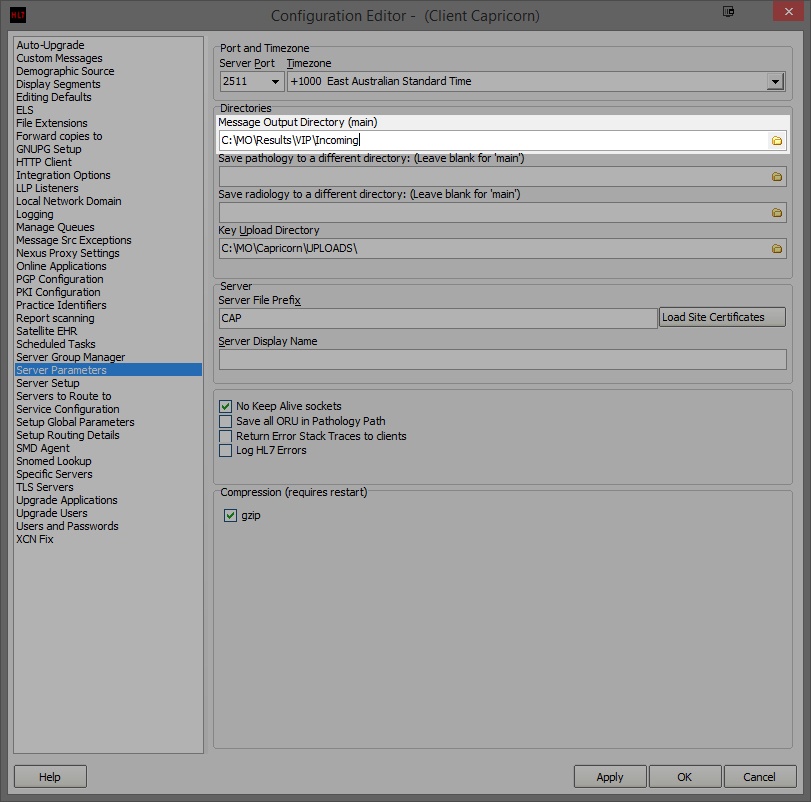
Under the Message Output Directory (main) set the results import path.
The recommended Import path is:
C:\MO\Results\VIP\Incoming
However if you wish to separate Pathology and Radiology, Set the following paths accordingly.
Pathology - C:\MO\Results\VIP\Path Rad
Radiology - C:\MO\Results\VIP\Path Rad
Paths can be set individually for each organisation if requested from within the contact configuration.If the folders do not exist you must create them.
Make sure the Results folder has Modify, Read and Write permissions, AND is shared on the Network.
The configuration is complete. Click Apply and OK
VIP.net Configuration
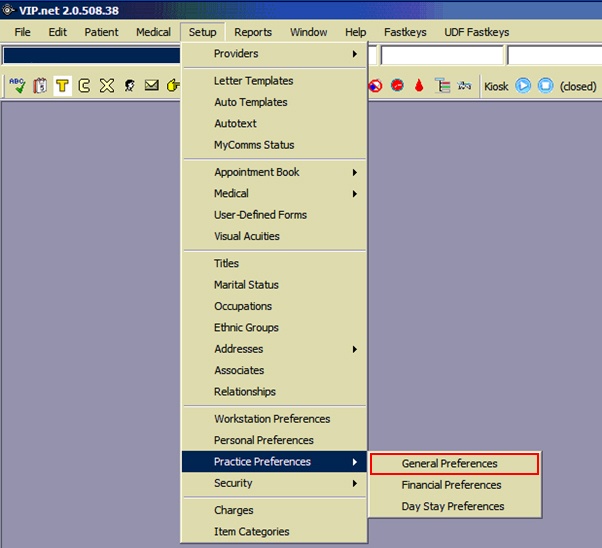
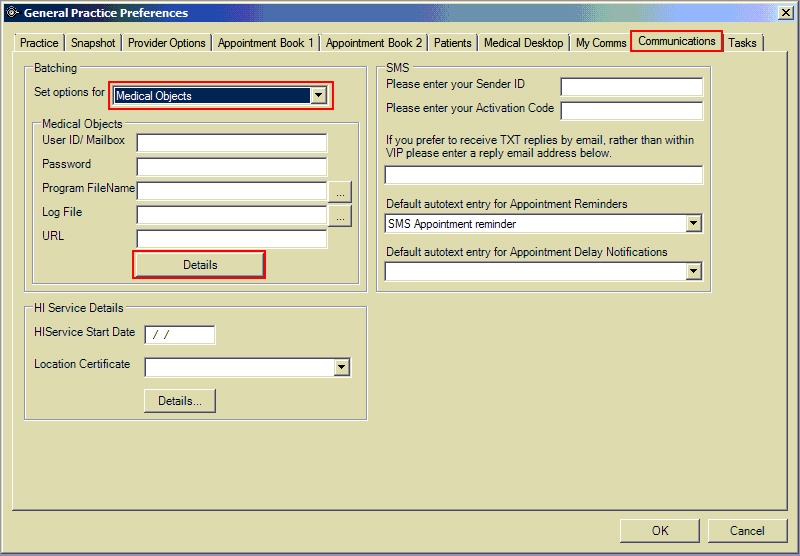
Open VIP.net, and click on ‘Setup’, ‘Practice preferences’ and select ‘General Preferences’.
Select the ‘Communications’ tab. Under ‘Batching’, Select ‘Medical-Objects’, and Click the ‘Details’ button.
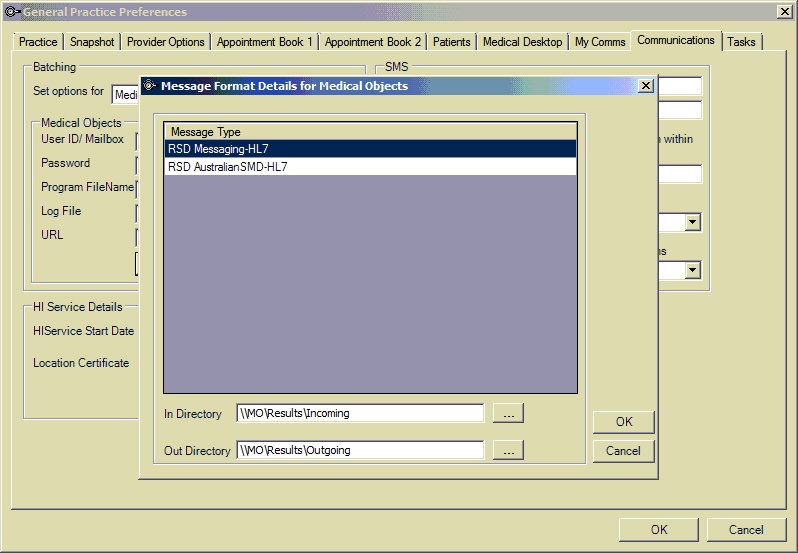
Here you can set the Incoming and Outgoing directory – use UNC Paths for both, for the paths we set up earlier. For example
\\MO\Results\Incoming
\\MO\Results\Outgoing
Receiving Lab Results
If the site receives results from multiple Radiology and Pathology providers, VIP needs to have those Radiology and Pathology organisations created.
Press F2 to open the following window.
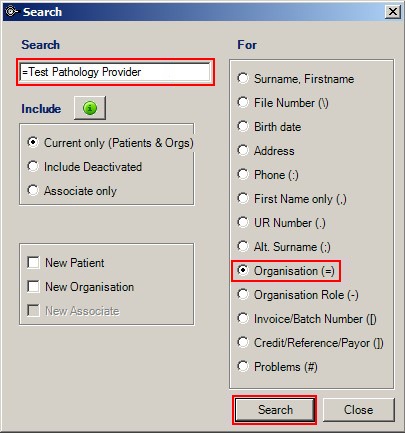
Type the name of the organisation, select ‘Organisation’ from the right hand panel and click Search.
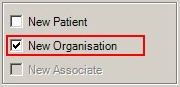
If the organisation doesn’t exist, tick ‘new organisation’ to create it.
On the screen that appears, Go to the Investigations Provider Details tab, and click ‘File Transfer’.
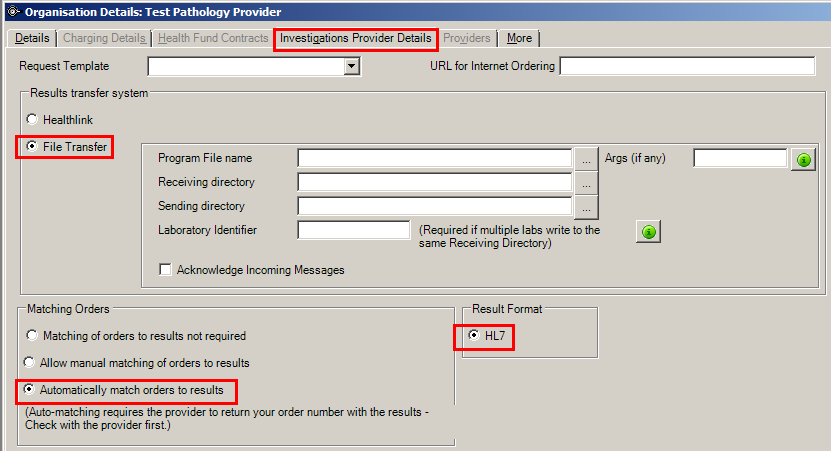
Set the receiving directory to the file path created earlier unless specified otherwise. Use UNC Paths.\\MO\Results\VIP\Path Rad
The Outgoing path is for acknowledgments. Set this path to:\\MO\Results\VIP\Outgoing
And check the box that says "Acknowledge Incoming Messages".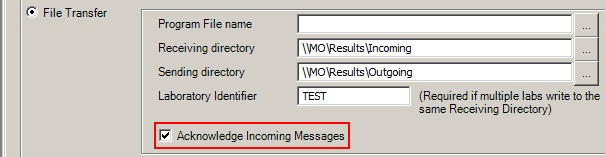
The Lab identifier is used to differentiate results from different companies. If the site receives from more than one Pathology/Radiology Organisation, you may need to set this option. This should be unique to each lab, located in the first line of the result.
Make sure ‘Automatically match orders to results’, and HL7 are ticked.

Viewing Reports
To View reports, Press F4, and look to the bar on the right side of the VIP interface. Under Communication Type, Tick ‘Incoming’, ‘Correspondence’ and ‘Referral’.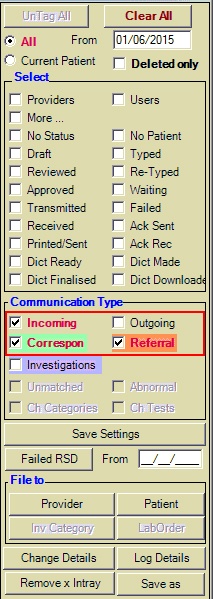
To manually import results go to File, Communications, and select Services. Select Medical-Objects, and select Proceed.