Overview
This guide provides instruction on configuring both Medical-Objects Capricorn and MedTech32 to import electronic results.
If you require any assistance with the installation or configuration, or if you have any questions, please contact the Medical-Objects Helpdesk on (07) 5456 6000.
If you have not Installed the Medical-Objects Download client, Please see the guide for Installing Capricorn on Windows.
Configuring Capricorn Software
Accessing the Capricorn Configuration Window
- To launch the HL7 Tray application, Go to Start Menu, All Programs, Medical-Objects and select the Medical-Objects Capricorn. Alternatively, You can go to C:\MO\Capricorn and run the Capricorn.exe.
- The following icon will appear in the tray. Double click on it to bring up the log window.

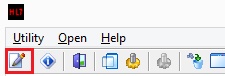
- When the log window is displayed, Click on the Configuration icon highlighted below, or select Utility and select Configuration.
Capricorn Configuration Settings
- Click on the Integration Options field on the left hand side.
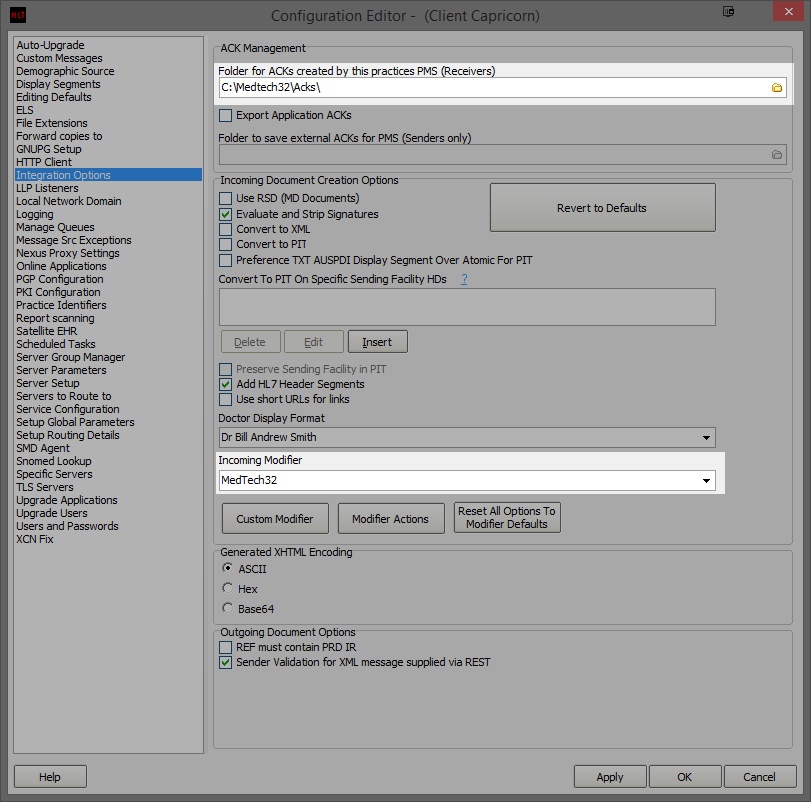
Set the Ack Management path to the local import folder on the server or the network path on a workstation that points to the server import folder, For example:
(Capricorn installed on the server) --> C:\Medtech32\Acks\

(Capricorn installed on the Workstation) --> \\server\Medtech32\Acks\
- Click on Server Parameters in the left hand side panel.
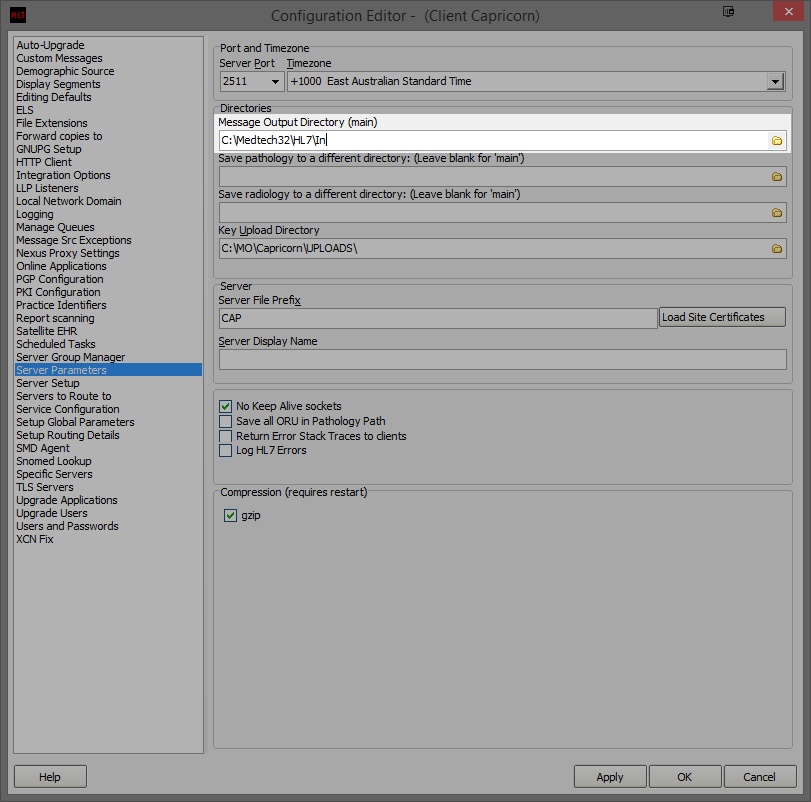
Under the Message Output Directory (Main) set the results import path.
(Capricorn installed on the server)      --> C:\Medtech32\HL7\In

(Capricorn installed on the Workstation) --> \\server\Medtech32\HL7\In
- Click Apply / OK. Capricorn configuration is complete.
MedTech32 Configuration
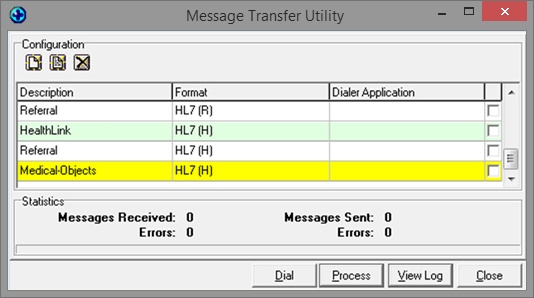
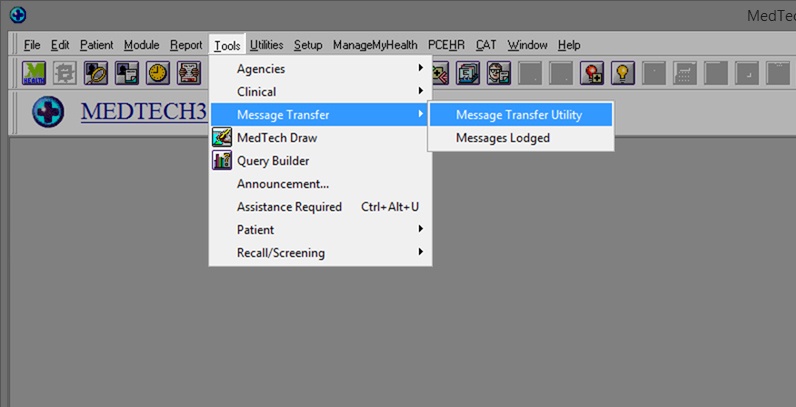
- Open the MedTech32 software. In the toolbar, Select Tools > Message Transfer > Message Transfer Utility.
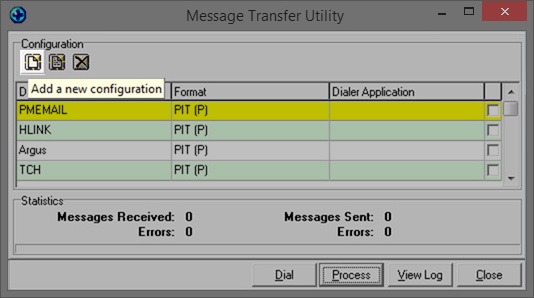
- Select the Add New Configuration button highlighted below.
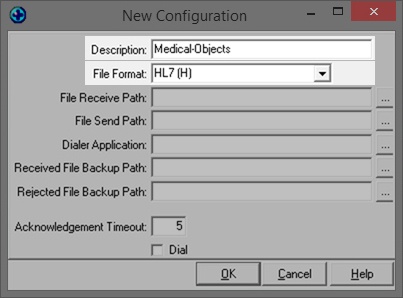
- This will open the New Configuration window. In Description, Type Medical-Objects. make sure that the File Format is set to HL7 (H).
You will want to configure the file paths to the correct folder:
File Recieved Path:       -->  C:\Medtech32\HL7\In
Rejected File backup Path -->  C:\Medtech32\HL7\Bac
Rejected File Backup Path -->  C:\Medtech32\HL7\Reje
Done correctly, It should look like the image below.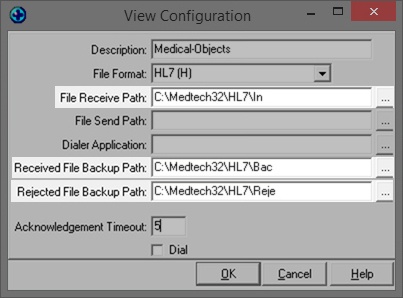
- You should see Medical-Objects in the Message Transfer Utility List. Click the process button to import.