Overview
This guide provides an overview on how to Setup the Word Plug-in to send electronic reports.
If you have any questions or require assistance, please contact the Medical-Objects helpdesk on (07) 5456 6000.
Installation of Word Plug-in
Before installing the Word Plug-in, You will need:
- An installation of the Capricorn software already installed on your network, Or an installation of the Medical-Objects Explorer.
Word Plug-in uses the Capricorn software to transmit the electronic messages
- You have a Medical-Objects Word Plug-in Token. If you do not have a token, Please contact the Medical-Objects Helpdesk on (07) 5456 6000.
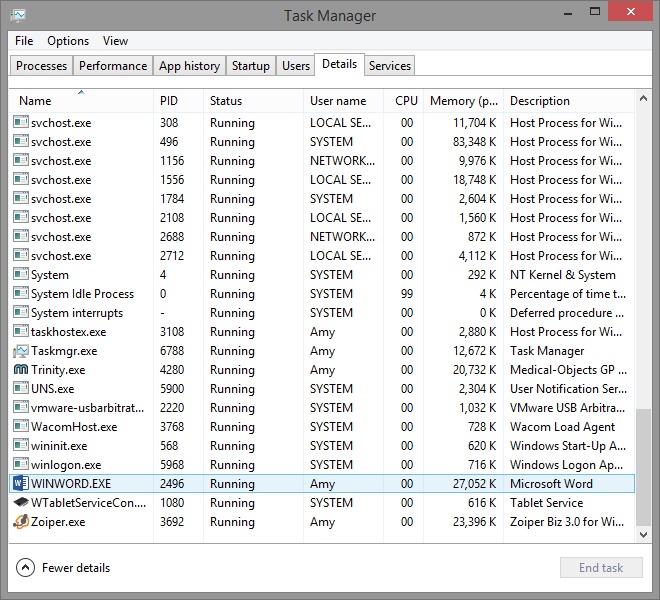
Make sure all instances of WINWORD.exe are not running on your computer as shown in the image below.
Note title Warning: As the Word Plug-in requires the Word program, the installation will not work if Microsoft word is running.
- Download the latest Word Plug-in from the Medical-Objects Website.
http://download.medical-objects.com.au - Click on the download button in the Word Plug-in section.

- When your browser asks you if you wish to run or save, Click save.

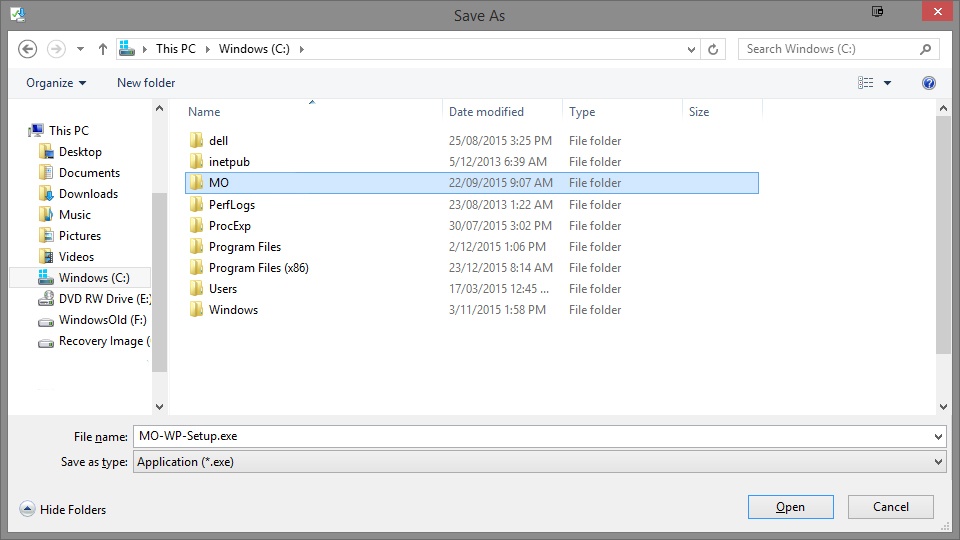
The following Save As window will appear. Save the Setup.exe in the directory C:\MO.
Info title Note: If the directory does not exist, Create it.
One you have clicked Save, the following download screens will appear.

After the Word Plug-in has been downloaded, click Run.

If you see a security warning window, Click Run, or Allow.
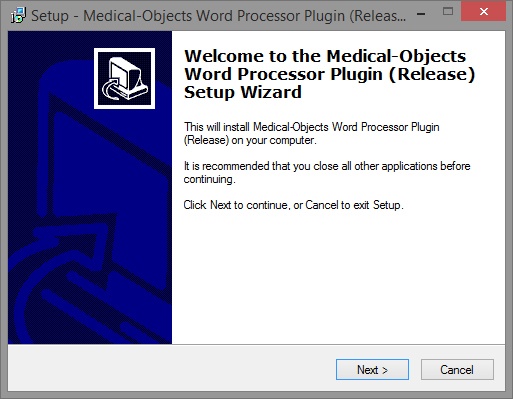
Click Next.
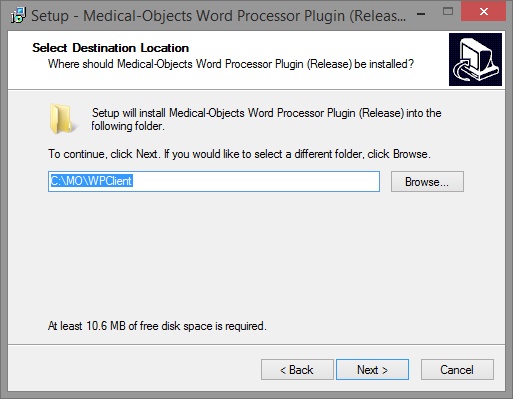
Use the default path, and click Next.
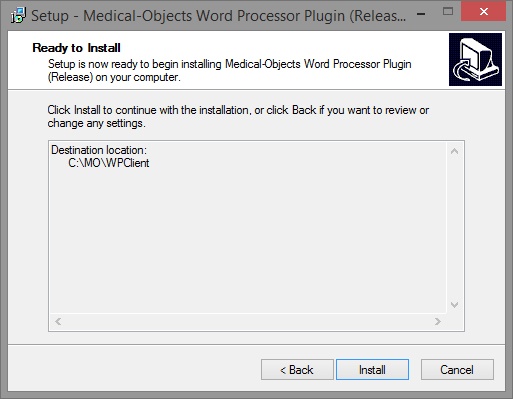
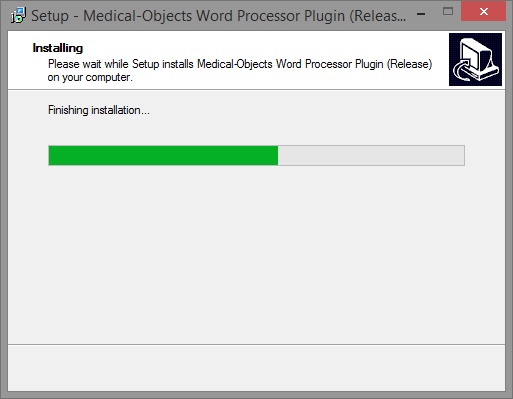
Click Install.
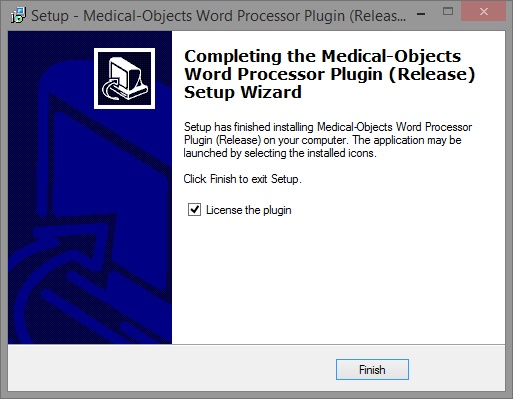
And click Finish.
Copy the Medical-Objects token supplied to you by the Helpdesk, and paste it into the registration screen by clicking Paste Token.
This will auto fill in the Registration Token for you.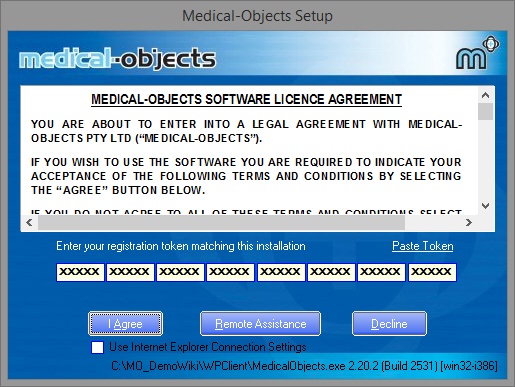
Click I Agree.
Enter a passphrase selected by the Specialistpractice or specalist. There are no restrictions to this passphrase. Enter the passphrase in the second box as well to confirm, And click Next to continue.

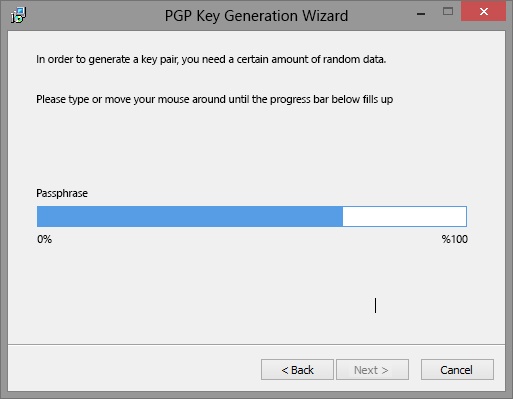
The next section requires random data to fill up the progress bar. Press keys or move the mouse until it reaches 100%.
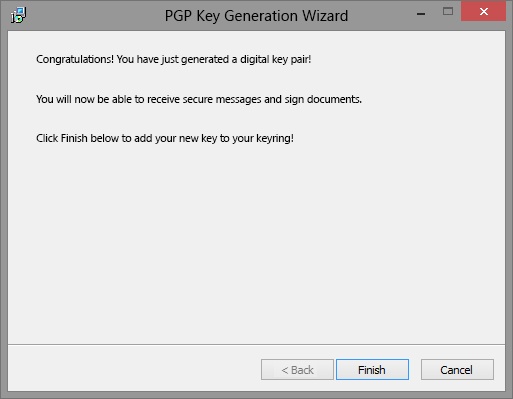
Click Next, and Finish.
- Once this window closes, the Word-Plugin tray icon will now be shown in the System Tray (Taskbar).

How to Configure the Word Plug-in
| Info | ||
|---|---|---|
| ||
If the Tray Icon is not shown, it can be opened from Start menu > All Programs > Startup > Medical Objects Word Processor Plugin. |
- Click the Word Plug-in Tray Icon.
- Click Login.
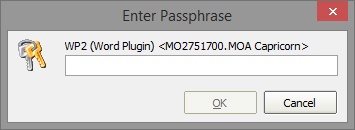
- Enter the requested passphrase selected by the Practice or Specialist. This is the same passphrase used in the installation.
- Click the Word Plug-in Tray icon again.
- Select Configure.
- Select Report Defaults.
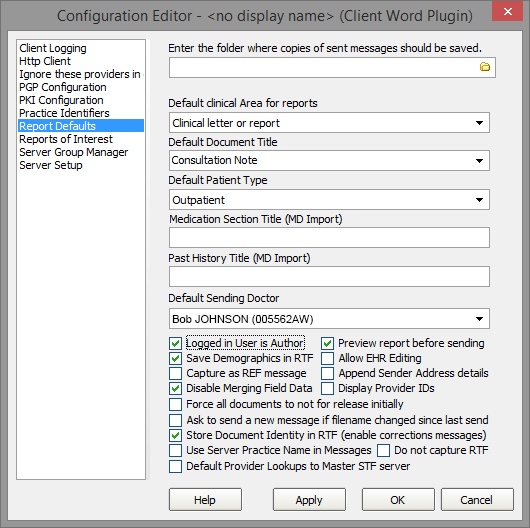
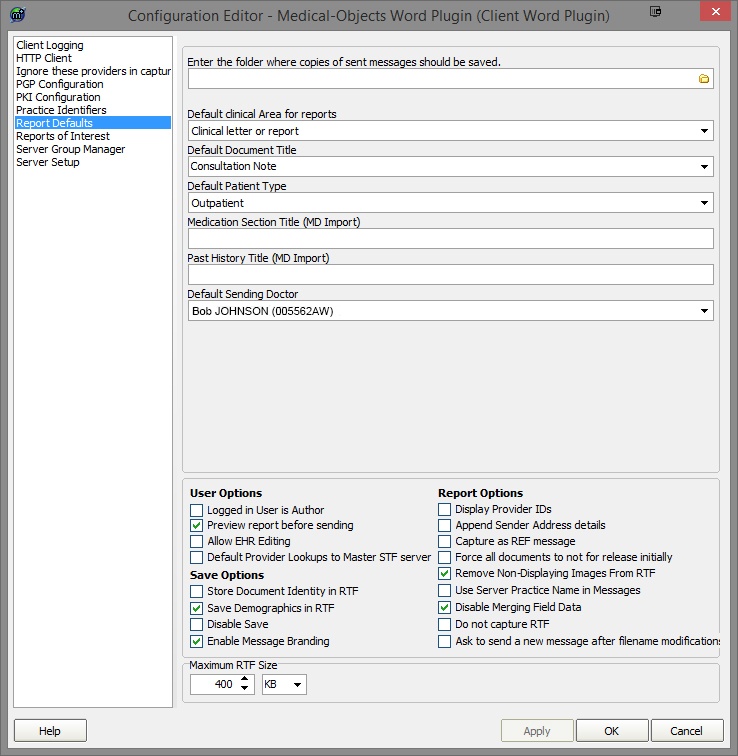
- Select a Default Sending Doctor for this site.
- Check [ ] Logged in user is Author
- Select Reports of Interest.
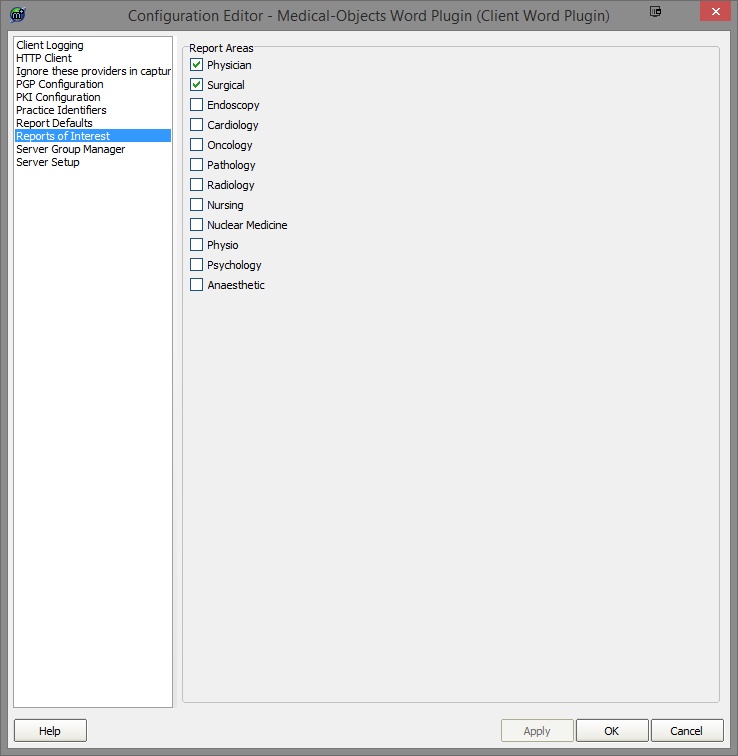
- Select each of the Report Areas for the type of Practice the site is related to.
- Click Apply and OK.
Word Plug-in displayed in Word 2003, 2007, 2013
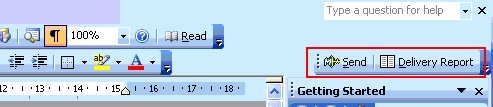
The Word Plug-in feature also gives you an icon in Microsoft Word to send your letters.
- In Word 2003 the Interface will look like below.
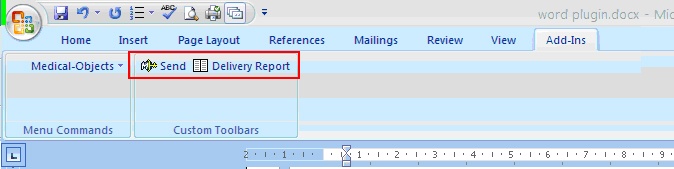
- In Word 2007 the Interface will look like below. If you would like the word Plug-in on the Quick Access Bar, Just right click the Word Plug-in toolbar and select Add to Quick Access Bar in the menu.
- In word Word 2013 and above the interface will look like below. A new tab called Medical Objects (or Add-Ins in older versions of the Word Plugin) will be created in the program on installation of the Word Plug-in.


If this Add-In tab does not display, Please contact Medical-Objects Helpdesk on (07) 5456 6000.
| Table of Contents | ||||
|---|---|---|---|---|
|