Overview
This guide provides instruction on configuring both
| Note |
|---|
| This article is OUTDATED. Screenshots are too old and content may be irrelevant. |
Overview
Provide a procedure to install and configure Medical-Objects Capricorn and Shexie Practice software to import electronic results.This process is based on the Microsoft Windows XP environment.
Configuring Medical Objects Capricorn with Shexie
If you require any assistance with the installation or configuration, or if you have any questions, please contact the Medical-Objects Helpdesk on (07) 5456 6000.
If you have not Installed the Medical-Objects Download client, Please see the guide for Installing Capricorn on Windows.
You can also contact the Shexie helpdesk on 1300 SHEXIE (1300 743 943)
Configuring Capricorn Software
Accessing the Capricorn Configuration Window
| Info | ||
|---|---|---|
| ||
In some cases, the Capricorn may be configured as a service. See this guide for instructions on how to launch the Capricorn if it is set up as a service. |
| Excerpt Include | ||||||
|---|---|---|---|---|---|---|
|
Capricorn Configuration Settings
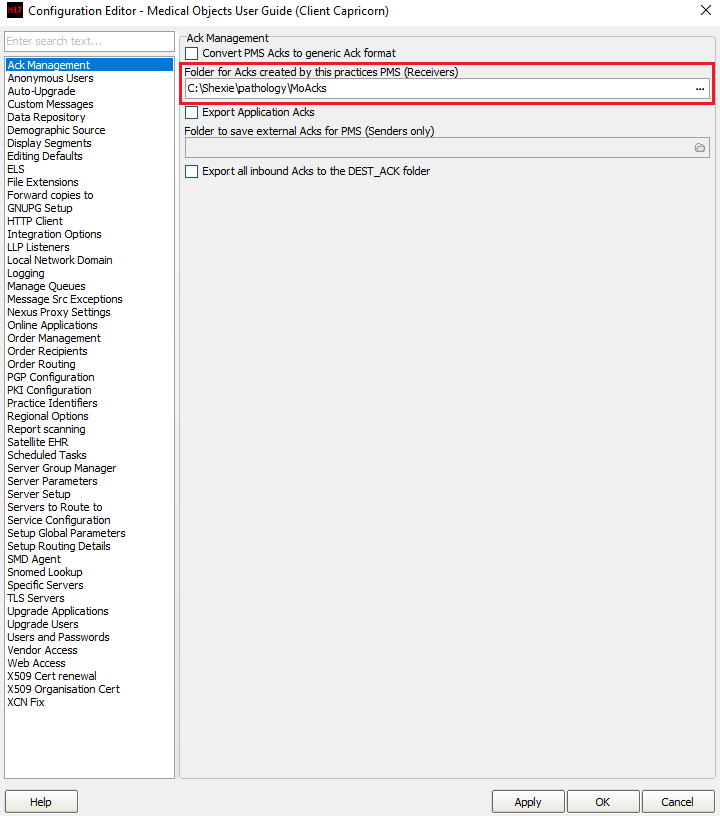
- Click on the Ack Management.
 Double click the HL7 tray icon.
The Log window is displayed.
Click the Edit Server Properties icon.
Click on the Integration Options.
Set the ACK Management path to the local Import folder on the server or the network path on a workstation, that points to the server import folder.
For example:
Acknowledgement paths in Shexie
> CNo Format (Capricorn installed on the Server) --
> C:\Shexie\pathology\MoAcks
Or
(Capricorn installed on the Workstation) --> \\server\Shexie\pathology\MoAcks
Info title Note: If the folder does not exist, you must create it.
Click on Integration Options.
3.1 Check that the Incoming Modifier is set to Shexie Modifier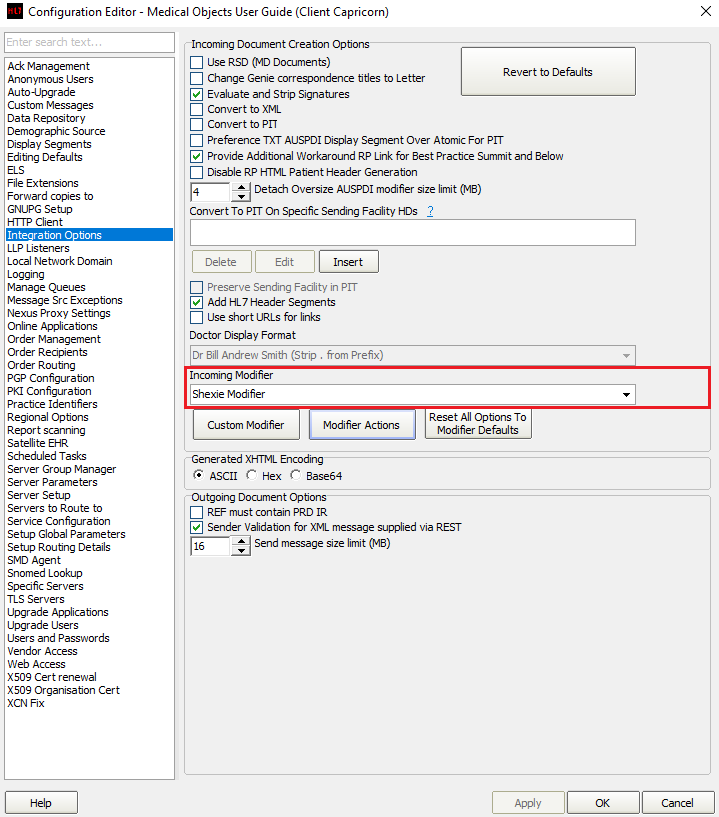
Integration Settings
Set Tick Box to "Evaluate and Strip"
Set Tick Box to "Convert to Pit"
Set Tick Box to "Preserve Sending Facility in Pit"
Set Incoming Modifier to "Capricorn Modifier"
- Select Server Parameters from the left panel.
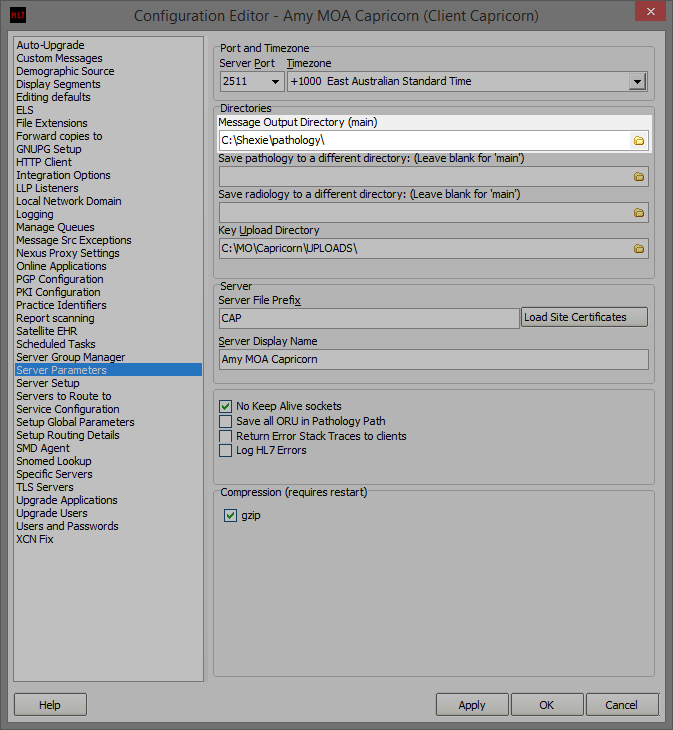
- Under Message Output Directory (main) set the results import path.
The path can be different depending on where Capricorn is installed.
For example:
Download paths in Shexie
> CNo Format (Capricorn installed on the Server) --
> C:\Shexie\pathology\
Or
(Capricorn installed on the Workstation) --> \\server\Shexie\pathology\
- The configuration is complete. Click Apply and OK.
Shexie Configuration
| Info | ||
|---|---|---|
| ||
If performing the steps below doesn't show any of your reports and they stay remaining in the folder - Call Shexie (1300 743 943) as they will need to further configure Shexie to Import. |
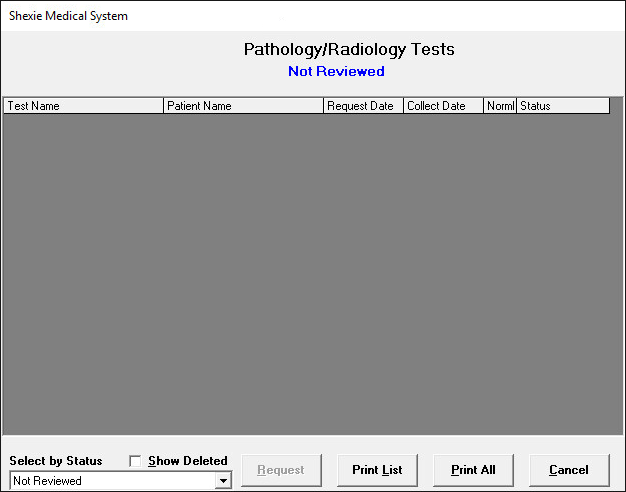
- To check Pathology results, go to the Housekeeping Tab and then select Pathology Results.

- This will then display the Pathology Results you have received.
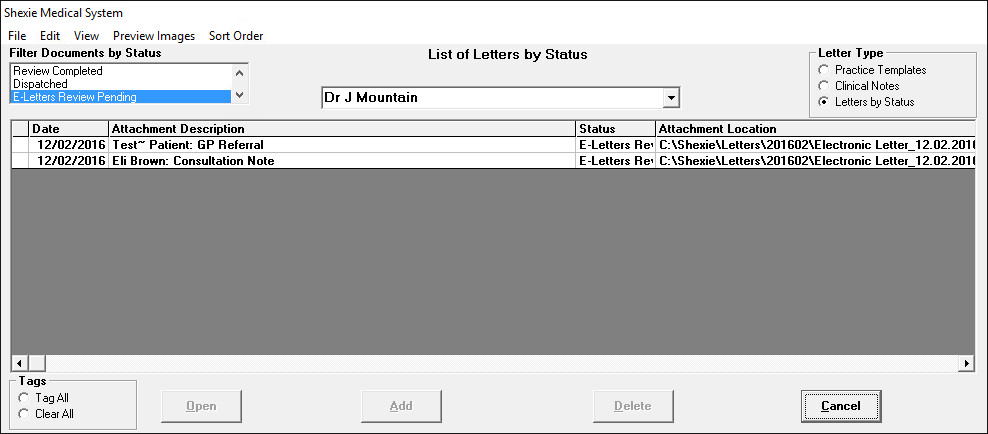
- To check if Specialist or Allied health letters have arrived select E-Letters
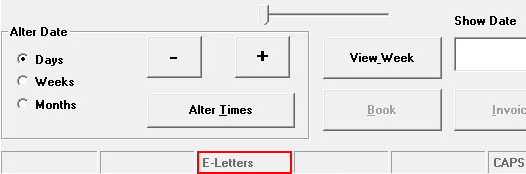
- This will then display the E-Letters you have received.
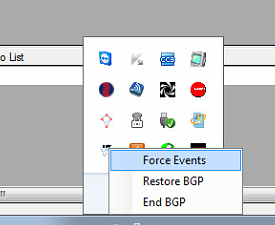
- You can also Manually force import results, which can be done from the Windows taskbar.
| Table of Contents | ||||
|---|---|---|---|---|
|