| Multiexcerpt | ||||
|---|---|---|---|---|
| ||||
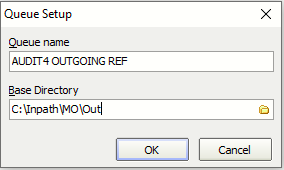
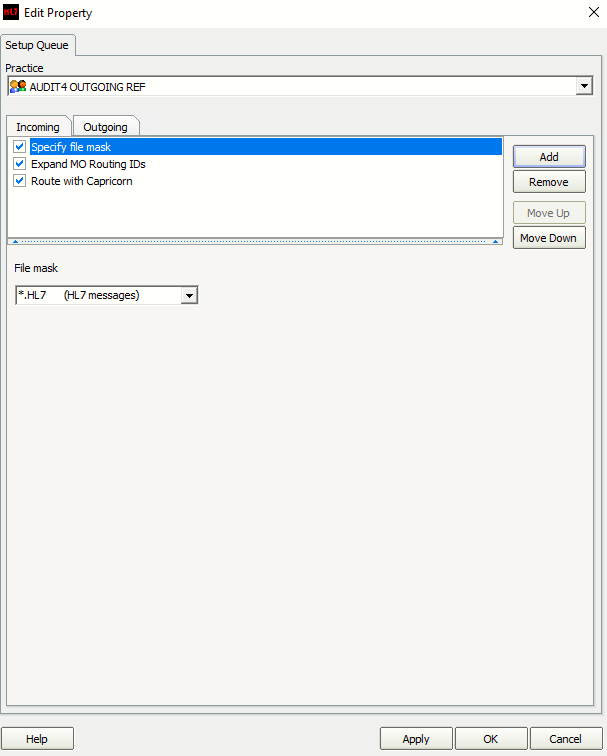
AUDIT4 OUTGOING REF
|
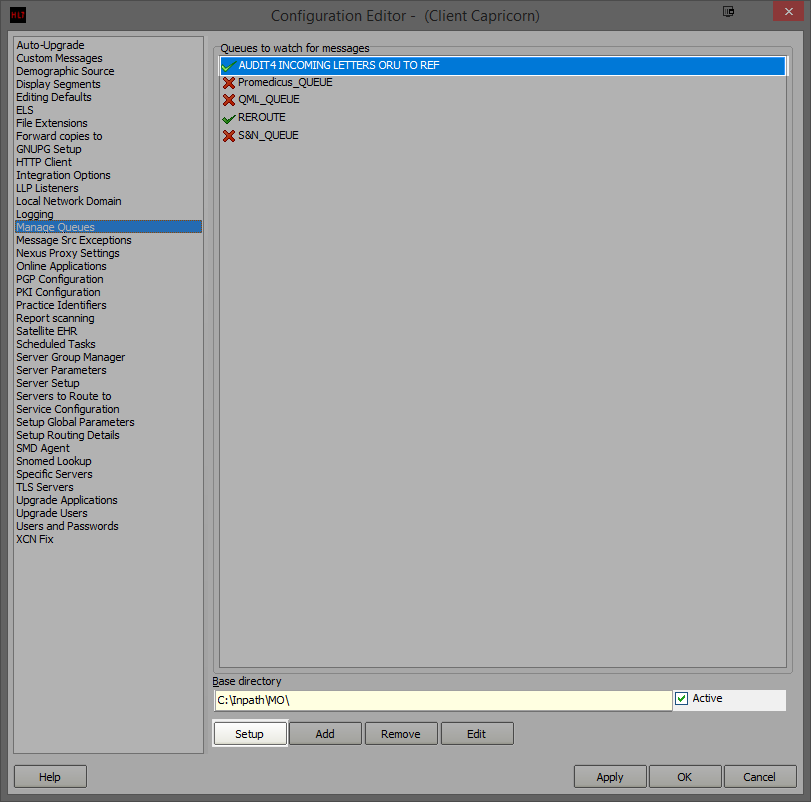
Previously Setup Queues
| Multiexcerpt | ||||||||
|---|---|---|---|---|---|---|---|---|
| ||||||||
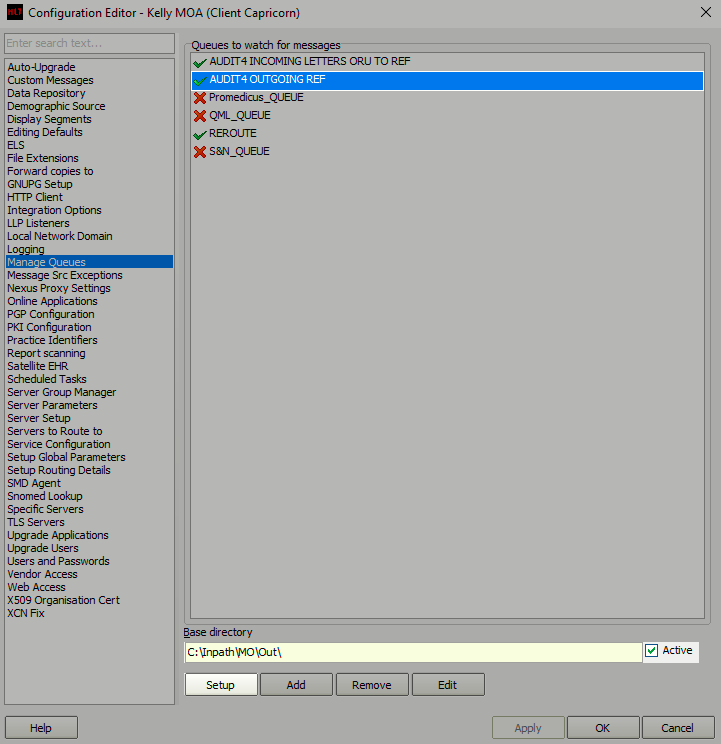
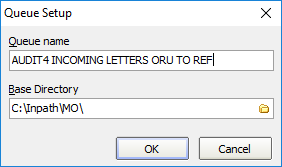
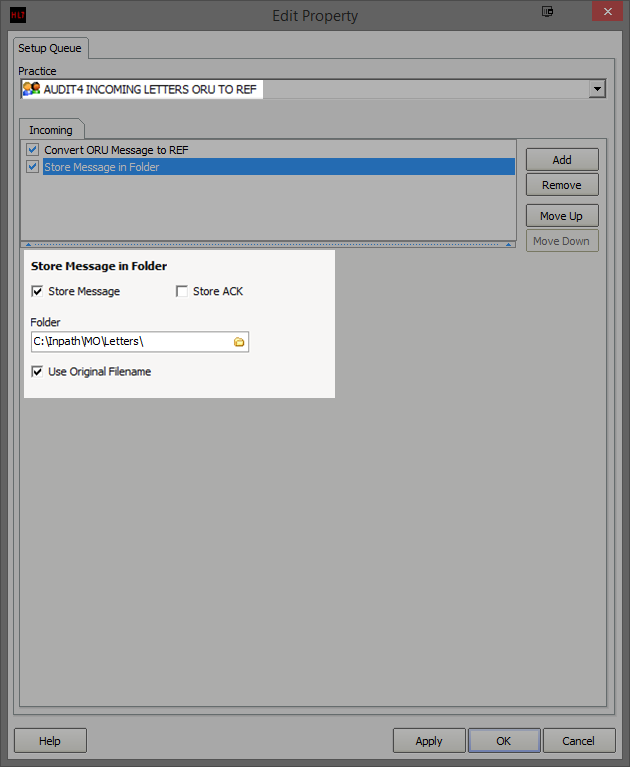
AUDIT4 INCOMING LETTERS ORU TO REF
|
| Multiexcerpt | ||||||||||
|---|---|---|---|---|---|---|---|---|---|---|
| ||||||||||
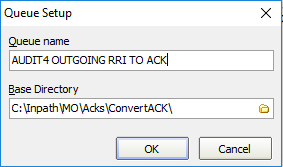
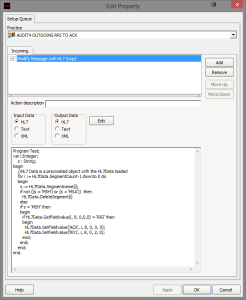
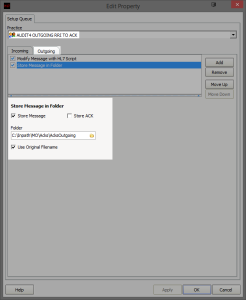
AUDIT4 OUTGOING RRI TO ACK
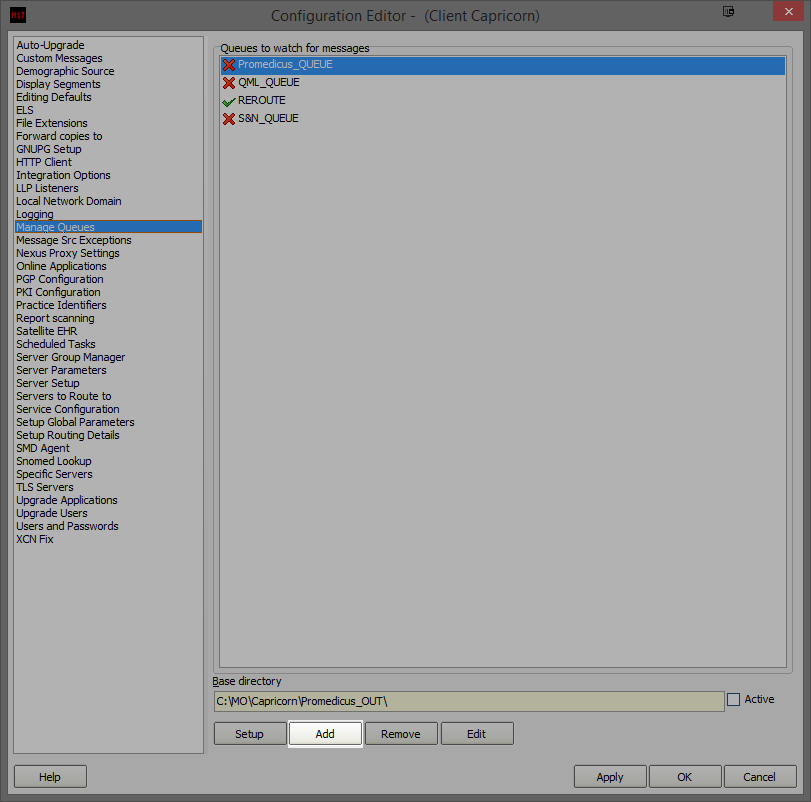
On the Manage Queues screen, click Add.
|
| Table of Contents | ||||
|---|---|---|---|---|
|
| Multiexcerpt | ||||
|---|---|---|---|---|
| ||||
AUDIT4 OUTGOING REF
|
| Multiexcerpt | ||||||||
|---|---|---|---|---|---|---|---|---|
| ||||||||
AUDIT4 INCOMING LETTERS ORU TO REF
|
| Multiexcerpt | ||||||||||
|---|---|---|---|---|---|---|---|---|---|---|
| ||||||||||
AUDIT4 OUTGOING RRI TO ACK
On the Manage Queues screen, click Add.
|
| Table of Contents | ||||
|---|---|---|---|---|
|