Overview
This guide provides instruction on configuring MedTech Evolution software to send electronic results.
If you require any assistance with the installation or configuration, or if you have any questions, please contact the Medical-Objects Helpdesk on (07) 5456 6000.
If you have not Installed the Medical-Objects Download client, Please see the guide for Installing Capricorn on Windows.
Configuring Capricorn for Sending
| Warning |
|---|
Use only MedTech Evo Version 10.4.6 and above. |
- Click on Manage Queues in the left hand panel, and click the Add button.
- Give the queue the name: MEDTECH EVO SEND.
Set the base directory to C:\MODemo\Capricorn\SENDING.
Click OK.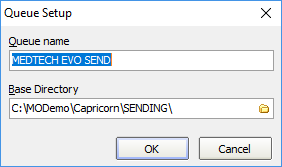
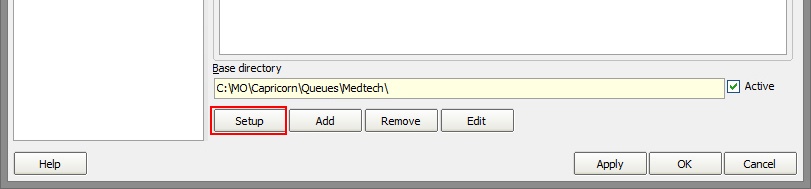
Click the Setup button highlighted below.
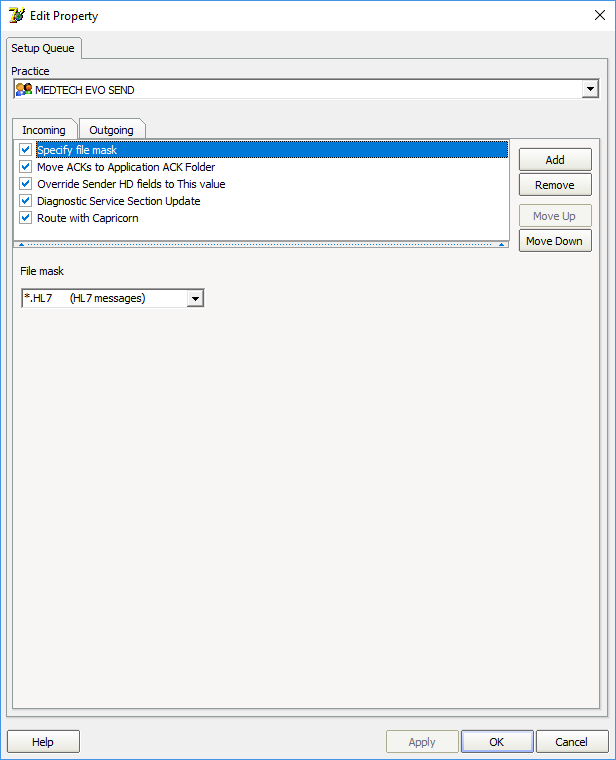
Click Add, and add the following fields.
Specify File Mask
Move ACKs to Application ACK Folder
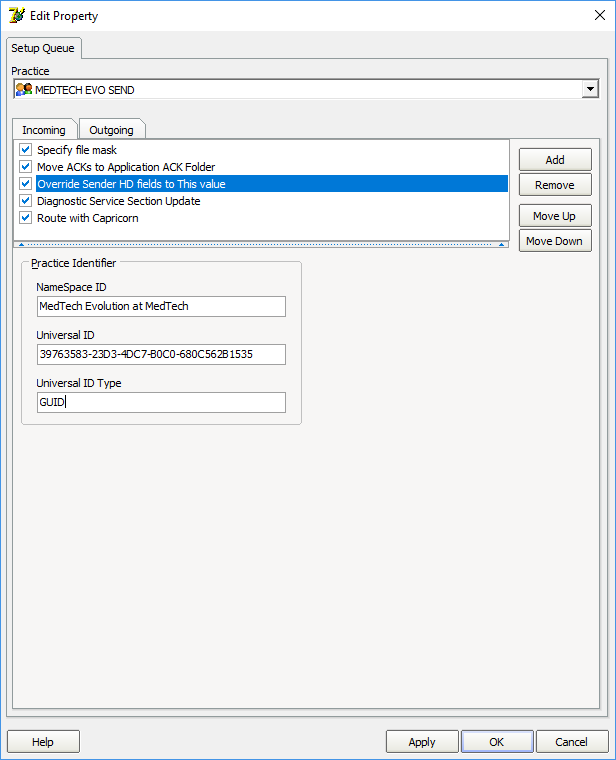
Override Sender HD fields to This value
Diagnostic Service Section Update
Route with CapricornSet file mask to *.hl7
Set HD to same values as Configuration → Practice Identifiers → Practice Identifier
Set the Diagnostic Service Section to Clinical letter or report [PHY] and tick Change if Valued.
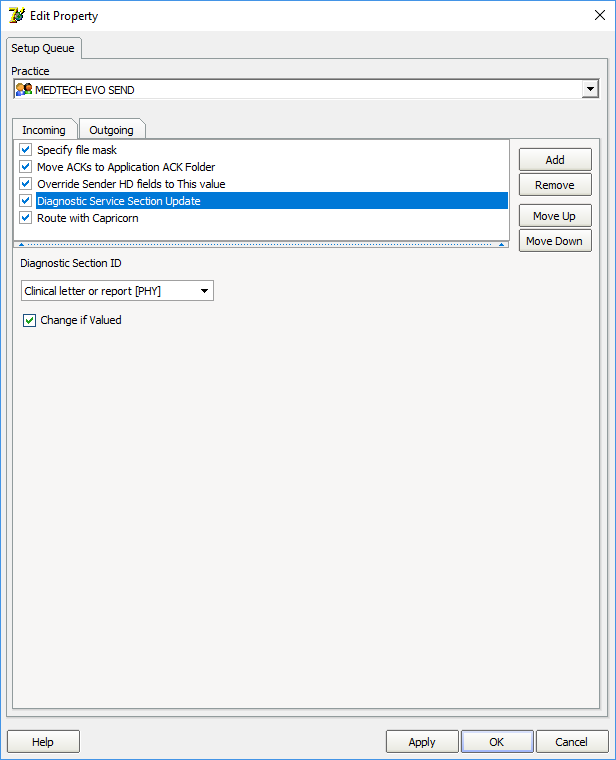
Click Apply and OK
Updating the Medtech Evolution Address book
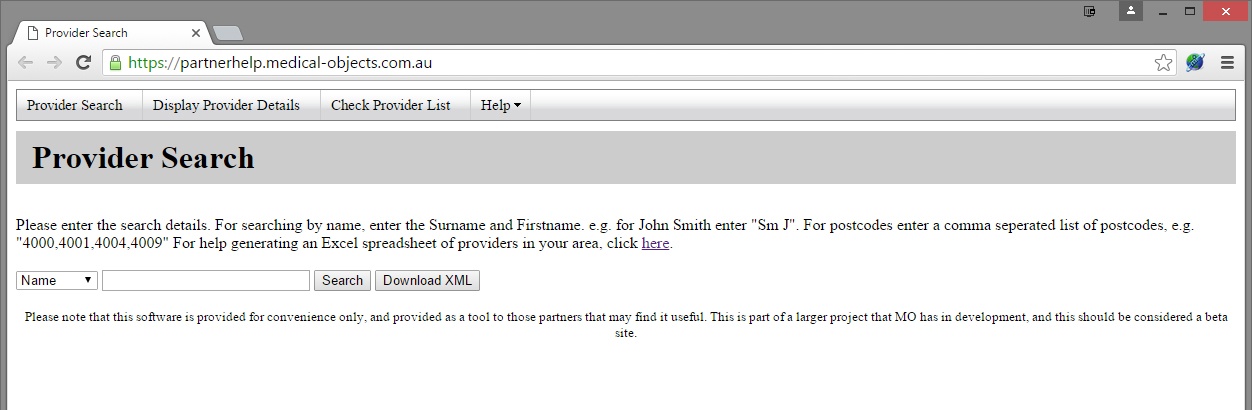
To ensure that messages are delivered correctly, You will need to make sure the provider Address Book is up to date. The following guide explains how to do this using the Medical-Objects Provider
lookup.In your web browser, navigate toLookup.
| Multiexcerpt | ||
|---|---|---|
| ||
|
|
|
|
|
|
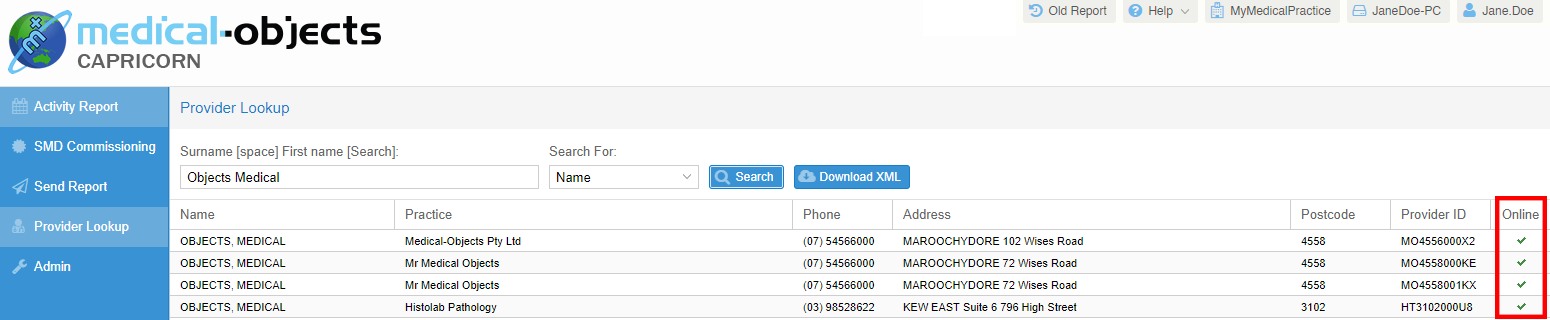
2. Once you have the provider number, return to your
Medtech32Medtech Evolution application. Click on Setup, Agencies and select Address Book.

3. Choose new record if one doesn't already exist for the doctor otherwise search for the doctor you wish to send to. Double click their name or select the highlighted button to edit their details.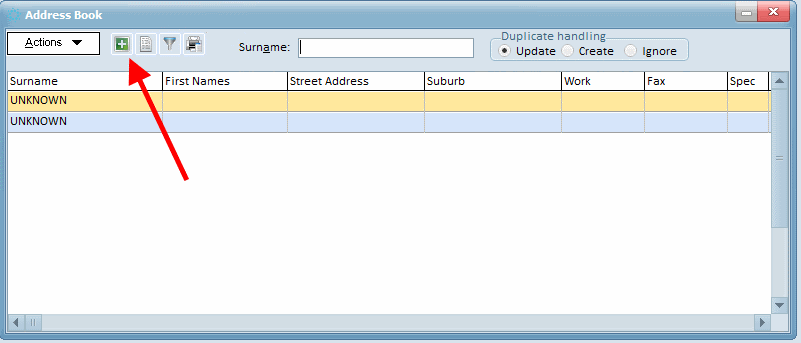
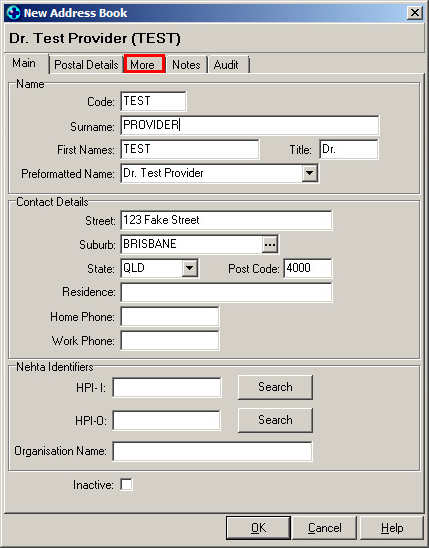
4. The following window will appear.
SelectFill in any relevant details on the Main tab then select the highlighted More Tab
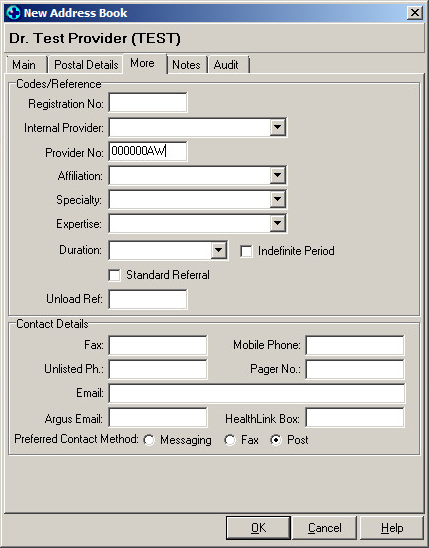
Enter the provider number from the Provider lookup in the
.
| Info | ||
|---|---|---|
| ||
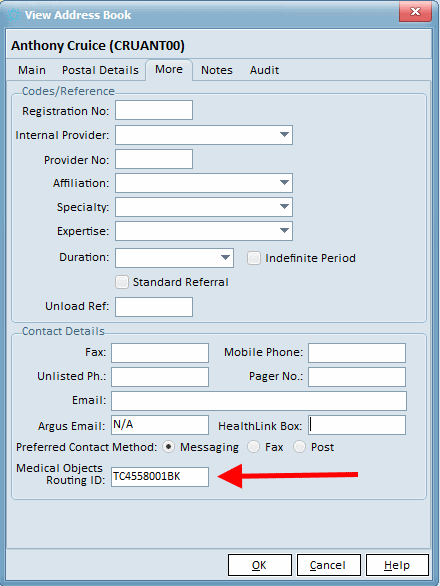
You may have to fill the Argus field with N/A to get past this requirement for the time being. |
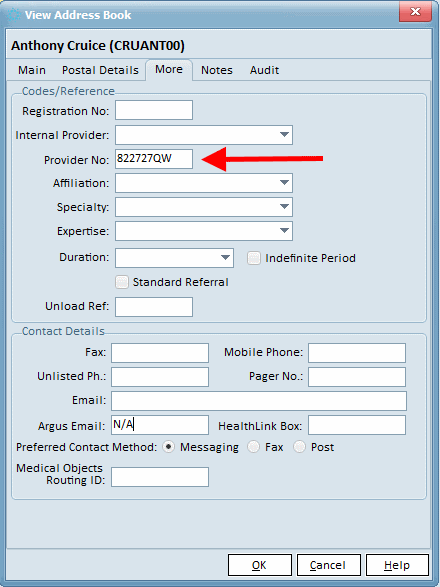
If you are addressing by provider number enter it in the Provider No. field.
If you are addressing by MO Routing ID (starts with letters and is 11 characters long) enter it in the Medical Objects Routing ID field.
5. Click OK to save your changes.
MedTech32 Sending
Sending
- Note you will need to set up the messaging rule to export PDF only in MedTech correctly first per the parent article.
Excerpt Include MedTech Evolution MedTech Evolution nopanel true - Look up the relevant patient you want to send a message for.
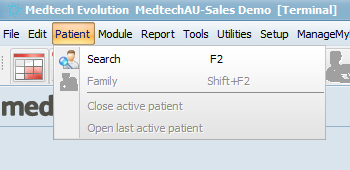
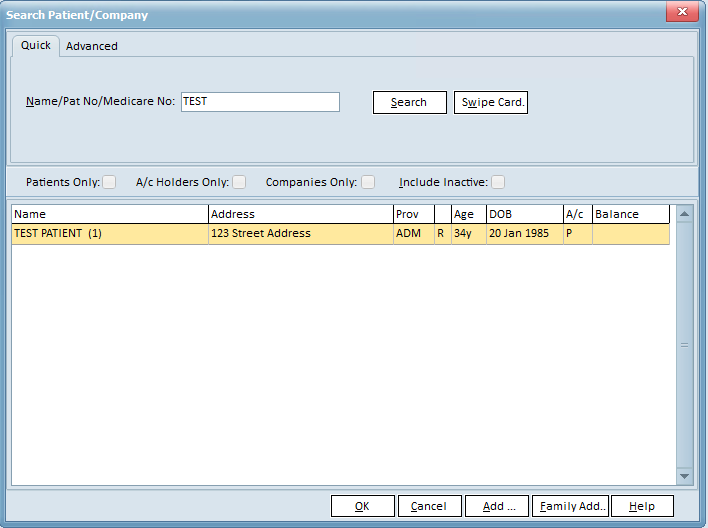
- Enter the patient name. Select Search. Double click the entry you are interested in.
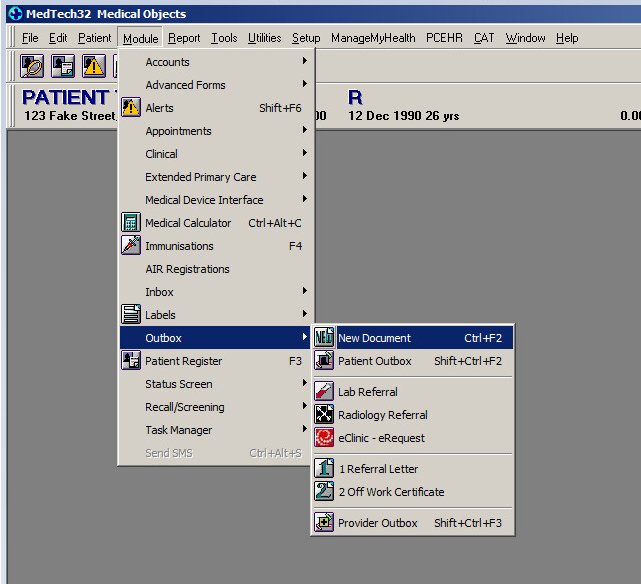
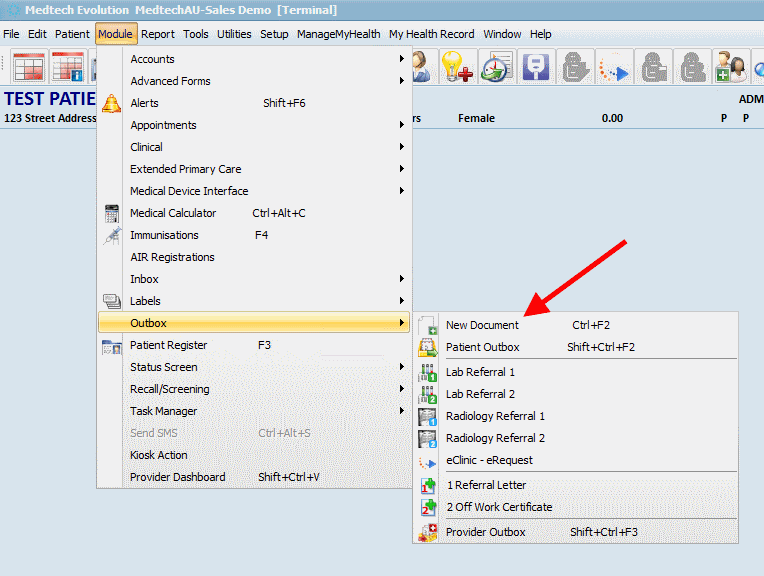
- Select the Module Menu option > Outbox > and 'Click' the New Document option.
- Set the Document field. Select the 3 dots and choose a To provider. Once you've written your message choose Send Via → Message transfer at the bottom of the screen.
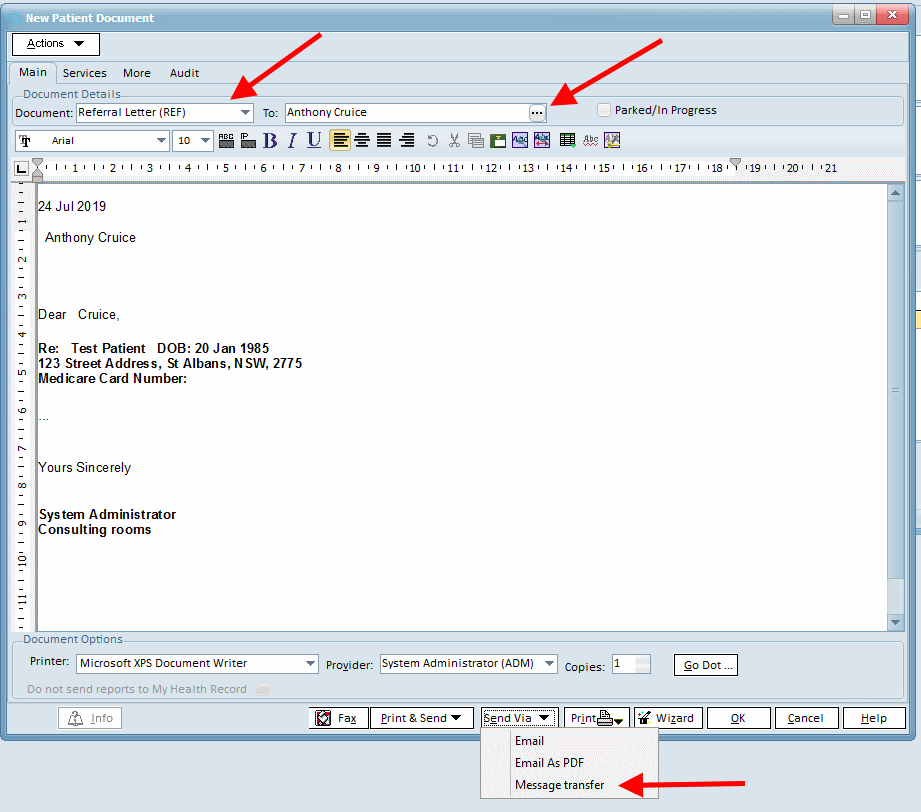 Type report and click 3 dots next to ‘To’
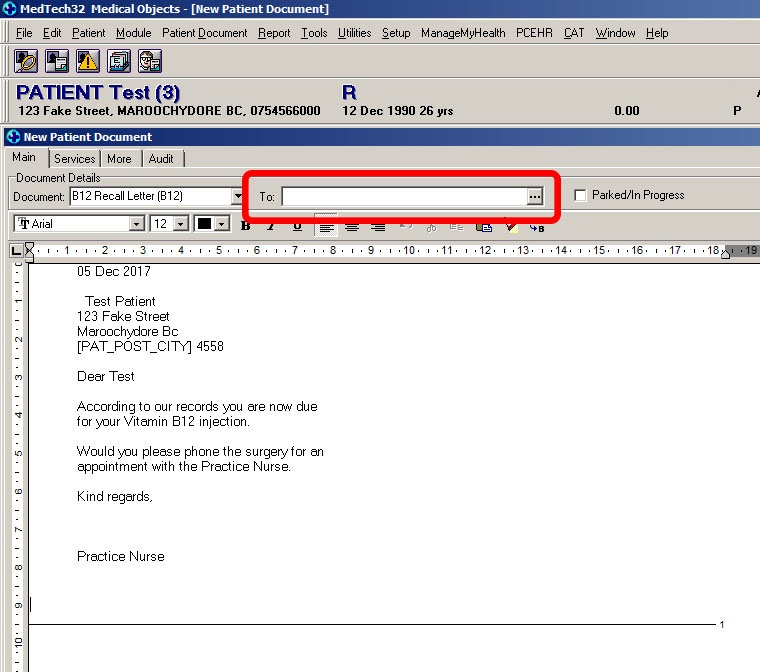
Search the provider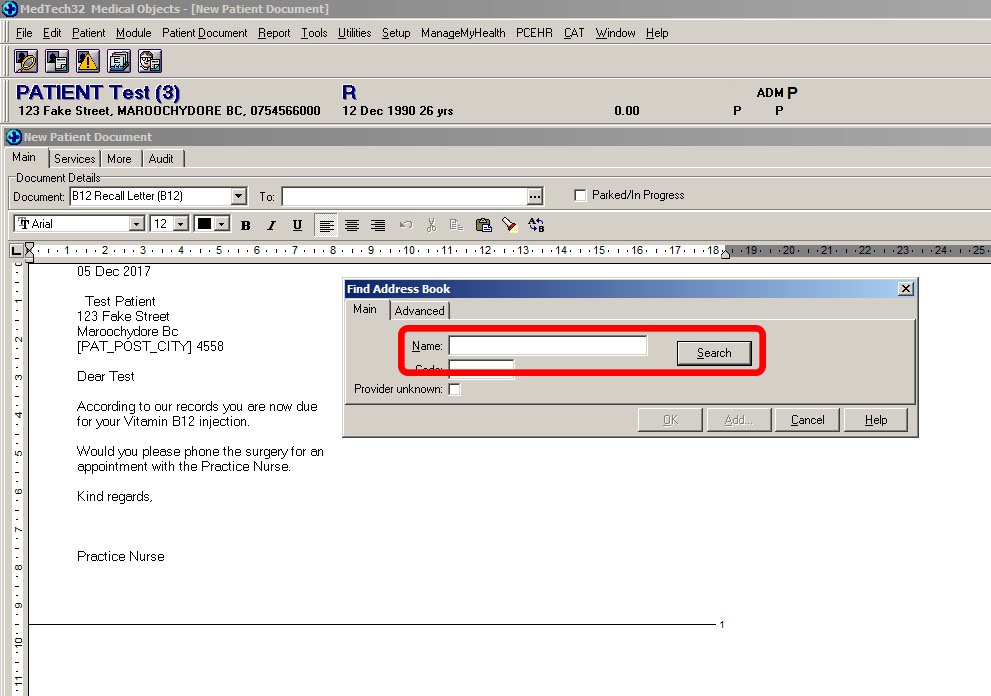
Click ‘Send via’ Message transfer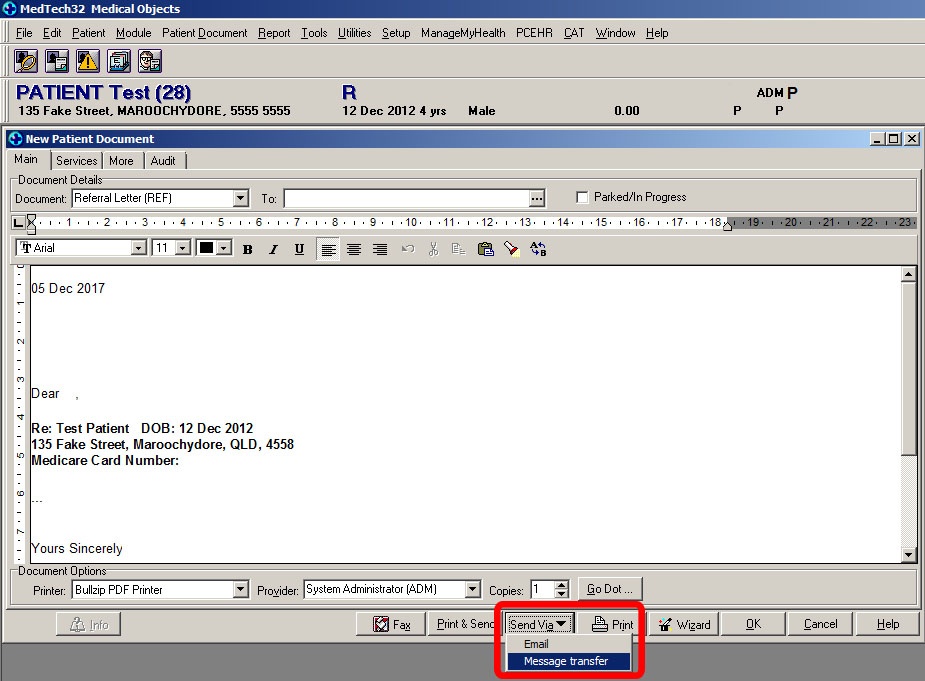
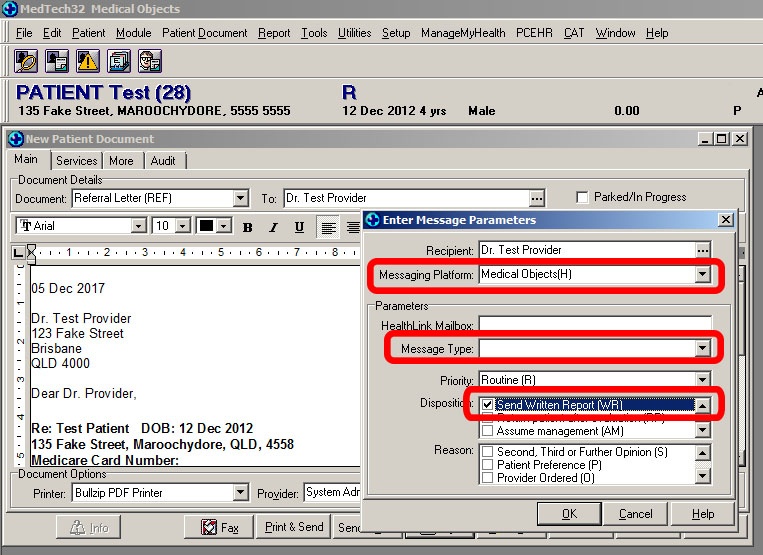
Choose the “Messaging Platform”, the “Message Type” & “Disposition/Reason”. Once done Click ‘Ok’ and it should send
.
.
Warning If you have to set the Healthlink Mailbox to N/A then you do not have the correct version of MedTech and will require an update. 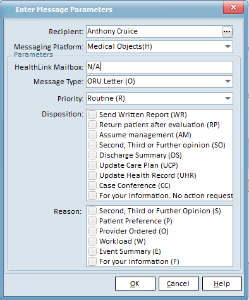
| Table of Contents |
|---|