Overview
:
If you require any assistance with the installation or configuration, or if you have any questions, please contact the Medical-Objects Helpdesk on (07) 5456 6000.
If you have not Installed the Medical-Objects Download client, Please see the guide for Installing Capricorn on Windows.
Configuring Capricorn Software
Accessing the Capricorn Configuration Window
| Info | ||
|---|---|---|
| ||
In some cases, the Capricorn may be configured as a service. See this guide for instructions on how to launch the Capricorn if it is set up as a service. |
| Excerpt Include | ||||||
|---|---|---|---|---|---|---|
|
Capricorn Configuration Settings
EMDAT - Medical Transcription and Dictation software.
Appears this is for use with Practix?
[[capricorn config]]
Configuration
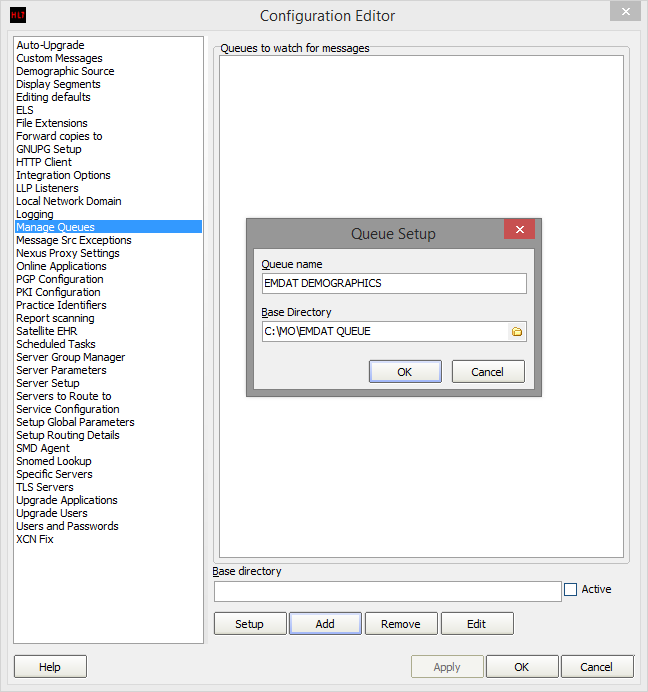
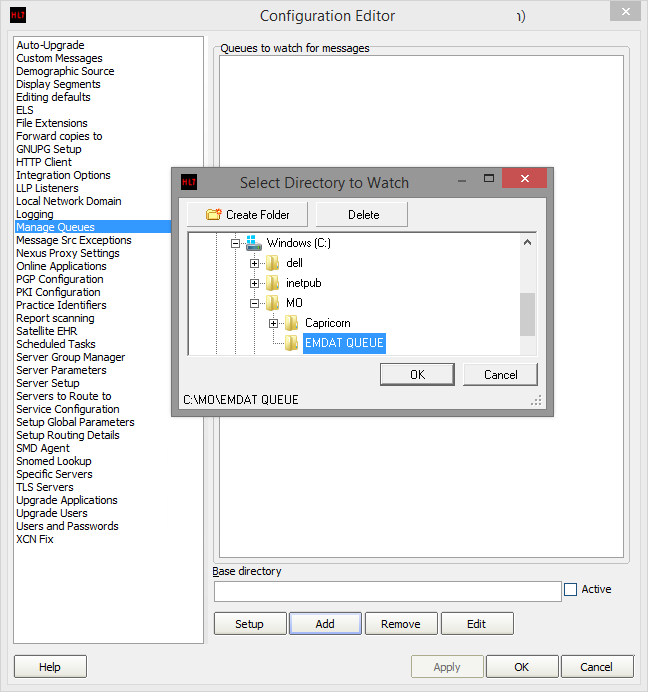
1. Choose Manage Queues from the left hand Panel. Select Add, and enter a queue name. For this example we will use EMDAT DEMOGRAPHICS with the base directory set to C:\MO\EMDAT QUEUE.
| Info | |
|---|---|
|
| |
The directory is never used but it cannot be empty. |
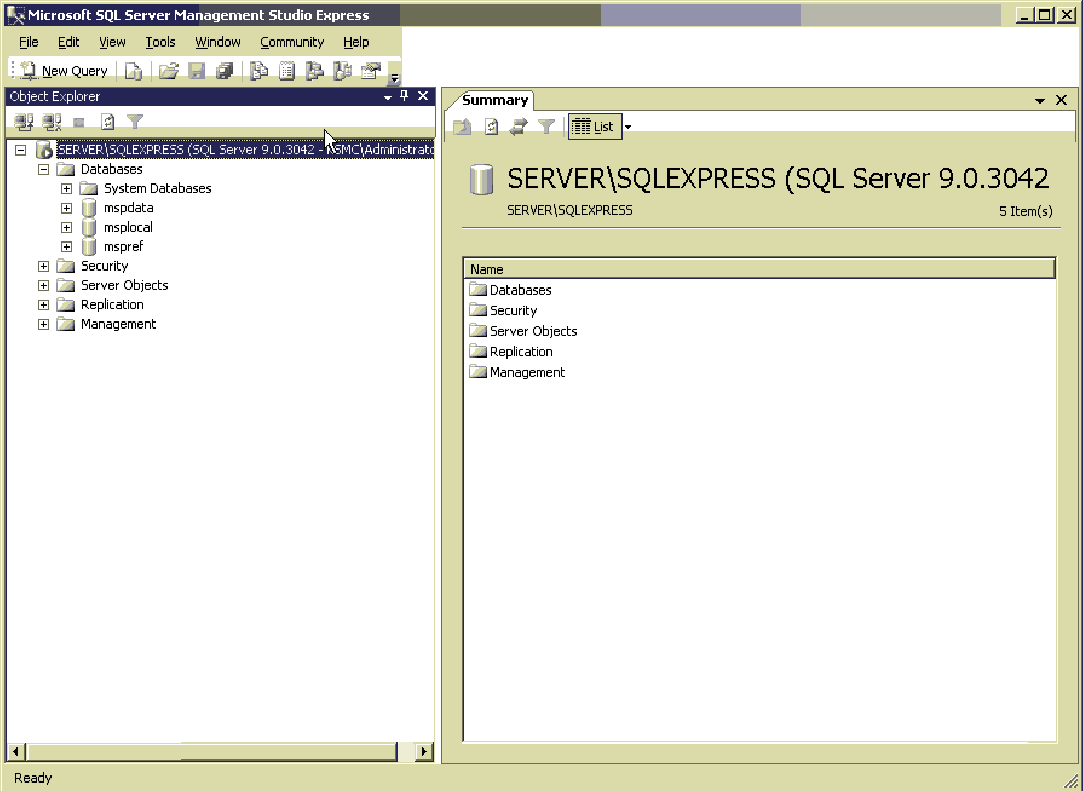
SQL Server settings
2.- Go to your SQL server and login. Find the name of your server (In this instance Server\SQLExpress). Also note the name of the mspdata database for Practix as this may change.
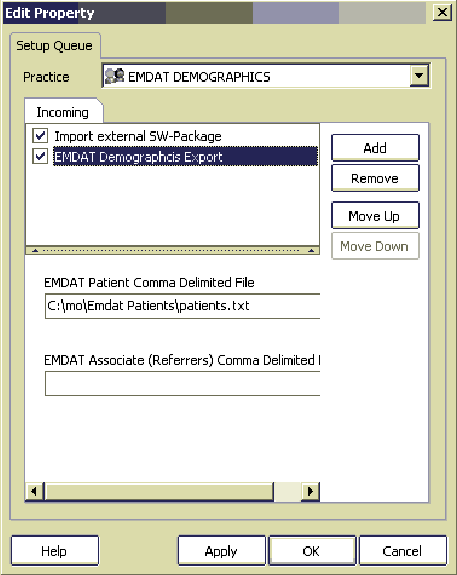
- Go back to your Medical-Objects program and select the queue you created and press the setup button. One in the sub window Add the modifiers as listed in the screenshot below.
Choose Practix as your practice software. Tick the Patients checkbox. Set the SQL Server Name as you recorded in step
- 1. Set the Database Name as you recorded in step
- 1.
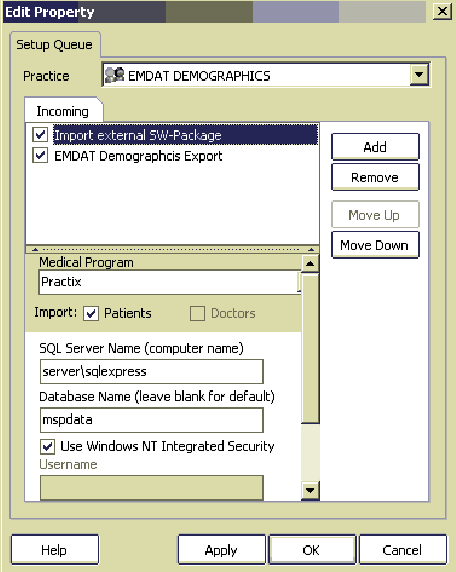
- Set a save path for your "EMDAT Demographics Export". Make sure you put patients.txt as the end of the path. Any path can be chosen as long as it is only allocated for this particular function and nothing else (i.e. Don't use your My documents folder)
- Exit out of the Medical Objects configuration.
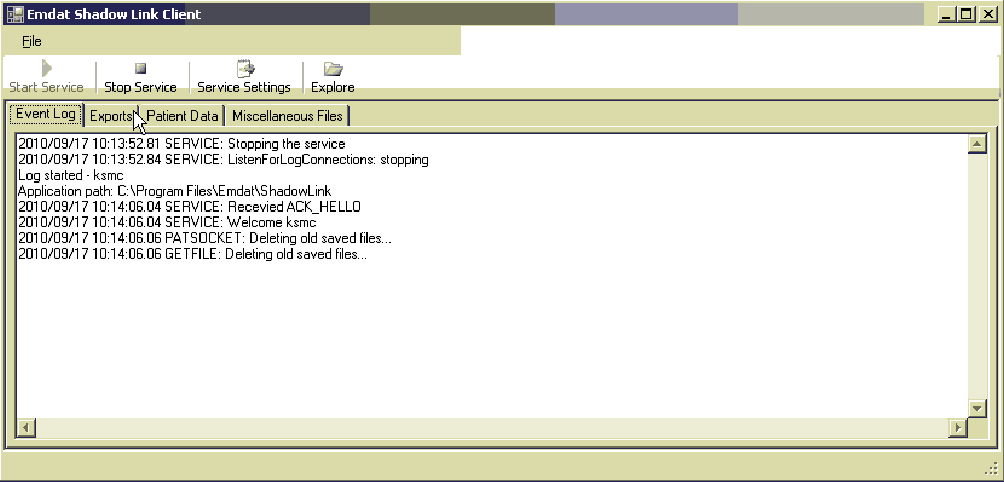
Switch to NTS Shadowlink and click on the "Service Settings" button.
NTS6.png
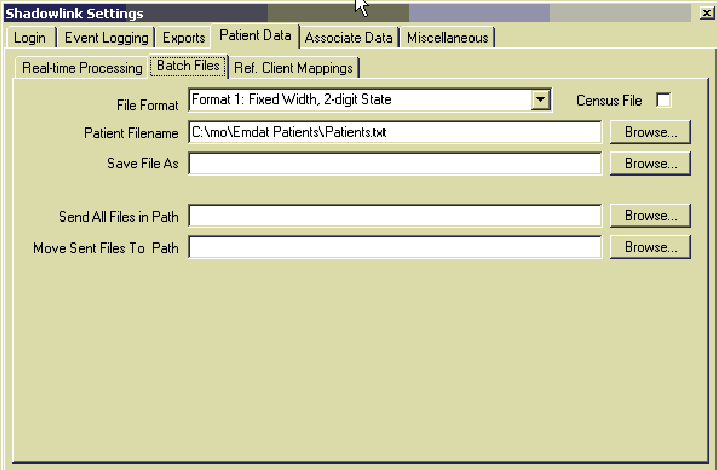
9.-
- Go to the "Patient Data" tab and then the "Batch Files" tab.
Set the File Format at Format 3. Set your save path as per step
- 3.
Exit out of the Shadowlink setup and choose to restart the service if it asks.
| Table of Contents | ||||
|---|---|---|---|---|
|