Overview
This guide provides a brief overview on how to create, edit, and delete Clinical Trials from within the Medical-Objects Explorer (Meridian).
If you require any assistance with the installation or configuration, or if you have any questions, please contact the Medical-Objects Helpdesk on (07) 5456 6000.
Creating Clinical Trials
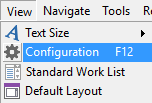
- To create a Clinical Trial to in Meridian, select Configuration from the View menu (F12) to open the Configuration Editor.
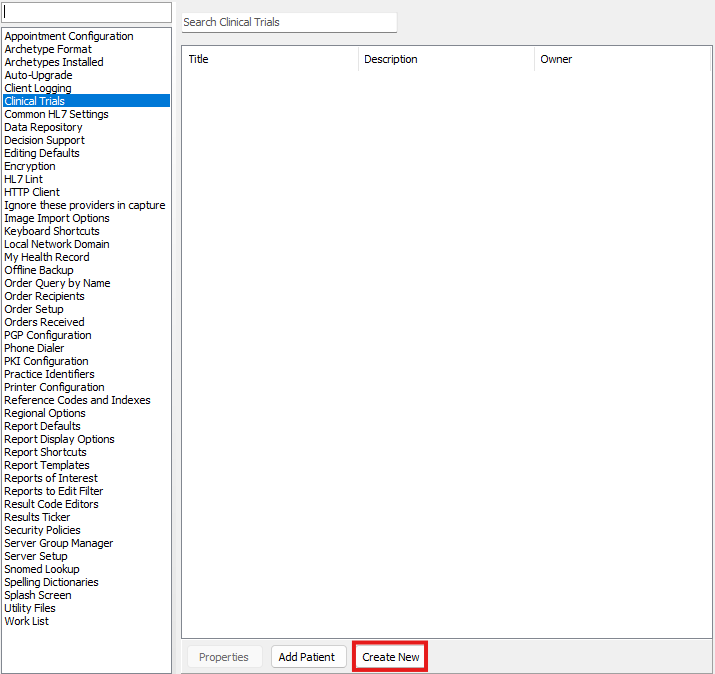
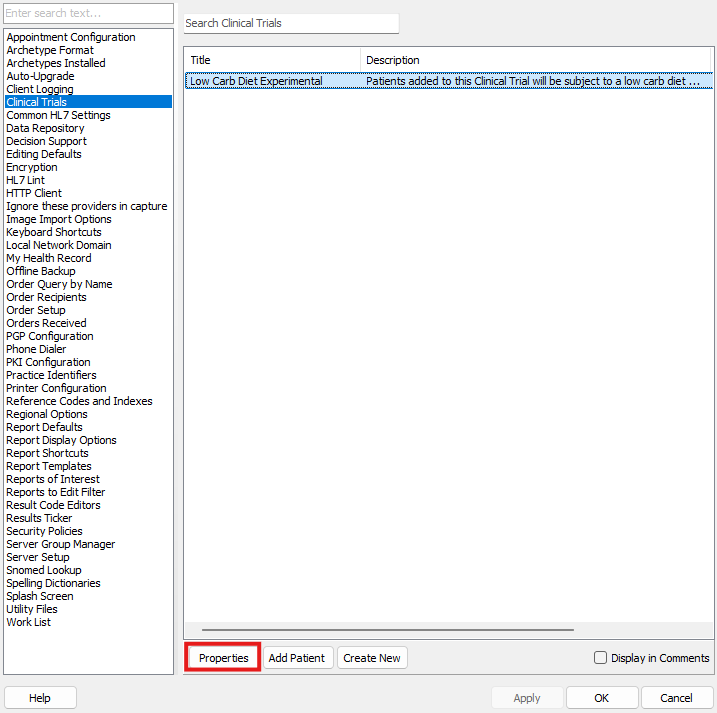
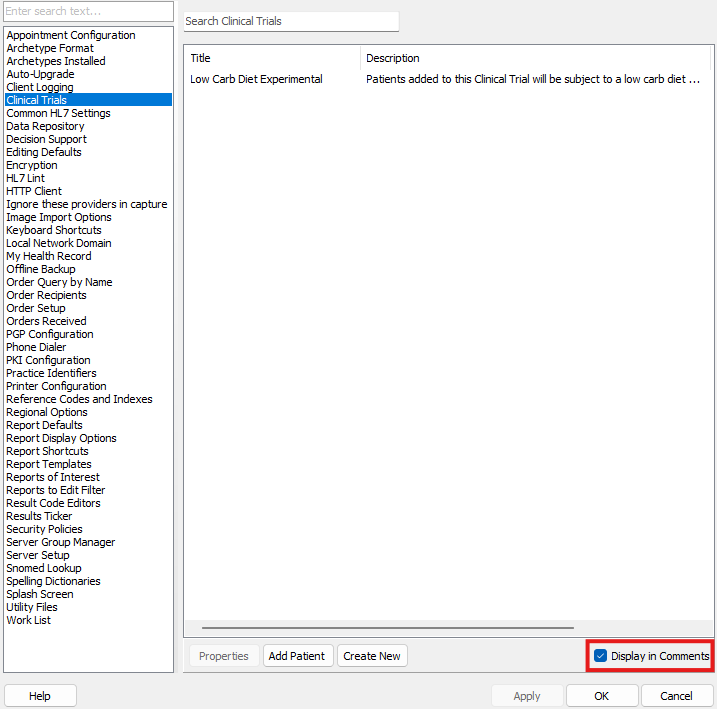
- Select Clinical Trials from the left side menu list.
- Click the Create New button to create a new Clinical Trial.
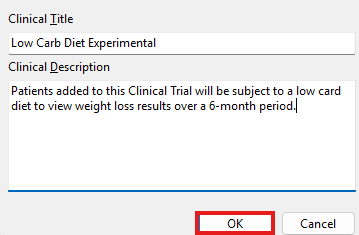
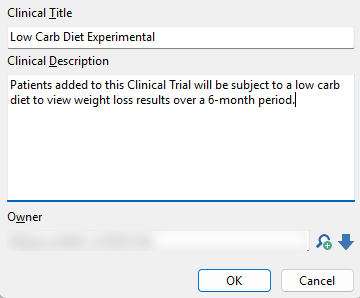
- Enter the Clinical Trial details. For example, a Clinical Trial for a low carb diet hand out, the title may be 'Low Carb Diet Experimental' with a description 'Patients added to this Clinical Trial will be subject to a low carb diet to view weight loss results over a 6-month period.'
- Validation includes a 300255-character limit on both for title, and 300-character limit for description, a valid owner, and the title needs to be unique to any active Clinical Trials.
- Click OK to save the Clinical Trial
- The newly created Clinical Trial should now be visible in the list of Clinical Trials in the Configuration Editor.

Editing Clinical Trials
- To edit a Clinical Trial in Meridian, select Configuration from the View menu (F12) to open the Configuration Editor.
- Select Clinical Trials from the left side menu list.
- Select your desired Clinical Trial.
- Click the Properties button to edit the selected Clinical Trial.


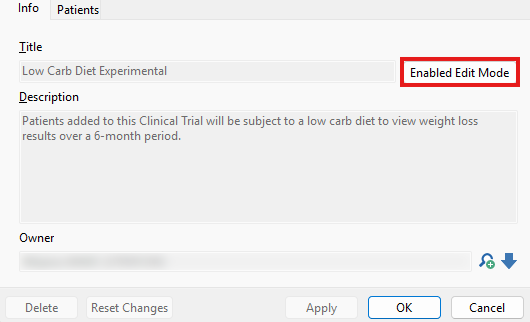
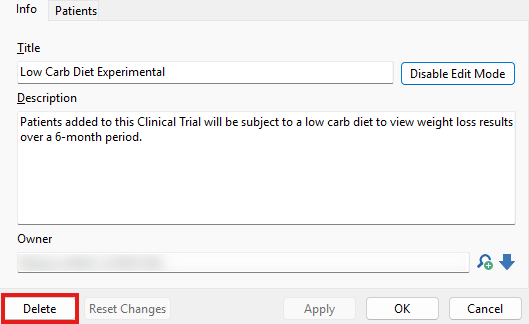
- The Clinical Trial Properties form will now appear, select the Enabled Edit Mode button to allow editing of the title, and description of the Clinical Trial.

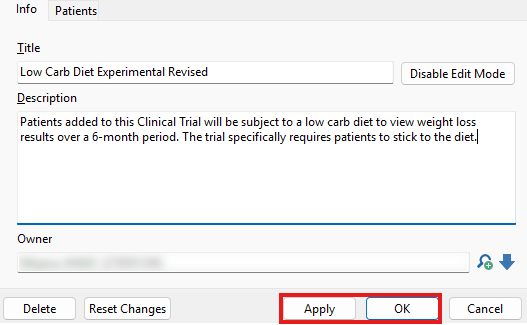
- Enter the changes, for example making revisions to the title or description and owner.
- To save your changes, press the Apply or OK button. You may also press Cancel to discard your changes or the Reset Changes button to reset the changes to the title or description. NOTE the Reset Changes button does not reset saved/applied changes.

- The updated Clinical Trial should now be visible in the list of Clinical Trials in the Configuration Editor.

Deleting Clinical Trials
| Info |
|---|
WARNING Once you have deleted a Clinical Trial it is not easily recoverable, if you need assistance, please contact the Medical-Objects Helpdesk on (07) 5456 6000. |
- To delete a Clinical Trial in Meridian, select Configuration from the View menu (F12) to open the Configuration Editor.
- Select Clinical Trials from the left side menu list.
- Select your desired Clinical Trial.
- Click the Properties button to edit the selected Clinical Trial.
- The Clinical Trial Properties form will now appear, select the Enabled Edit Mode button to allow deletion of the Clinical Trial.
- Press the Delete button to delete the Clinical Trial and confirm the deletion.

- The deleted Clinical Trial will now longer be visible in the list of Clinical Trials in the Configuration Editor.
Clinical Trials in Comment Gello
- To toggle the display of Clinical Trials within Gello Commenting, select Configuration from the View menu (F12) to open the Configuration Editor.
- Select Clinical Trials from the left side menu list.
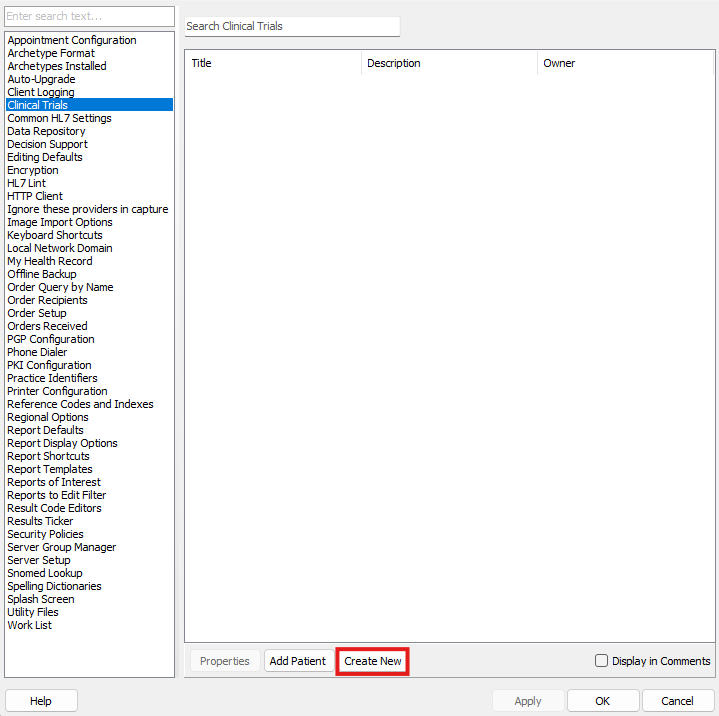
- Press the checkbox to toggle the display of Clinical Trials within Gello Commenting.
- Press the Apply button to save your changes.
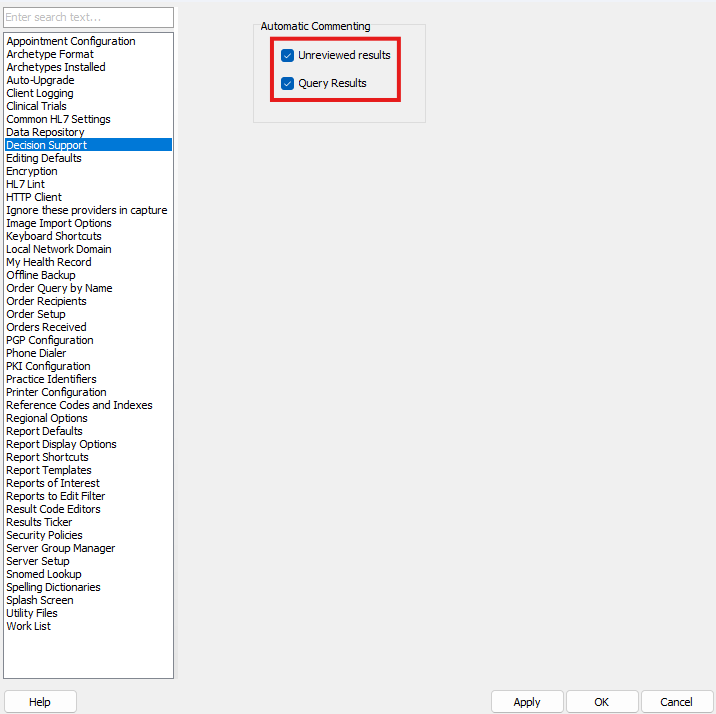
- For this feature to work Automatic Commenting needs to be turned on for either Unreviewed Results or Query Results. To enable Automatic Commenting, select Decision Support from the left side menu list.
- Press the checkbox on either Unreviewed Results or Query Results to ensure Automatic Commenting is turned on.
- Press the Apply button to save your changes.
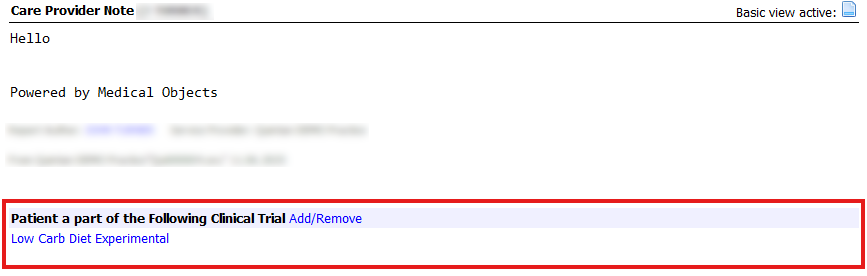
- Comments will now display under Patient Results/Observations as seen below.
| Table of Contents | ||||
|---|---|---|---|---|
|