Overview
Crossover is an application that allows Windows based programs to function in a Mac environment. This guide explains how to set up the Crossover Application to work with the Medical-Objects Explorer.
This Guide is using version 14 of the Crossover software.
If you have any issues with the installation or require any further assistance, Please contact the Medical-Objects Helpdesk on (07) 5456 6000.
Installing Crossover
| Info | ||
|---|---|---|
| ||
A free version can be obtained and used for 14 days before paid registration by the customer. https://www.codeweavers.com/products/ |
Installing CrossOver
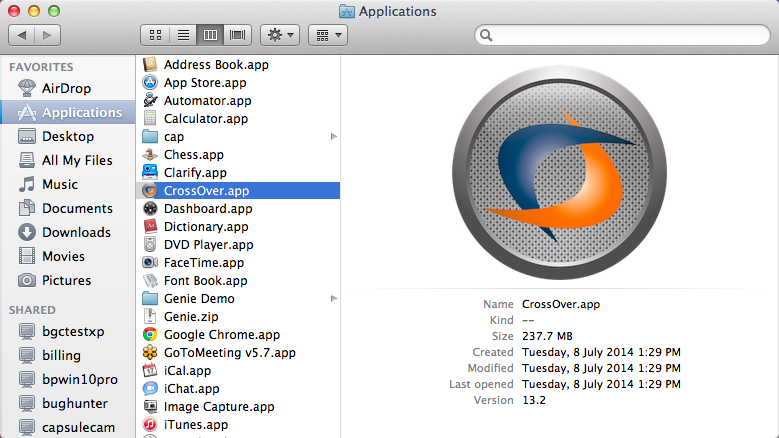
- Run CrossOver from the Applications Draw.
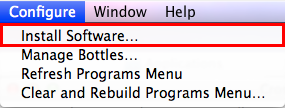
- Goto Go to the top of the screen and choose "Configure" -- >" Install Software"
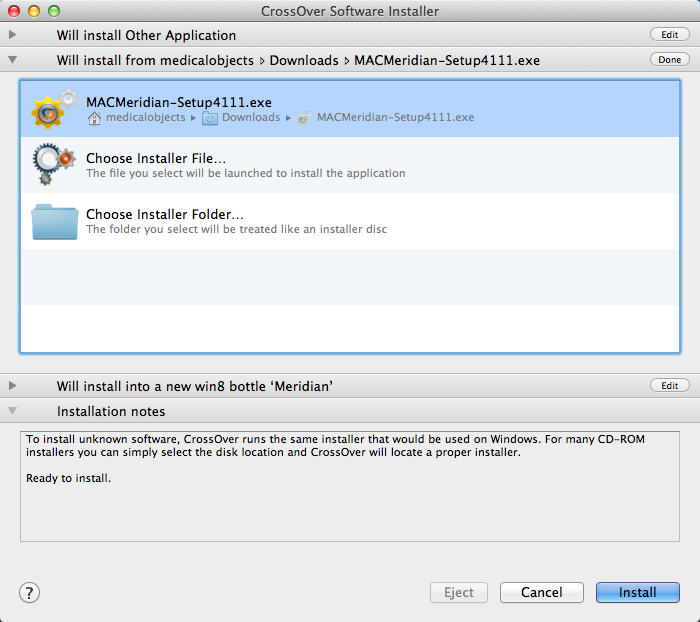
- Under "Select and application to install" choose "Unsupported Applications" --> " Will install Other Application choose Unsupported Applications > Community Supported Applications" -- > "Other Application"
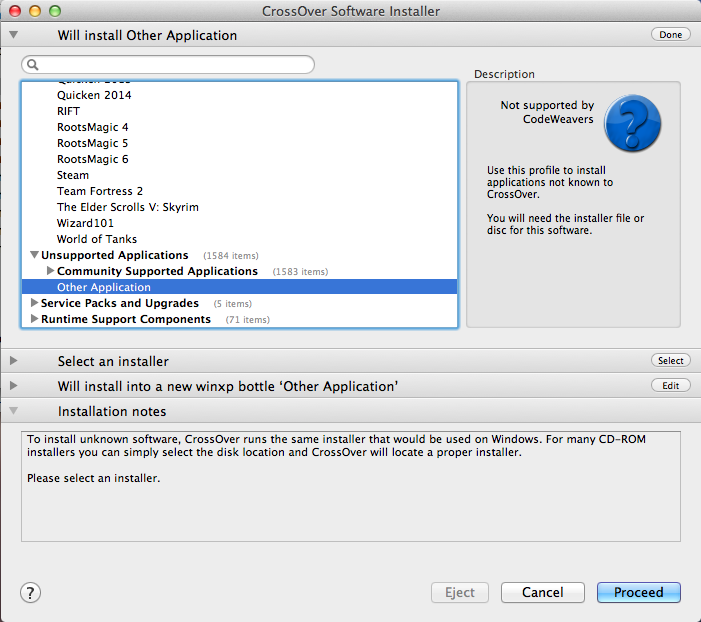
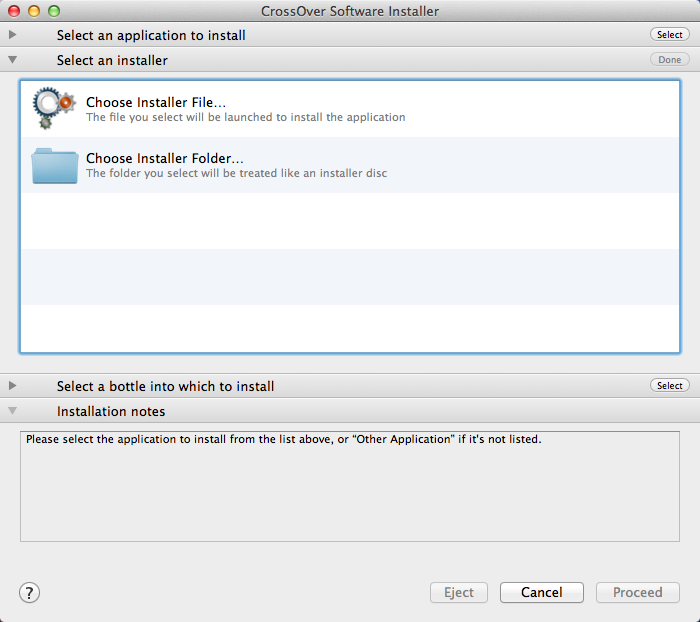
Choose your Explorer installer from the location that you saved it in.
Info title Note: A Special build of Explorer is required for installation in Crossover. Please contact the Medical-Objects Helpdesk (07) 5456 6000.
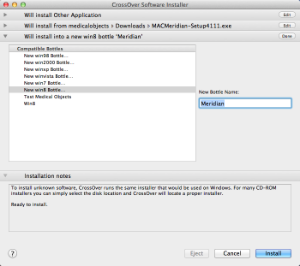
- Choose to install in a "new XP New Win8 bottle". Give the bottle a name. XP Meridian (Or Explorer) is fine in this instance. Click "Proceed" at at the bottom of the window.
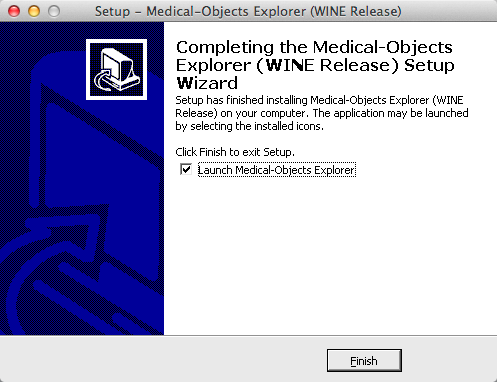
- Follow the installer through as per a normal Explorer install. Select Finish in the installer and ensure that "Launch Medical-Objects Explorer" is is checked.
- Return to Crossover, And select Configure > Install Software again.
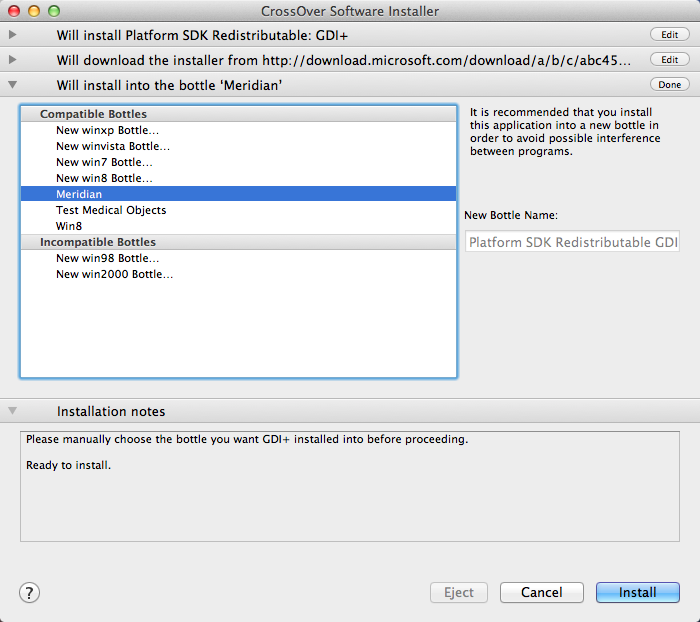
- Search for SDK. Select Platform SDK Redistributable: GDI+ from under Runtime Support Components. You will need to install this to be able to use the Explorer Software.
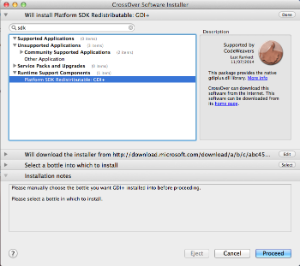
- Click on Select a bottle into which to install, and select the Explorer Bottle just created.
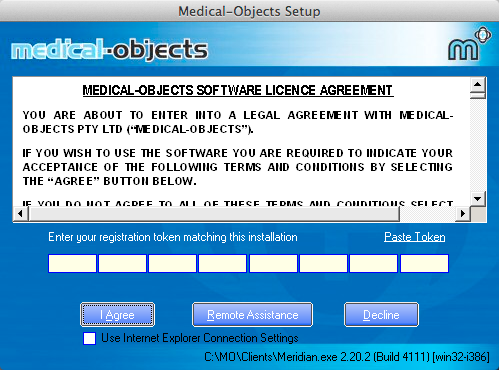
- Enter the installation token provided to you by the Medical-Objects Help Desk. Select the "I Agree" button if you wish to proceed with the installation.
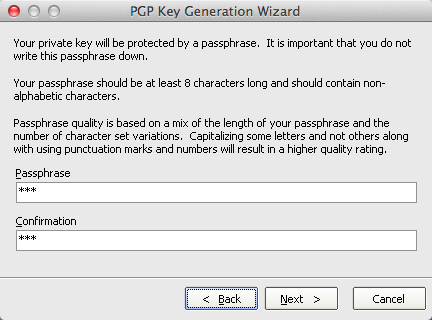
Enter the password that you will use for securing your Explorer Client. You will be asked to enter this password every time you log in.
Info title Note: Do not loose this passphase. If you do not remember your passphrase, you will need to have the software reinstalled as this can not be reset.
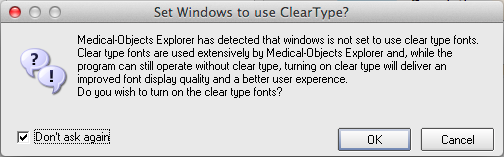
You may get the following message. Select Don't ask again, and click OK.
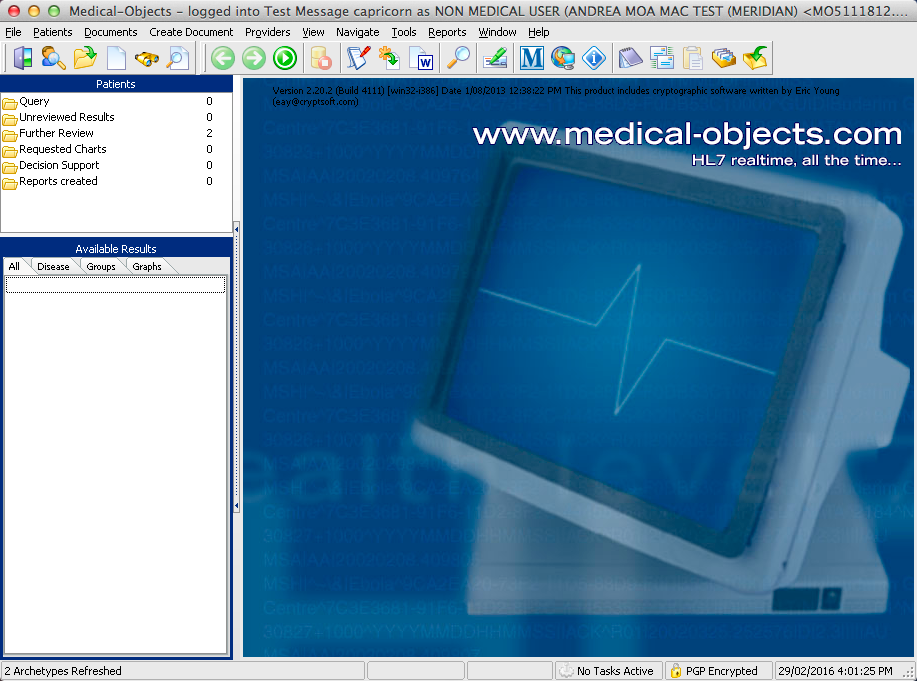
- Once the install is completed the following main Meridian Explorer window will appear.
- When exiting the program always use "File --> Exit"
> Exit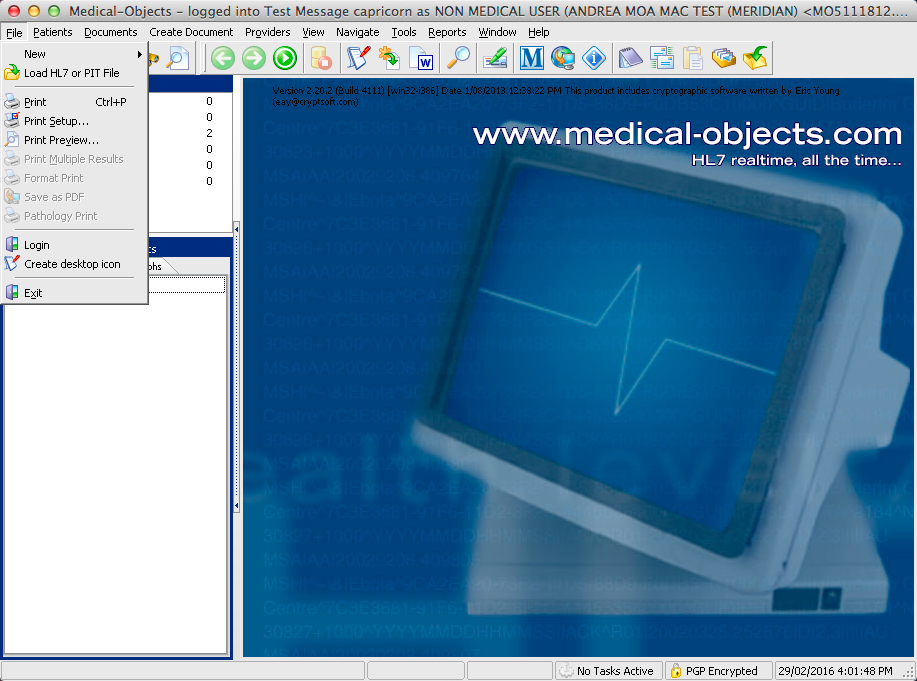
When the Explorer software is running, Right Click the Explorer icon in the Dock.
Expand the Options menu and click Keep in Dock.
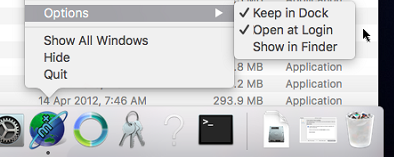
The setup is now complete.
Creating a backup
- Once closed you will be returned to the window below.
In case of corruption You will need to make a backup of the Bottle you have made. Select Advanced and then the button Crosover and go to Configure > Manage Bottles.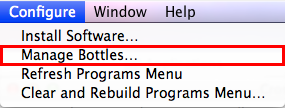
- Select Advanced and then the button Make Archive
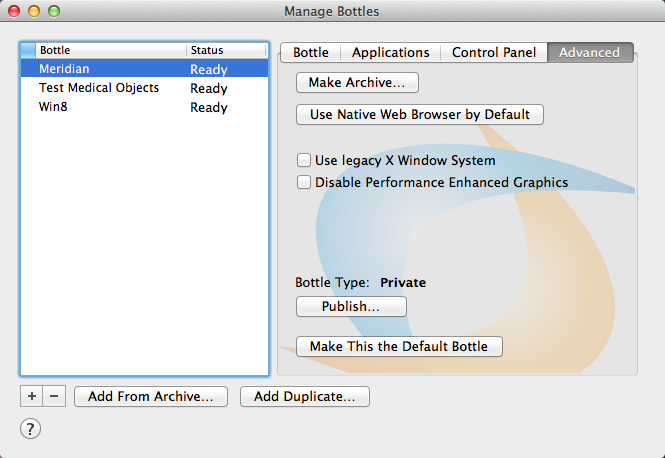 "Make Archive"
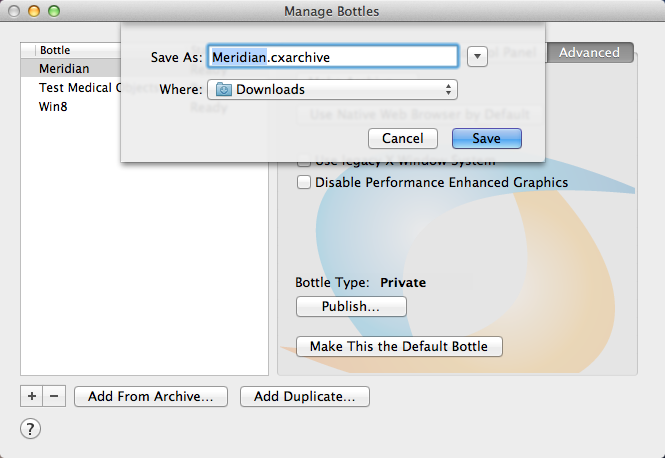
 - You can save the Archive where ever you wish. Call the backup Medical-Objects Backup. In this instance we are saving it into Documents (Generally the Archive is saved to Documents so Medical-Objects Staff can easily find it and restore it if needed).
Starting Medical Objects Explorer
- Open Cross OverCrossover. From the top window menu choose "Programs -- > Medical Objects"
- When the installation is completed a folder is created for the shortcut to start the program and opened in a new finder window. Take note of the window's location (Generally in "Places -- > Admin -- >........." in the finderFinder) and the shortcut can be used from there or moved to a more convenient location.
| Table of Contents | ||||
|---|---|---|---|---|
|