Overview
This guide provides instruction on configuring both Medical-Objects Download Client (Capricorn) and Medical Spectrum software to import electronic results.
If you require any assistance with the installation or configuration, or if you have any questions, please contact the Medical-Objects Helpdesk on (07) 5456 6000.
If you have not Installed the Medical-Objects Download client, Please see the guide for Installing Capricorn on Windows.
Configuring Capricorn Software
Accessing the Capricorn Configuration Window
| Info | ||
|---|---|---|
| ||
In some cases, the Capricorn may be configured as a service. See this guide for instructions on how to launch the Capricorn if it is set up as a service. |
| Excerpt Include | ||||||
|---|---|---|---|---|---|---|
|
Capricorn Configuration Settings
- Click on Ack Management.
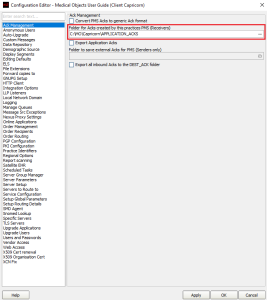
- Set the ACKManagement Path to the following path:
No Format C:\MO\Capricorn\APPLICATION_ACKS - Select the Integration Options in the left panel.
Make sure at the bottom of the panel that under Incoming Modifier that Spectrum HL7 Modifier is set, as shown below.
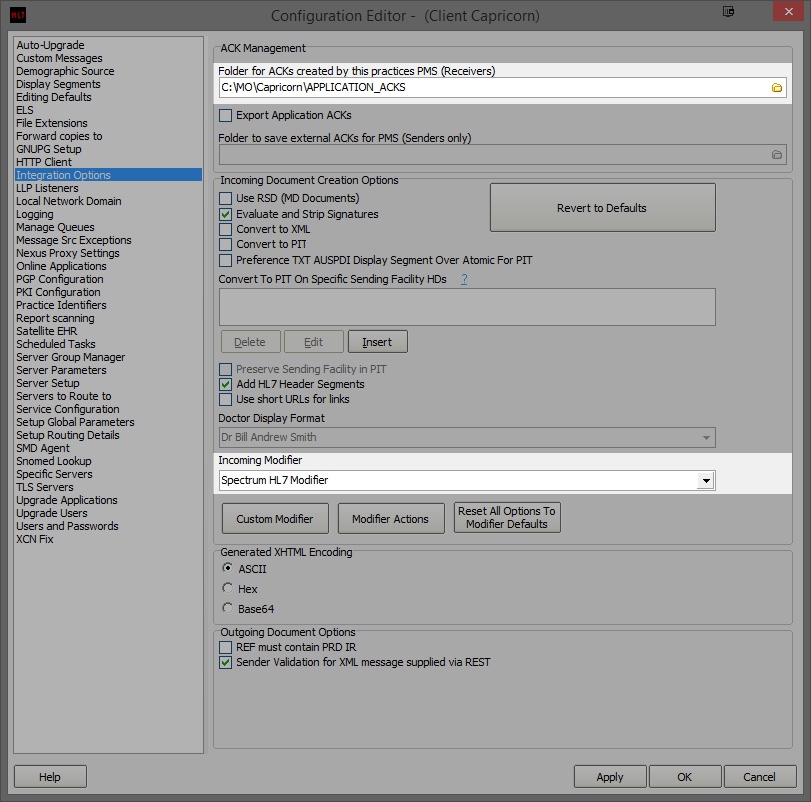
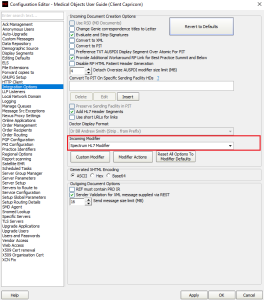
Note title Important: Older versions of Spectrum will NOT import ORU or HL7 files that have file names over 9 Characters long. It does not have this problem with PIT files , so be sure to convert the files to PIT. The 9 Character limit also affects file paths. so if your results are in a folder called INCOMING RESULTS for example. It will not look in that path.
- In the left hand side panel, select Server Parameters.
In Message Output Directory (Main), Enter the path for letters to be imported in to. For example:
No Format C:\MO\Letters\
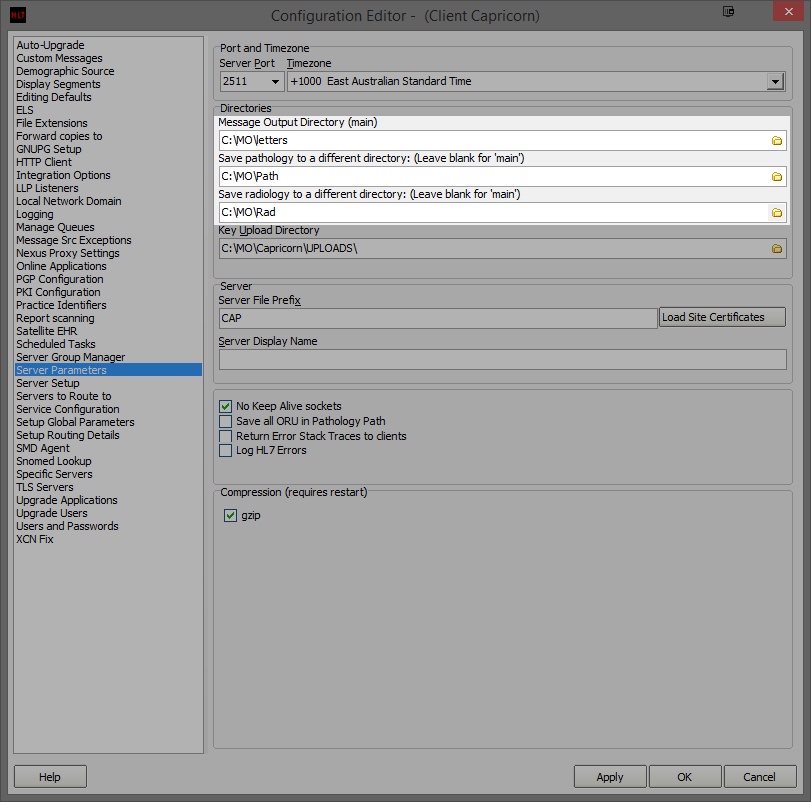
Enter the Pathology and Radiology paths as shown above.
No Format Pathology - C:\MO\Path Radiology - C:\MO\Rad
- Click Apply and OK.
The Configuration for Medical Spectrum is complete.
Configuring Medical Spectrum Classic
Medical-Objects Letters
- Open Medical Spectrum.

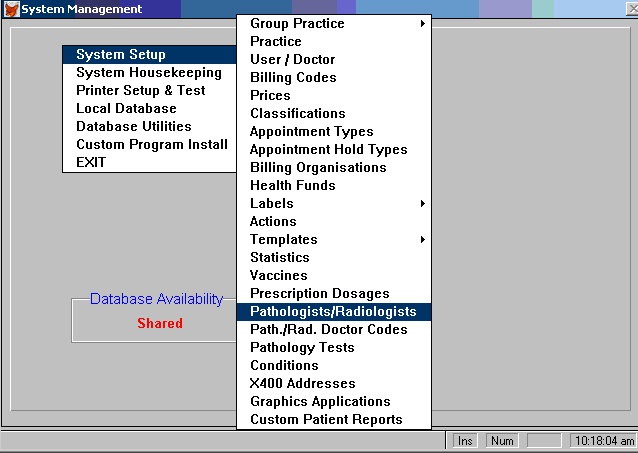
- Click on the System Icon.
- The following window will open.

- Click System Setup.
- Click Pathologists/Radiologists.
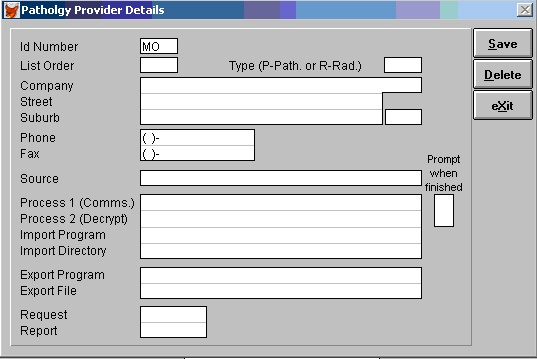
Enter MO in the Id Number field and press TAB.
Info title Note: Make sure you backspace to the left in the ID Number field to avoid blanks; you cannot delete an entry once it has been created. If MO is already configured, press TAB to call up the details. You can also select Medical-Objects from the available drop down list; this will display the ID Number only. Press TAB to call up the details.
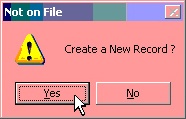
- If it is a new record, the following window will appear.

- Click Yes.
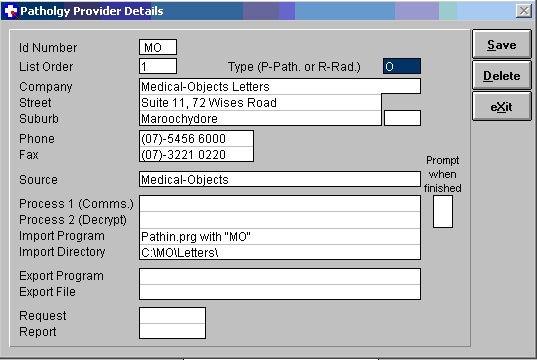
- Enter in the above information (Make sure your data is accurate as you cannot delete the contact once it has been saved).
- Click Save.
- Click Exit.
Medical-Objects Pathology
- We follow the same steps taken in the first section as shown below.
- Enter MP in the Id Number field and press TAB.
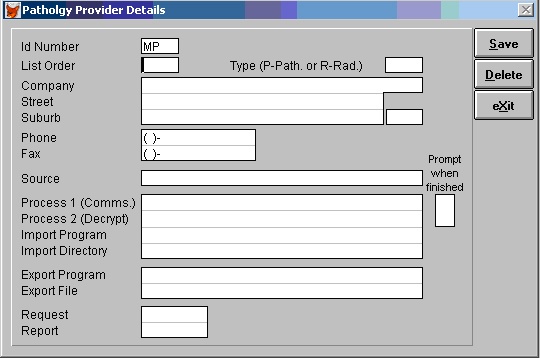
- If it is a new record the following window will appear.
- Click Yes.

- Enter in the above information (Make sure your data is accurate as you cannot delete the contact once it has been saved)
- Click Save.
- Click Exit.
Medical-Objects Radiology
- We follow the same steps taken in the first and second sections as shown below.

- Enter MR in the Id Number and press TAB.
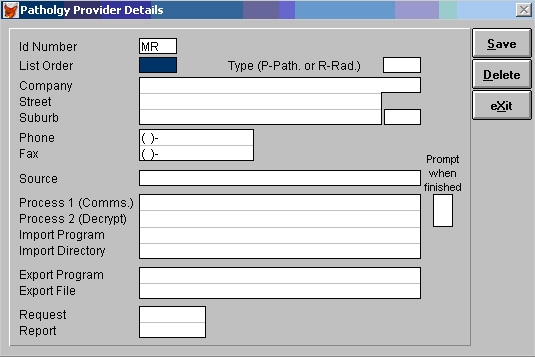
- If it is a new record the following window will appear.

- Click Yes.
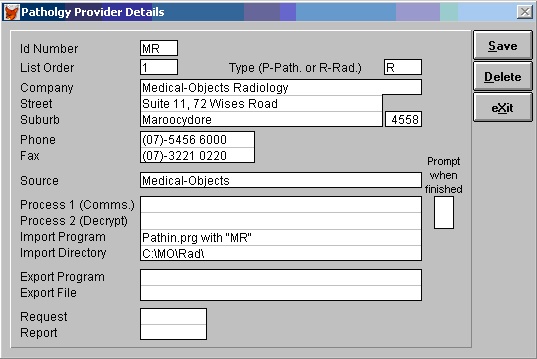
- Enter in the above information (Make sure your data is accurate as you cannot delete the contact once it has been saved).
- Click Save.
- Click Exit.
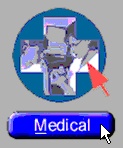
Importing a Result into Medical Spectrum
- Click the Medical Icon.
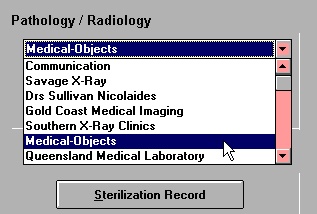
- Click the Communication drop-down list.
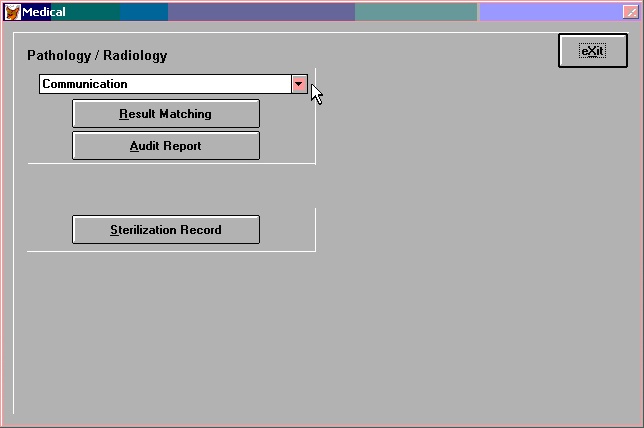
Select Medical-Objects Letters, Medical-Objects Pathology, or Medical-Objects Radiology to see what results have arrived.
Info title Note: If there are any results, the number of results imported will show. If there are no results, this number will be 0.

Click OK.
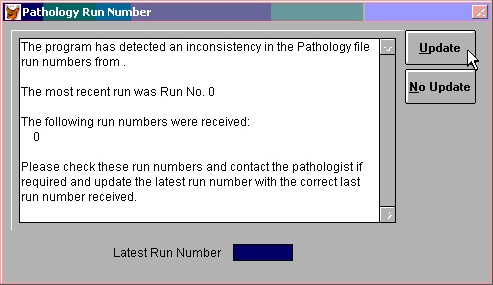
- Click the Update at the Pathology Run Number message.

- Click Result Matching to see if any results require matching.
- The following window is displayed.
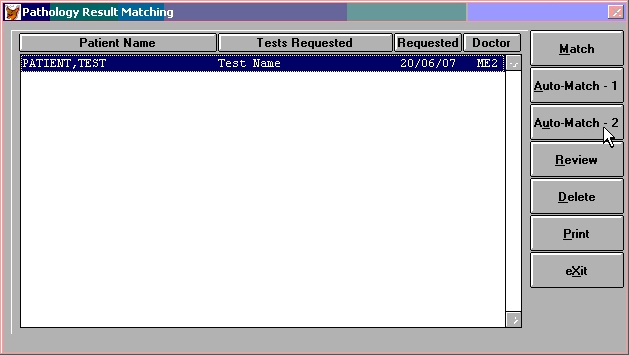
- Click Auto-Match -2.
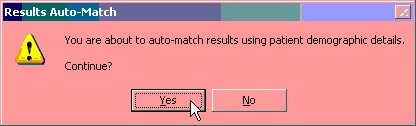
- Click Yes.
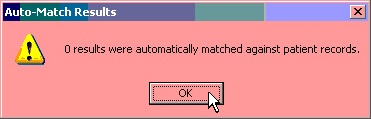
- Click OK.
- Click Exit on the Pathology Result Matching window.
- Click Exit on the Medical window.
| Info | ||
|---|---|---|
| ||
You should now be back to the main window. |
| Table of Contents | ||||
|---|---|---|---|---|
|