Overview
This guide provides instruction on configuring both Medical-Objects Capricorn and ZedMed software for sending. This step is designed to be included in the Capricorn configuration for ZedMed here.
If you require any assistance with the installation or configuration, or if you have any questions, please contact the Medical-Objects Helpdesk on (07) 5456 6000.
If you have not Installed the Medical-Objects Download client, Please see the guide for Installing Capricorn on Windows.
Configuring Capricorn Software
Accessing the Capricorn Configuration Window
Capricorn Configuration Settings
Click on the Manage Queues link in the left hand panel.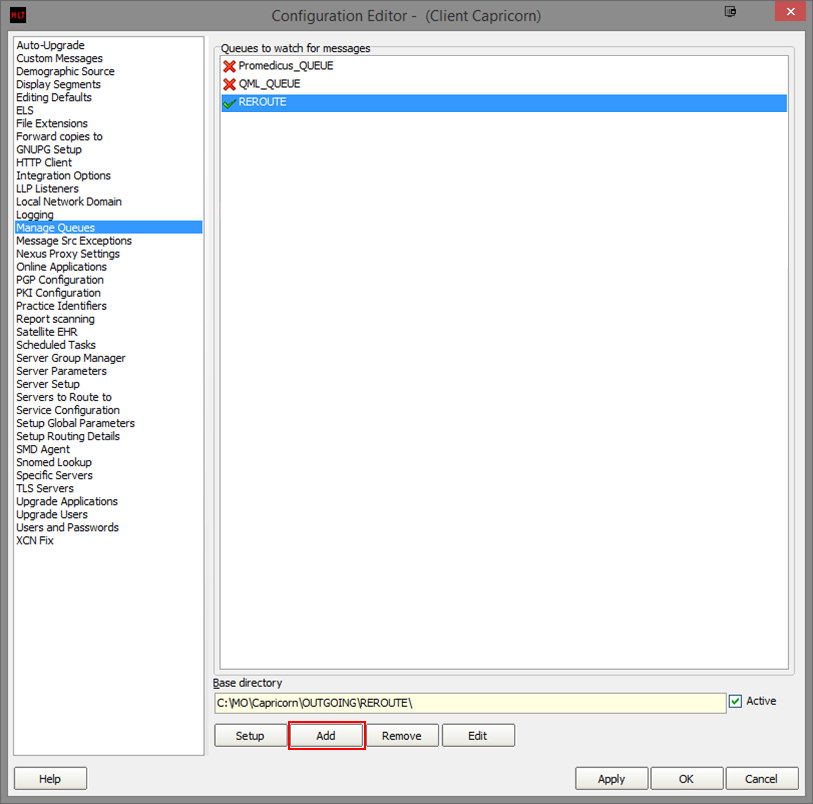
Click the Add button highlighted above.
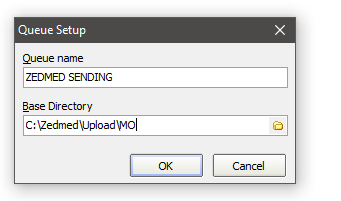 Once the queue is added, Click the Setup button.
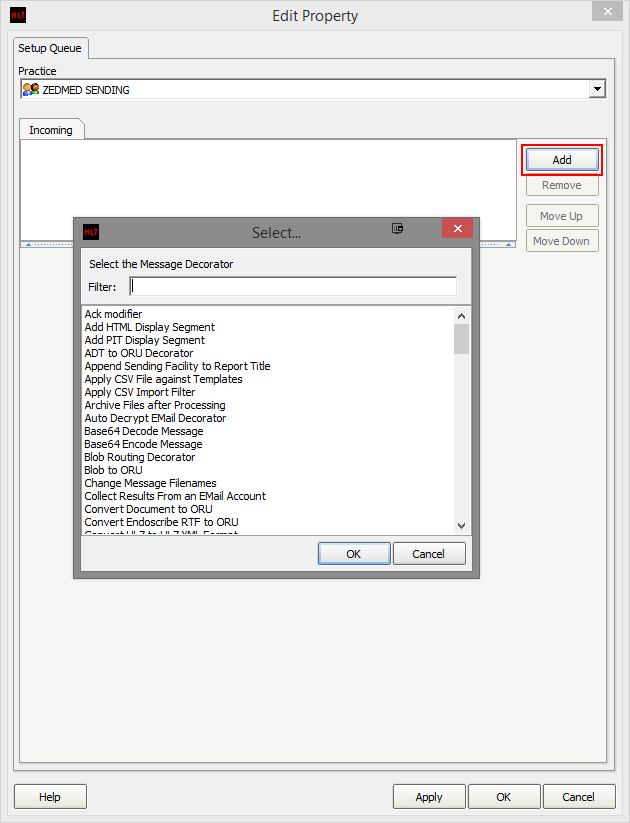
In the window that appears, Click the Add button. Add the following decorators by searching each one and clicking OK.
| No Format |
|---|
Specify file mask               -->- set to *.* (All Files)
Strip Non PIT lines
Convert PIT to HL7          --> (Leave settings as they are)
Route with Capricorn |
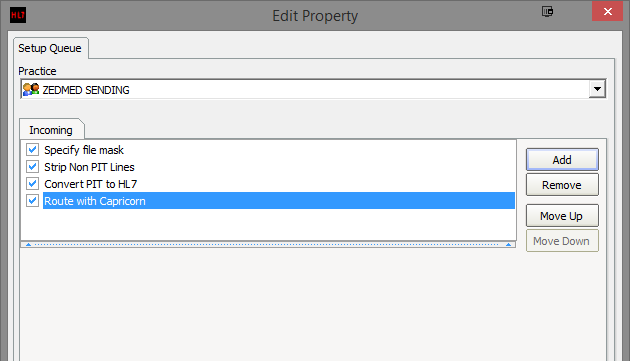
Click Apply and OK to close the configuration.
How to send from Zedmed
Setting up your Address Book
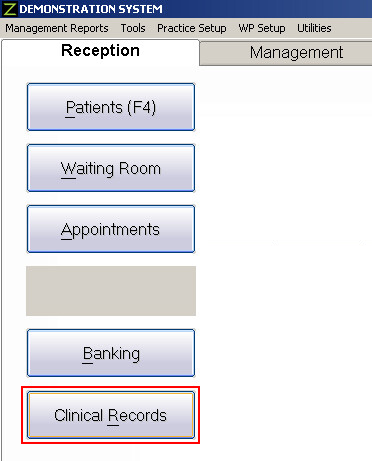
Log into your Zedmed software, and click the Clinical Records button to go to the Clinical section.
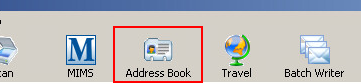
The doctors details will need to be added within the ZedMed Address Book before sending is possible. Click on the Address Book icon highlighted below.
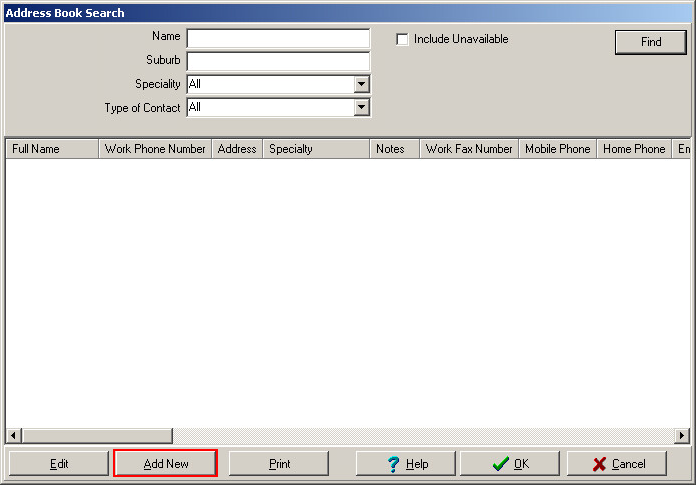
Search for the name of the doctor you wish to send to via Medical-Objects. You can create a new Doctor by clicking the Add New button highlighted below.
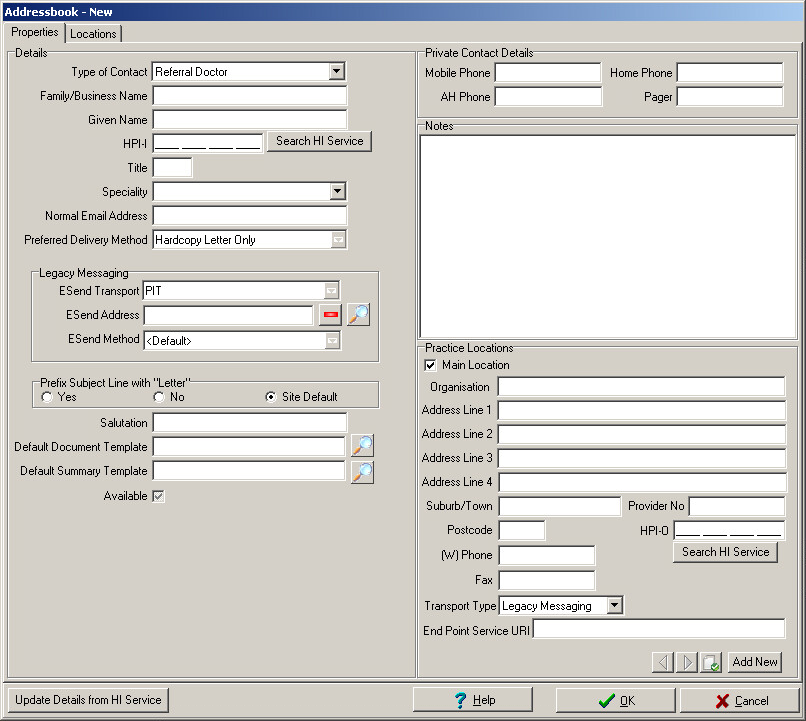
Enter the doctors details in the window that appears.
You can use the Medical-Objects Word Plugin or the Medical-Objects Trinity software to search for the doctors correct provider number listed within the Medical-Objects System.

The guide for looking up provider numbers using the Medical-Objects Word Plugin is located here.

The guide for looking up provider numbers using the Medical-Objects Trinity is located here.
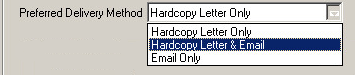
Once you have entered the correct details into Zedmeds Address Book, Some fields will have to be set to be able to send via Medical-Objects. The first is the Preferred Delivery Method. This will need to be set to either Hard Copy Letter & Email or Email Only.
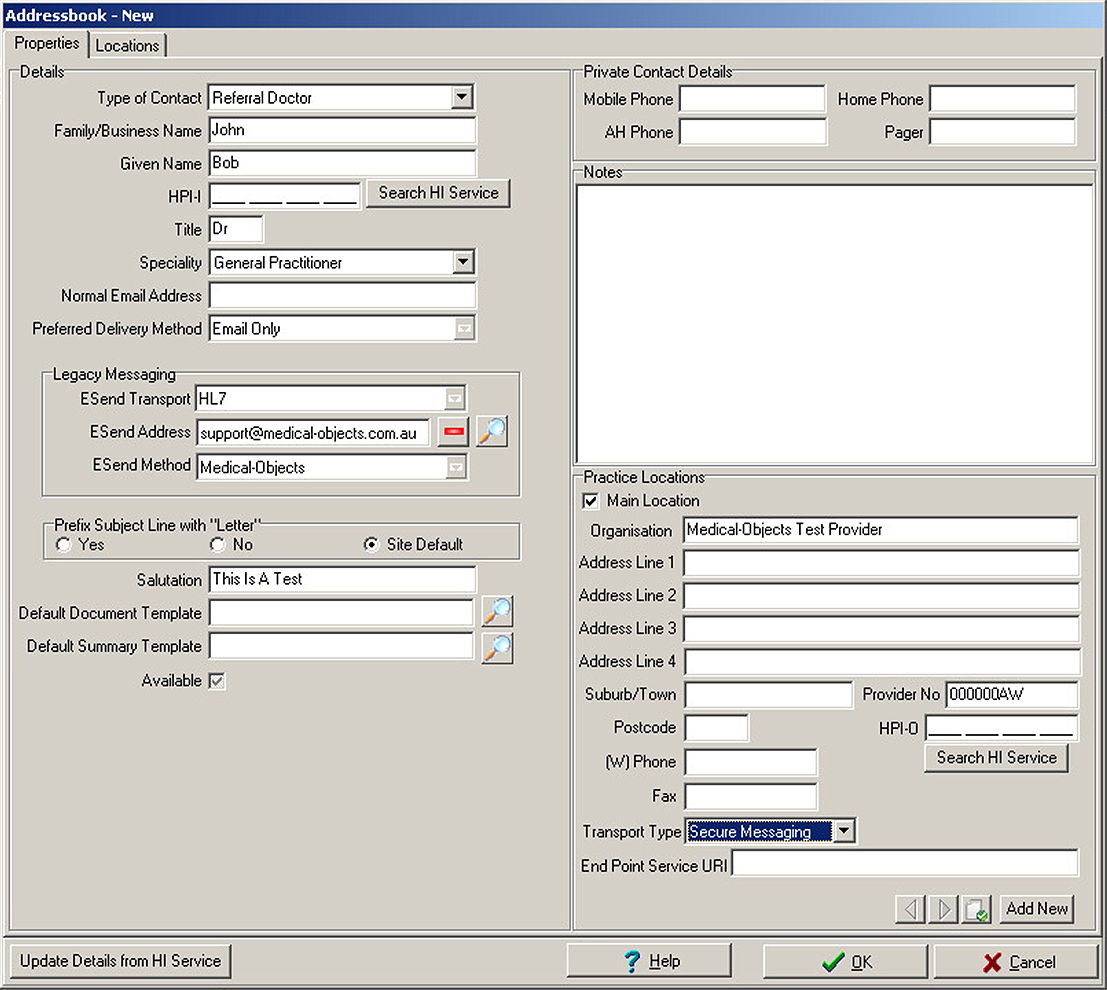
The next change will be made under legacy messaging. Legacy Messaging should have the below configuration.

If you do not have Medical-Objects as an ESend Method, Please complete the following steps.
From the Tools menu, Select Global Options.

Select the Communications Tab. Under Other Service, Enter Medical-Objects as the description, and the file path created in Step 3 in the Send Path area.
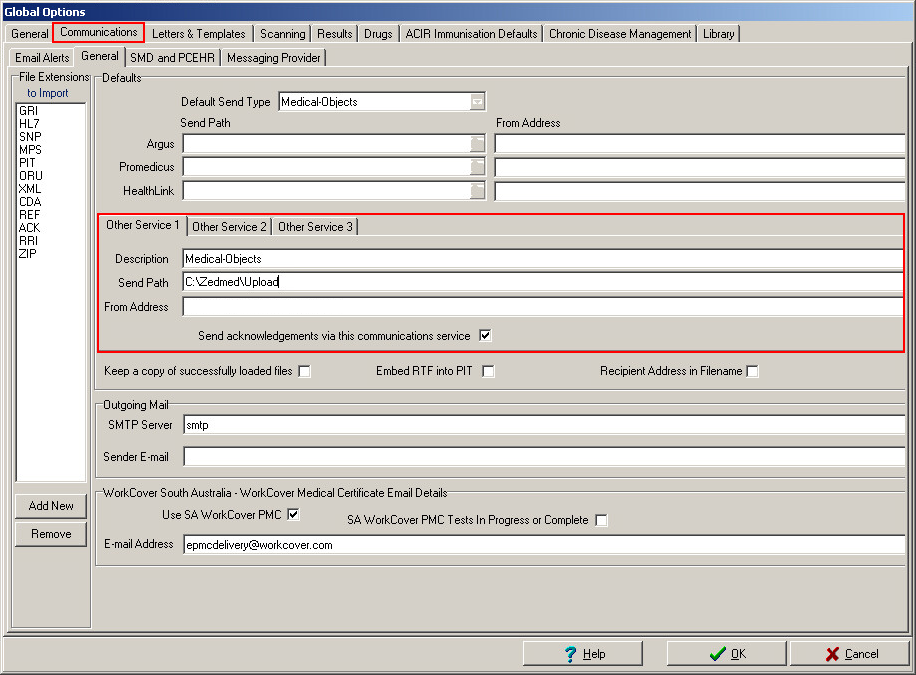
Make sure Send acknowledgements via this communications service is ticked, and click OK to save your changes.
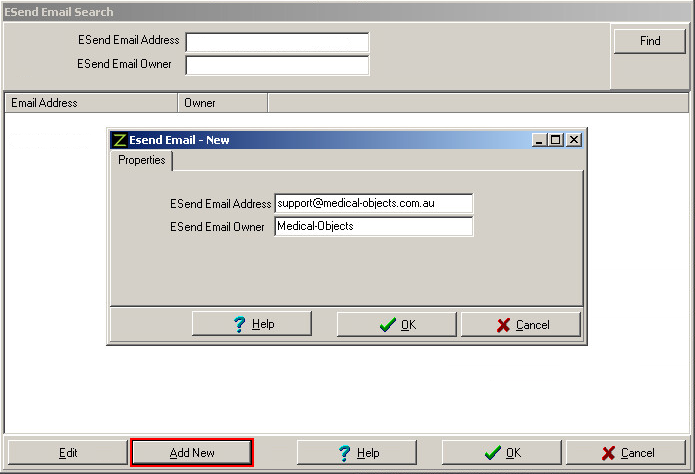
Selecting the Magnifying Glass will allow you to choose an email address. If it is not listed or not showing up in the search, Click the Add New button shown below, and add support@medical-objects.com.au as the ESend Email Address and Medical-Objects as the ESend Email Owner.
Below is an example of the doctor in the address book with the appropriate details filled out.
Sending the referral
Open up the patient you wish to send a report in regards to. Next click on the Start Encounter button within Zedmed or press F10 on your keyboard.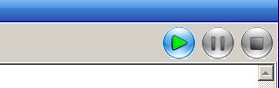
Click on the Referral button or press CTRL+R on your keyboard.
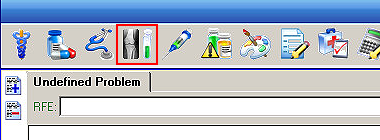
Select the New Referral tab, and select Referral Letter.
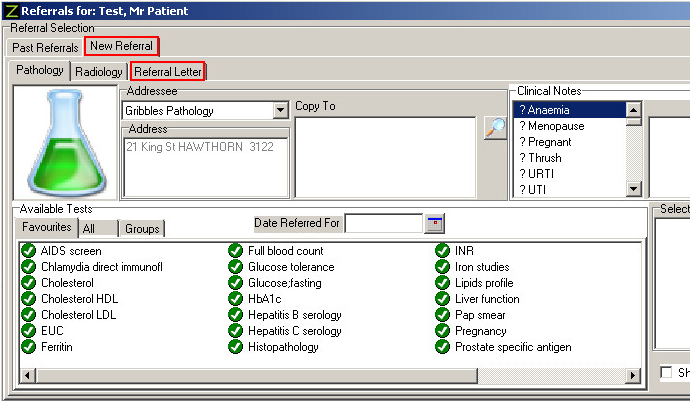
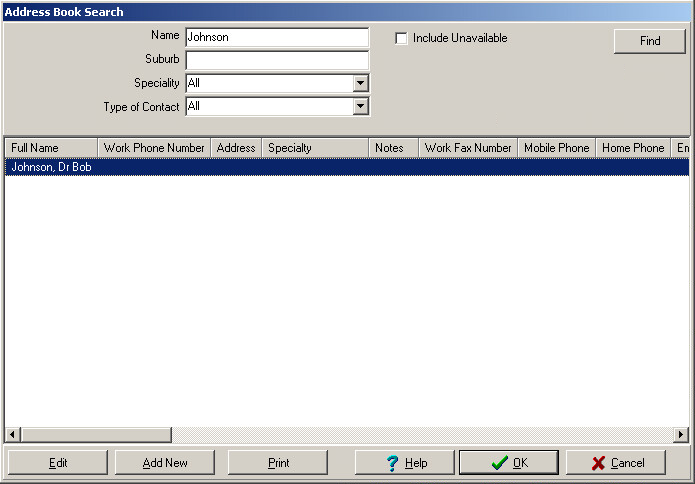
Under the Addressee field, Click the Magnifying Glass to search for the doctor you wish to send to.

Search for the doctor, select their name and click OK.
Once the correct doctor to send to is selected, You can type an appropriate subject for the letter. In this instance we have used GP Referral Medical Objects Test Practice.
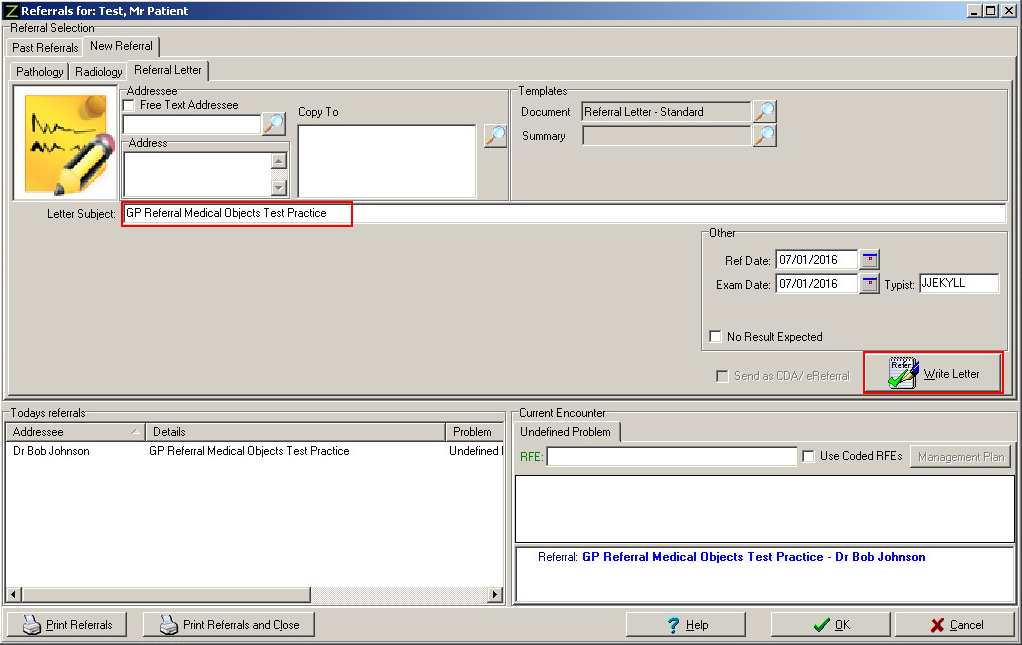
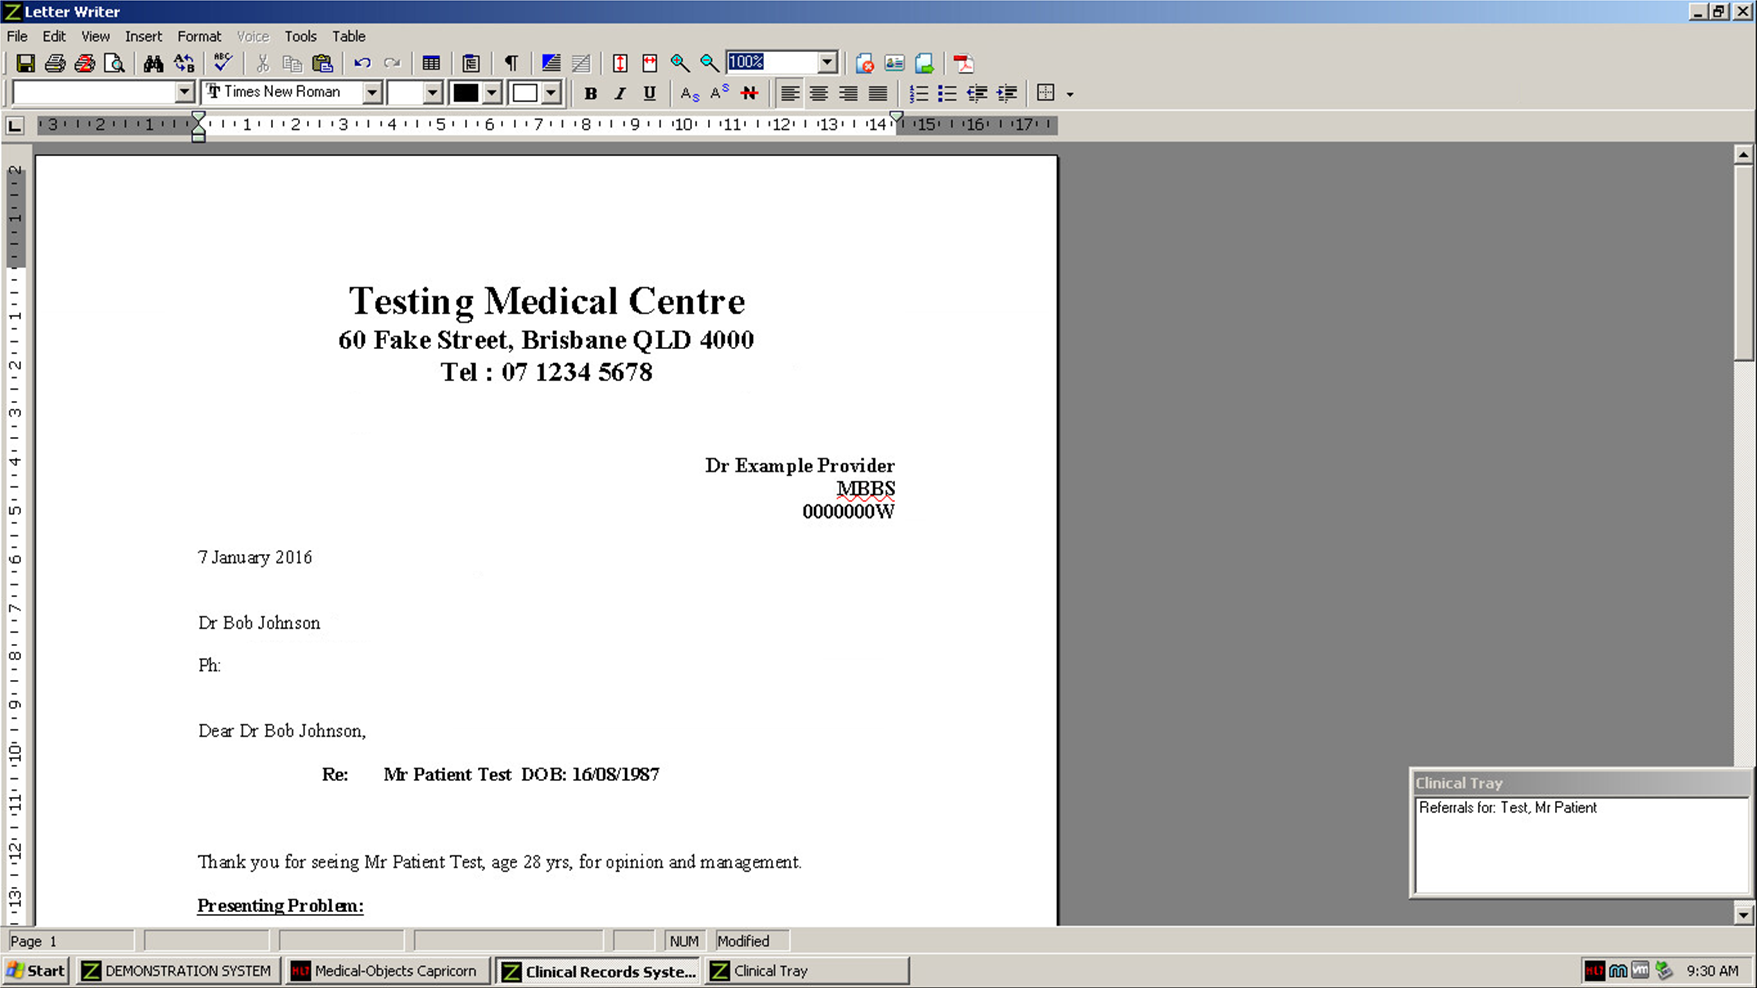
Once you have the letter subject, you can click the Write Letter button highlighted above.
From this screen you can type the letter.
Once you are ready, Click the highlighted Distribute button.

Zedmed will then ask you do you want to save this referral letter. Click Yes.
The Print/Send Screen will now appear. From here you need to make sure distribute now is selected. Also make sure that Send Electronically to all electronic recipients is ticked and then you can select the sending Doctor.
You can also print a copy of the document is necessary as well.

You can then click the OK button to send the report. Zedmed will then popup saying the following.

| Table of Contents | ||||
|---|---|---|---|---|
|