Overview
PPmP versions 8.13 and above have the ability to automatically import PDF files delivered through Medical-Objects. The following instruction instructions show you how to setup this functionality.
Configuring the Capricorn Download Client
PPmP requires files to be dropped off from the Medical-Objects Capricorn in PDF format. you can find the instructions here.
Once the Capricorn is configured, continue with the following steps.
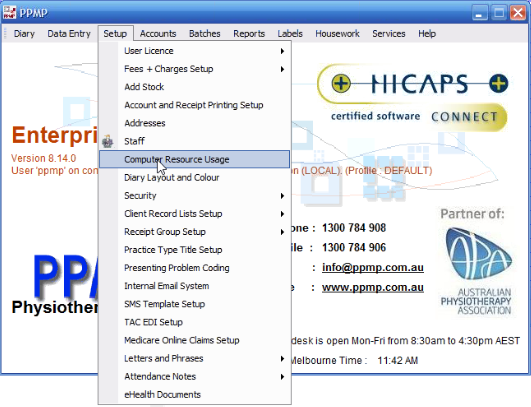
- Click Setup and Computer Resource Usage from the main PPMP menu.
- Click the ProgramLinks Tab. The eHealth Interface directory is set here. In this example we are using the path C:\MO\Incoming.
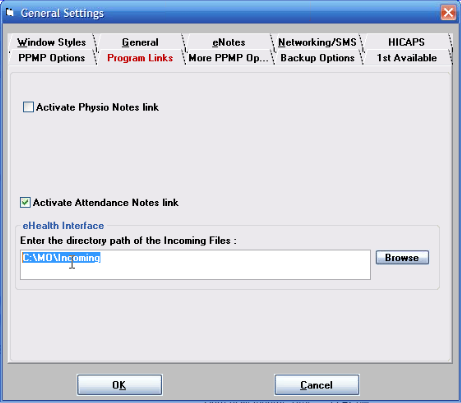
- If the path is not set in PPMP , you can set it now, and configure Capricorn to save PDF to the same directory.
How to configure PDF import using PPMP
The PPMP software runs a background task called EhealthTrayApplication which automatically polls the Medical-Objects import directory for PDF files to import.
This application is configured to run in the Scheduled Tasks section of Windows. It will automatically check to see if it is running every 15 mins. If the application is not running, the scheduled task will automatically restart the application.
To configure the settings for the EhealthTrayApplication.exe navigate to the PPMP Directory:
C:\Program Files (x86)\PPMP\Tools\Ehealth\PPMPEHealthSettings.ini (64 Bit)
C:\Program Files\PPMP\Tools\Ehealth\PPMPEHealthSettings.ini (32 Bit)
The settings can be changed by opening the file named PPMPEHealthSettings.ini.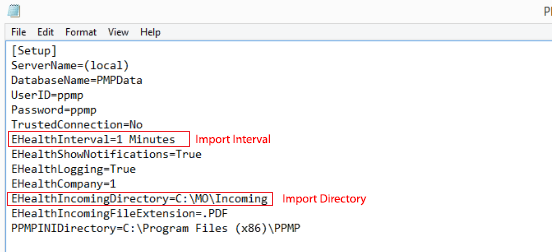
Set the Import Directory to the same path where you have configured the Download Client to save the PDF's to. In this example we are using the path C:\MO\Incoming.
How to view incoming PDF's in PPMP
PPMP is configured to automatically import and match Medical-Objects PDF's to the patient record. Medical-Objects saves the files to the output directory using the syntax SURNAME_Firstname.pdf
To view the received PDF,
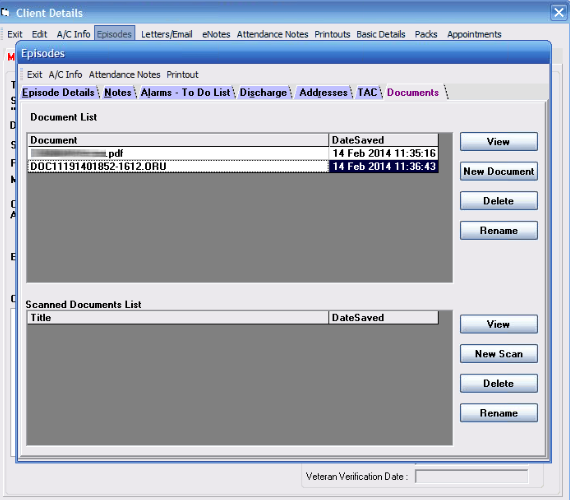
- Open the Patient file in PPMP and choose Episodes from the Menu.
- Click on the Documents tab.
You will then see the PDF in the Document list. From here you can choose to View, Delete, or Rename the document.
If you do not see the file in the document list you may have to close the window and re-enter.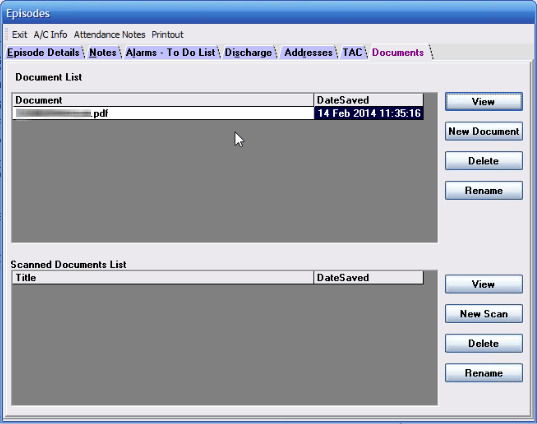
How to manually match a file to the patient record
If PPMP cannot determine which patient to automatically assign the files to, you will see a notification that there are documents awaiting processing in the Diary window.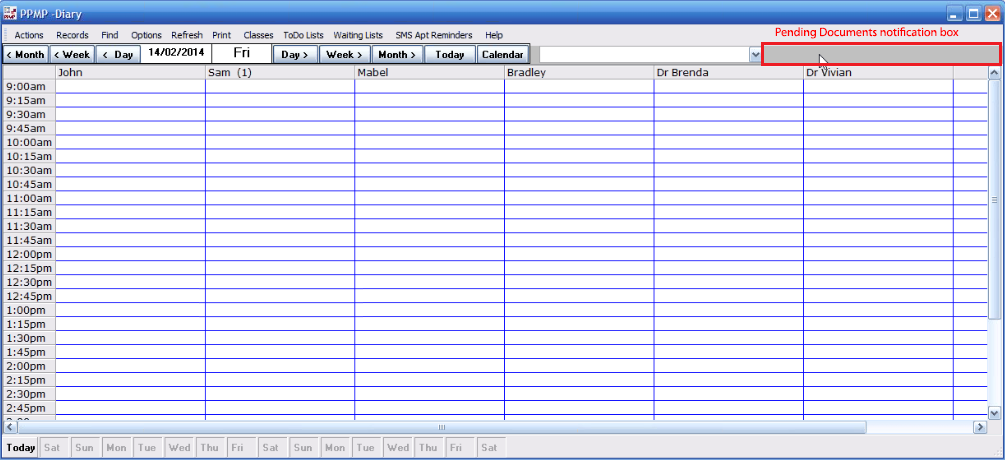
To manually assign a document to a patient,
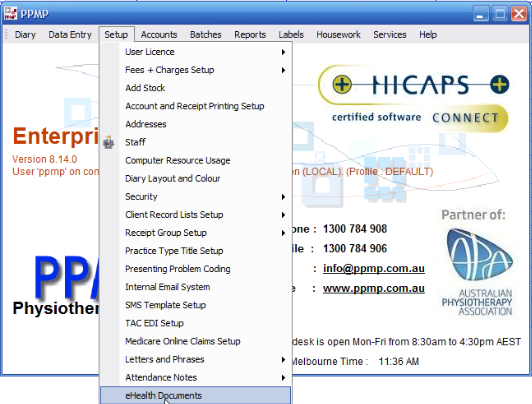
- Click Setup and choose eHealth Documents
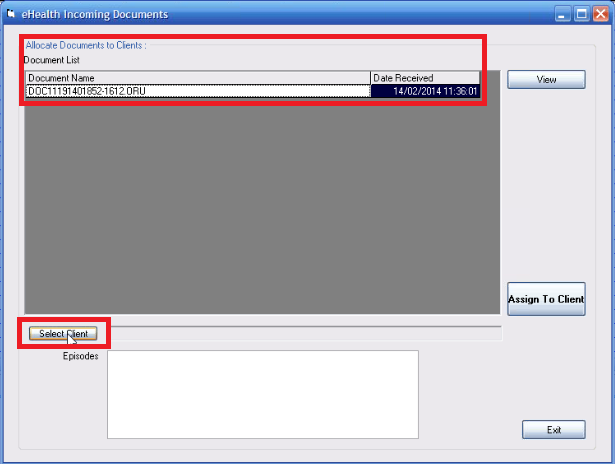
- You will see a list of unmatched documents in the Document list window, choose the document you wish to match and click Select Client.
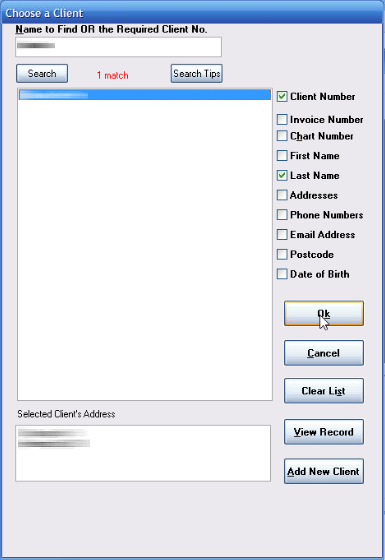
- Lookup your patient and click the OK button.
- The client name will now be listed next to the Select Client button, you then simply choose an episode type from the list and click the 'Assign To Client' button to match the result to the patient.

- Now go back to the patient record and choose Episodes from the menu. In the Documents tab you should now see the result you matched to the patient.
If you do not see the file in the document list you may have to close the window and re-enter.
| Table of Contents | ||||
|---|---|---|---|---|
|