Overview
This guide provides a brief overview on Creating Patient Results Graphs within the Medical-Objects Explorer Client (Meridian).
If you require any assistance with the installation or configuration, or if you have any questions, please contact the Medical-Objects Helpdesk on (07) 5456 6000.
Creating Patient Results Graphs
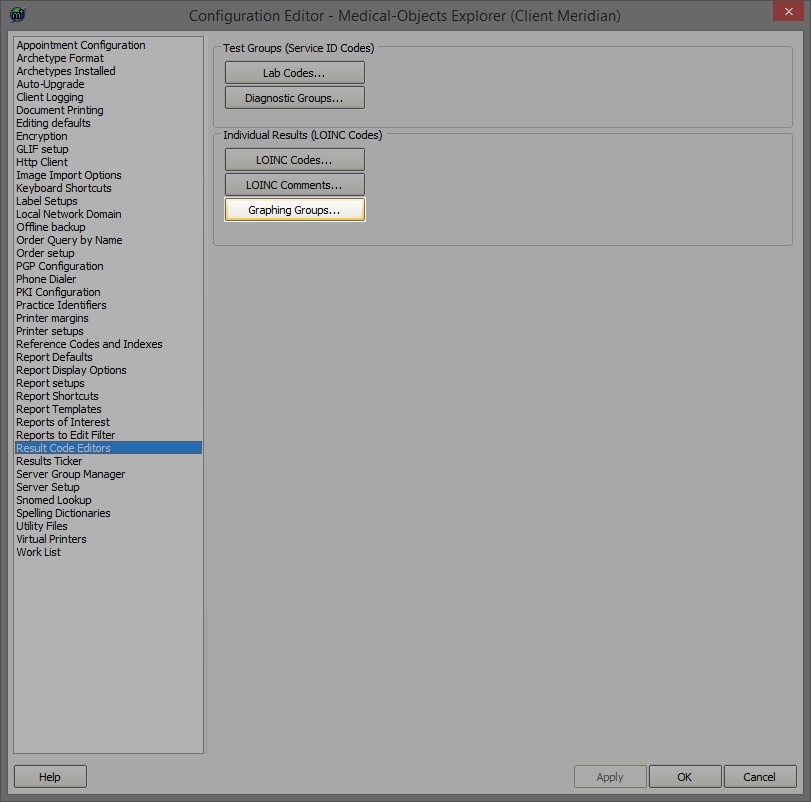
- To create a Graph, select Configuration Options from the View Menu or press F12.
- In the Configuration Editor, select Result Code Editors from the left hand side and click the Graphing Groups button:
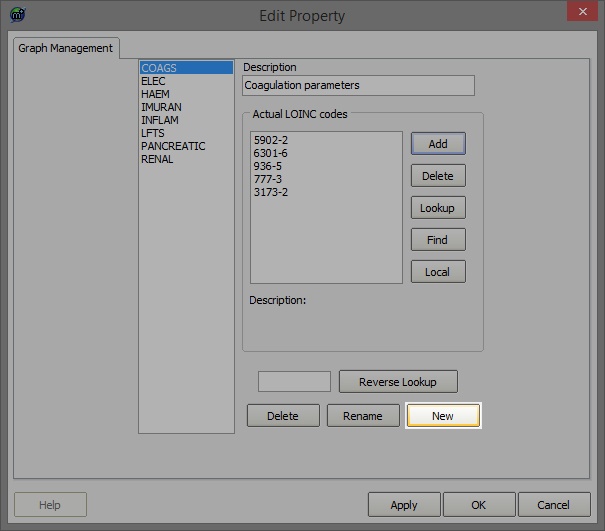
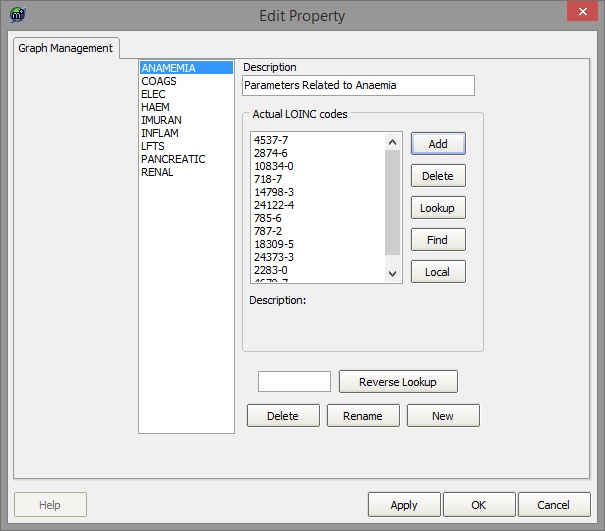
- On the Edit Property screen click the New button:
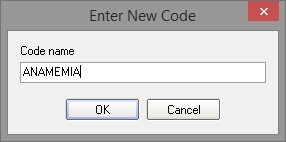
- Enter the Graph Code:
- Enter the Description for the Graph

- Click the Lookup button to search for the LOINC Codes to add.
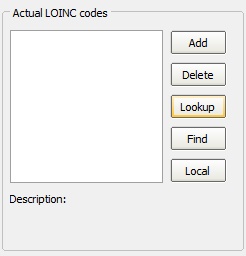
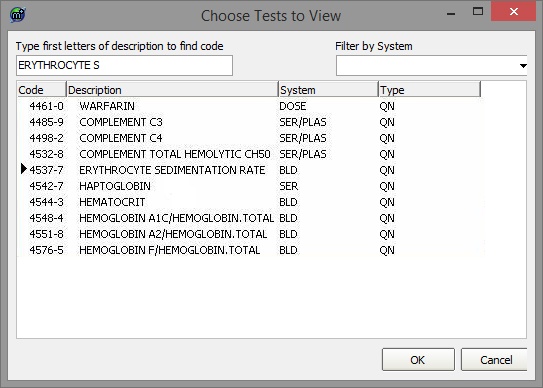
- Enter the Description, or part thereof in the search box on the top of the screen and click OK.
- Continue adding LOINC Codes to appear in the Graph by clicking the Lookup button. The example below shows six Pancreatic LOINC Codes added to the Graph:
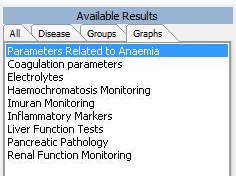
- The Result Graph now exists under the Graphs tab in Available Results:
- The following Report is produced:
| Table of Contents | ||||
|---|---|---|---|---|
|